
Overlap vs. Butt-Welding
Overlapping metal by flanging it along its length cuts down on fit-up time, but it increases the chance of corrosion. If there is space between the two pieces of metal, then water, rust, or dirt can enter that space, leading to corrosion from inside out. Here, we made special steps to cut down on the chances, but it’s still possible. Overlapping may or may not stray from factory appearances since automakers did overlap metal in certain areas. With our Impala, the factory overlapped the front of the pans, which was the only part of the original floorboards we kept.
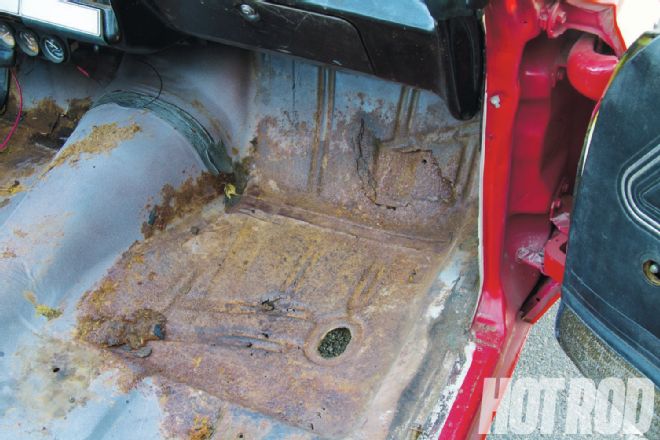 01. Our rust-torn ’67 Impala had holes in the floorboards, so we called Classic Industries to help us fix the car. Its front and rear ’65–’70 Impala floorpans retail for $99.99 (PN BFP7776, right front; PN BFP7778, right rear) each. You don’t need fancy tools for this job, but it will require a welder, a metal saw of some kind, and a portable drill.
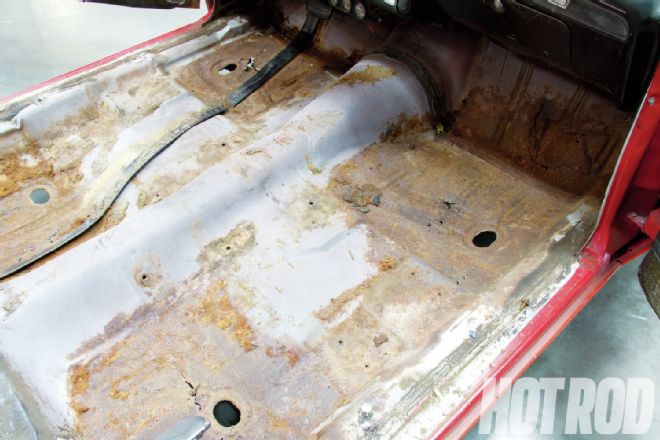 02. We made sure the car was on a flat, stable surface before doing any cutting and used scrap sheetmetal and welding blankets to cover everything we didn’t want damaged.
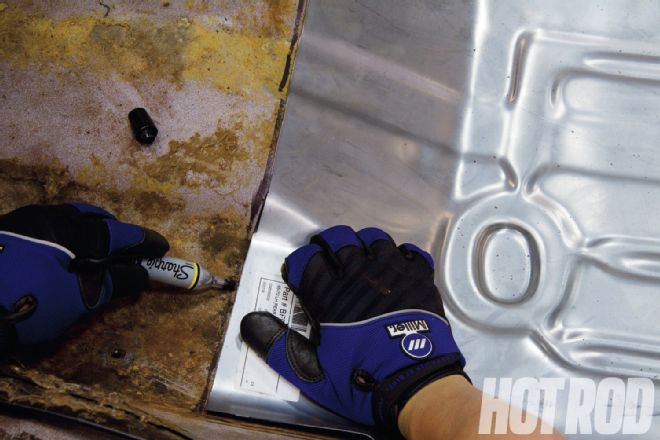 03. It’s a misconception that you need to use all of the new floorpan. We only used as much as we needed to retain the car’s original structural integrity. Here, we’re tracing the perimeter of the new floorpan.
 04. We slowly cut the corroded and pitted metal—without going past our mark—until we found the ideal surface to overlap the new metal.
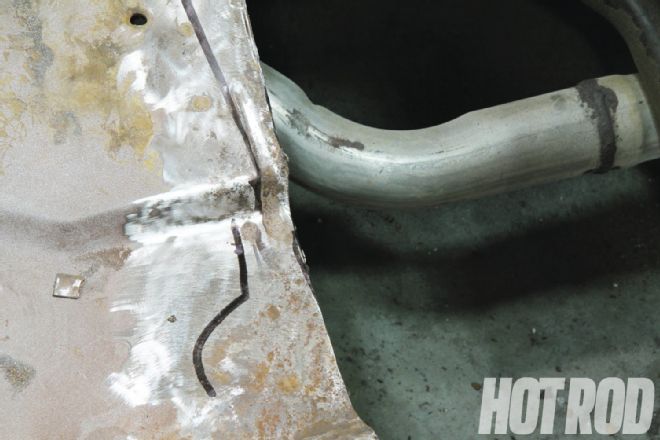
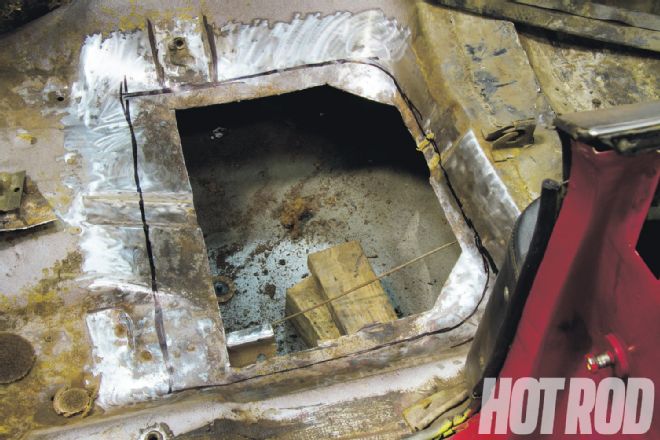
05. We removed the rustiest metal first, cutting away old sheetmetal until we found a strong, cleanable, and weldable surface. On the right of our mark is pitted metal that can be removed; on the left is a usable surface.
 06. Some areas only had light surface rust and were still strong, which is good enough to weld to. Here, we removed the rust from the surrounding area.
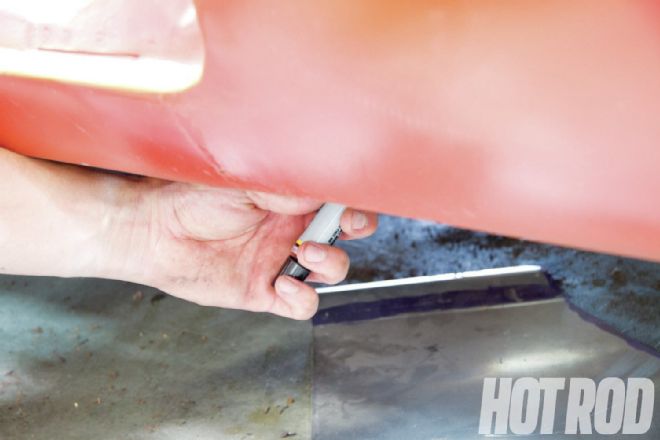 07. We laid the new floorpan in place and, from underneath, traced where the floor was cut out.
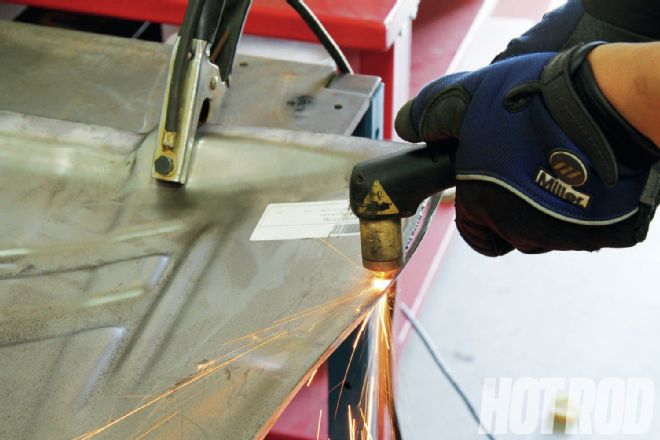 08. Adding 1⁄2 inch to the mark, we drew a new line and then cut our new floorpan. We used a plasma cutter, but often an air saw or cut-off wheel helps make a straighter cut.
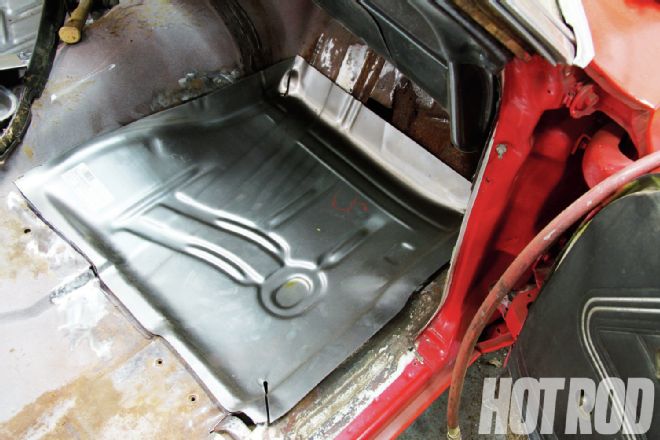 09. The new pan fit flat in place, without being held down, which is why we opted to use reproduction floorpans instead of flat sheetmetal. Any area that isn’t flat could invite future corrosion.
10. After removing all of the rust and cleaning the areas of contact between the new pan and car, we coated the new pan and floor in weld-through primer. This will help cut down on future corrosion.
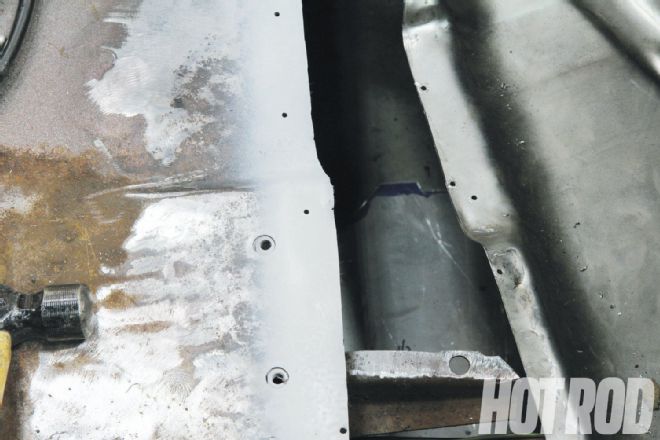
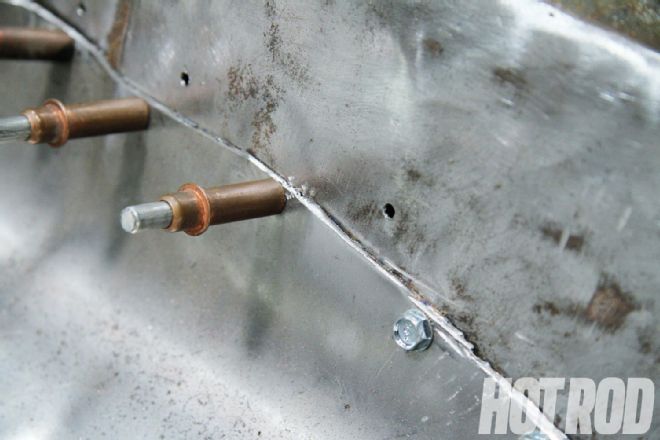 11. Working from the inside outward, we used self-tapping screws and Cleko fasteners to hold the new metal in place. Cleko fasteners are quicker to use but more expensive, while self-tapping screws will hold the pans tighter to the floor.
 12. Our welds began 4–6 inches from each other to keep the pan from warping or shifting. We started with spot welds in the middle of the new pan and worked outward, chasing the slack.
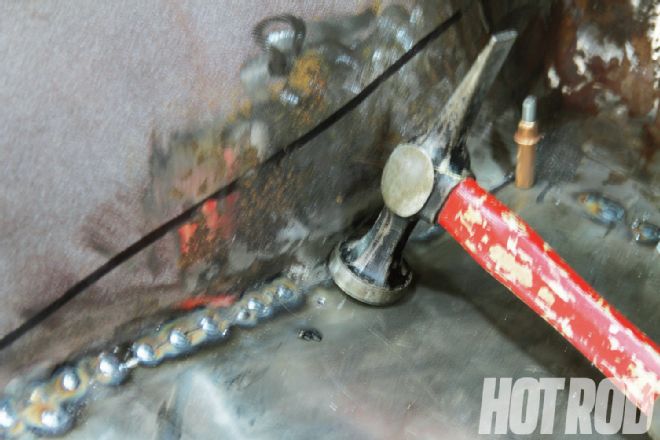 13. We used a hammer (a heavy block of wood will work, too) to prevent the new pan from raising off the car’s floor as we welded.
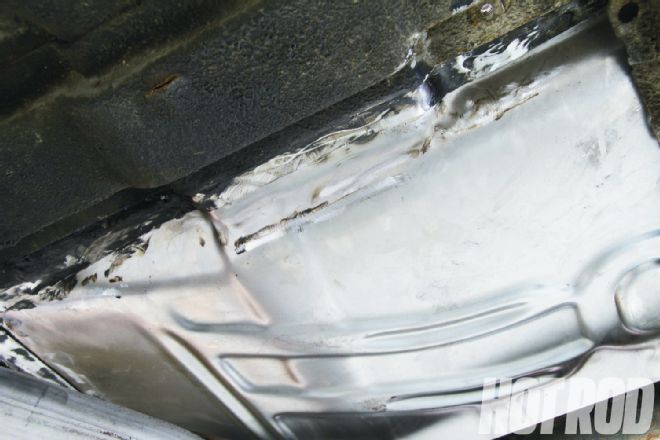 14. After the pans were spot-welded in place, but before we were done welding, we raised the car on a lift and used the same welding techniques from underneath the car, remembering not to overheat the w ork area. Then we went back to the top of the car to finish welding before finally grinding down all the welds.
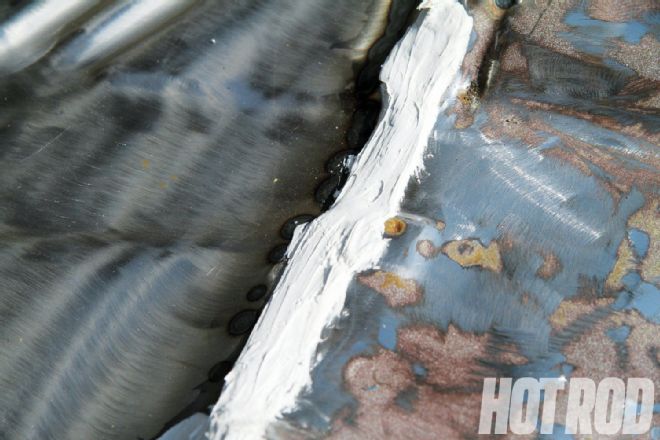
15. Seam sealer is a necessity to keep water and dirt from getting in bet ween the new surfaces and prevent future corrosion. This is an important step when overlapping the material. If you butt-welded the floorpans together, this may not be necessary. We applied sealer on the top and bottom.
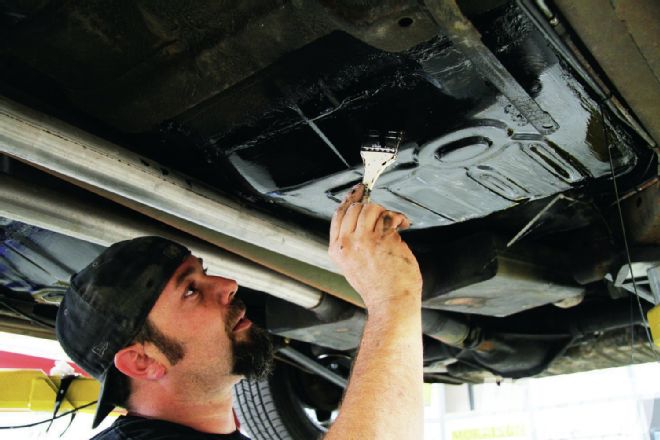 16. Finally, we covered all bare metal surfaces with Original Equipment Reproduction (OER) Corrosion Barrier 77, which retails for $49.99 (PN K86117) from Classic Industries. This will cut down on any rust we missed, seal up the new pans and the seam sealer, and help with sound-deadening. It’s tough stuff, so wear gloves.