Considering the ready-to-roll chassis options available, the salvaging of this truck's original frame and underpinnings may be the harder approach, but this time we have our reasons for wanting to do so.
Other than a stance adjustment from a new set of JC Whitney "Super Slide" springs and proper big 'n' littles, this truck won't be heavily modified, so the majority of the frame's factory-riveted bracketry could be reused. And, the original frame already bears the correct VIN number, which is a big plus where we live. So, for our particular purposes, retaining the original frame for Dan Stinson's project '55 Chevrolet second series makes sense.
Unfortunately, however, this poor little pickup has at one time or another been involved in a front end collision. The frontal impact was powerful enough to close the cab's door gaps and the front panel of the bed met the back panel of the cab. But it was the truck's frame that sustained the heaviest damage. To make matters worse, evidence of a crude frame-straightening attempt became apparent during disassembly. This can be corrected, but nobody likes going over someone else's work-and there aren't as many bona fide frame gurus as there once were.
Dave Heard of Dave's Wheel Alignment in Riverside, California, has collaborated with frame shops for over 40 years. It was his recommendation that led us to young Jason Vandenvryhoef at Color by Woz-also in Riverside. Once Jason had his way with the bent, but still-rolling chassis, it was true enough to roll straight down the road, but the front sections of both 'rails were scarred from the previous repair years ago. This would only be magnified after powdercoating-especially glossy black.
We already know that powdercoat and polyester fillers don't mix-mainly because of the oven temperatures involved in the powdercoating process. I could sling a little mud, and then prep 'n' paint the frame, but the whole job done in powdercoat would cost less than I'd spend on paint materials, and a good powdercoater has the electrostatic advantage for pulling material into crooks 'n' nannies-like inside the crossmembers where I'd have difficulty propelling paint.
So here we are, faced with a quandary, and considering experimentation. One option would be to go ahead and have the frame powdercoated glossy black, then aggressively sand the lumpy areas, do the necessary filler work, feather, prime, prep, and attempt a blended spot-repair with black, single-stage acrylic urethane, but that would entail extra steps. I was aware of metal-enriched body fillers like All-Metal, so I began to ponder the possibility that such filler might take the heat and survive between blasted steel and powdercoat. Further research revealed that Eastwood had the solution all along.
Eastwood's "Hi-Temp Lab-metal" is designed to be used in situations such as ours, where filler work meets powdercoat. When used in accordance with manufacturer's instructions, Lab-metal can be filed, or sanded, and/or reapplied as necessary to achieve the desired effect. Best of all, Hi-Temp Lab-metal can take the heat-up to 1,000 degrees, which is well above our powdercoater's oven temperature. Let's begin with prep, and take it step by step.
How We'll Do it Next Time
Lab-metal works. We'll use it again, but next time it'll be in the privacy of our own home-based shop, before the project goes to the powdercoater's place. At the home shop, Lab-metal would be afforded the recommended 24-hour air-dry time before sanding. Should a second application of Lab-metal be necessary, the project would receive it.
In retrospect, I've made two mistakes on this job. The first was expecting a production powdercoating shop to understand my own twisted desire for absolute perfection. The second was taking a back seat to the guy with the single-edge razor blade. Granted he had previous Lab-metal experience, but damn it, I'm a bodyman. I know how to smear filler to my own satisfaction, and I should have.
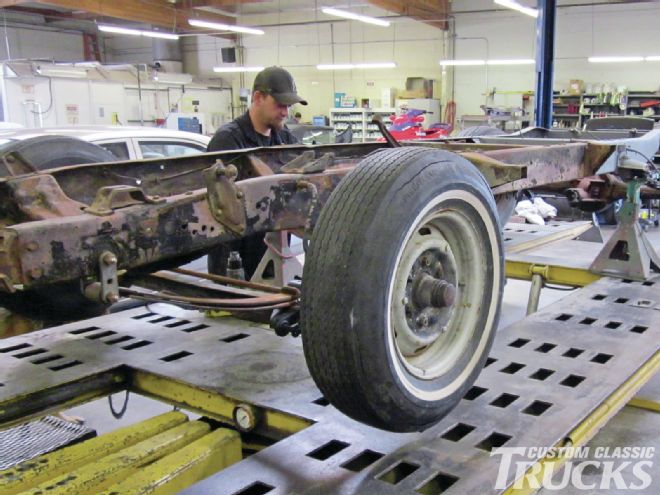
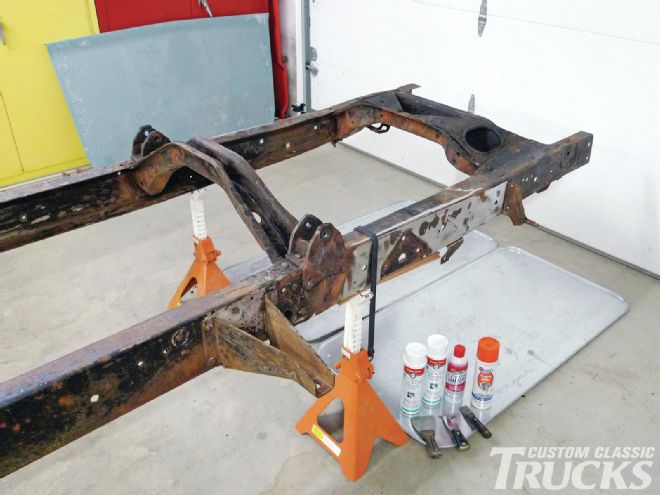
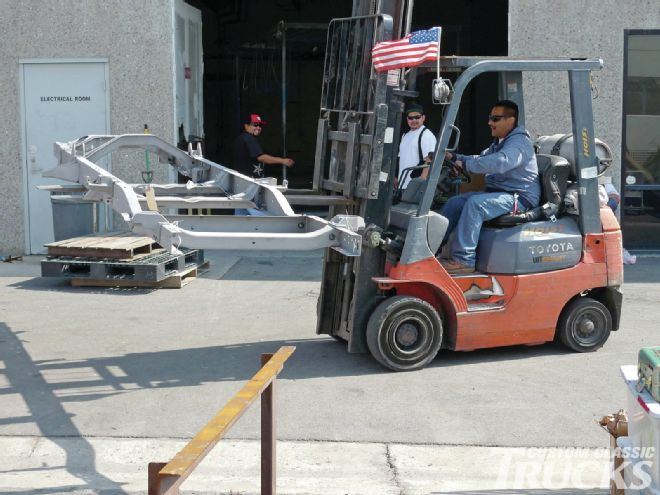
 1. After returning from the frame shop, the axles and suspension are removed as goo-removal continues. It’s already been steam-cleaned once. Oven cleaner, Gunk, and Simple Green were all helpful in loosening stubborn grime. Soon the frame will be rolled over and steam-cleaned again.
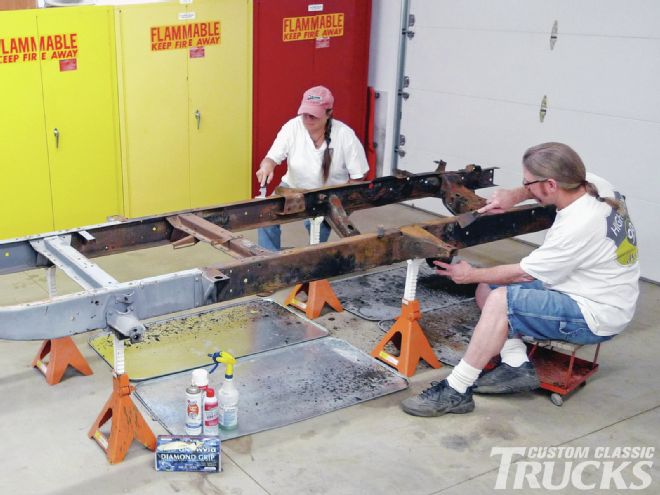
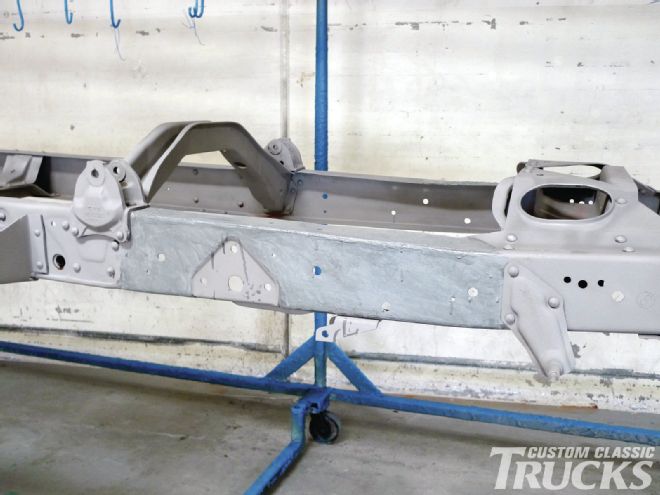
 2. Jason at the frame shop did us right. As my own measurements confirm, this frame is now straight ’n’ square. The two front cab mounts vary in height, but only 3⁄16-inch. A short stack of shims will compensate for that. According to our 1955 shop manual, there might have been shims there when this truck was new.
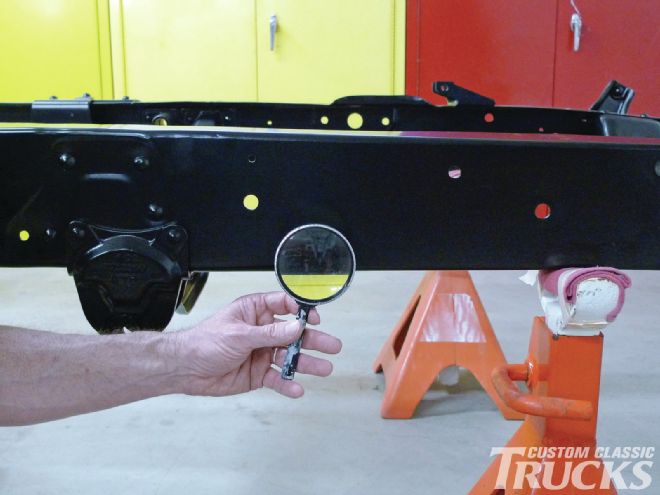
 3. Although we’re now satisfied that these twice-repaired ’rails are true in trajectory, they’re not without witness marks. Here a worn 3M body disc on a Harbor Freight, Central Pneumatic buffer/grinder works as a highlighter of sorts. The large dark areas are low, and they won’t disappear after powdercoating.
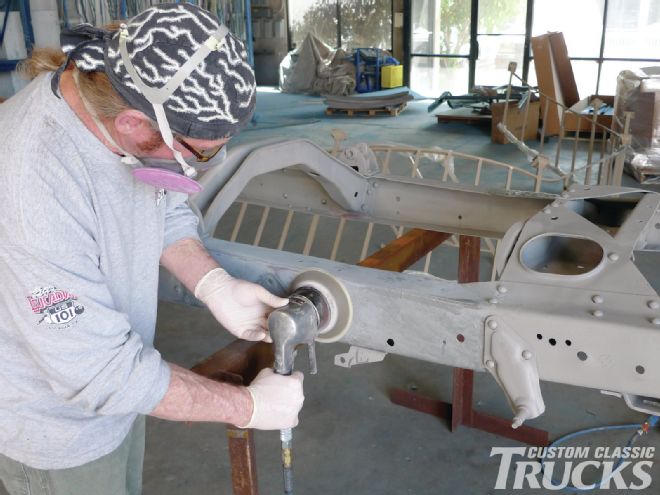
 4.This truck will sit sneaky, so once it’s all put together, who’ll know if the ’rails were left a little lumpy? Nobody—’cause it ain’t goin’ out that way. I’ve never worked in a frame shop. I couldn’t do what’s already been done, but I could probably handle the cosmetics—if I had a hammer, some fairly large G-clamps, and a thick chunk o’ steel.
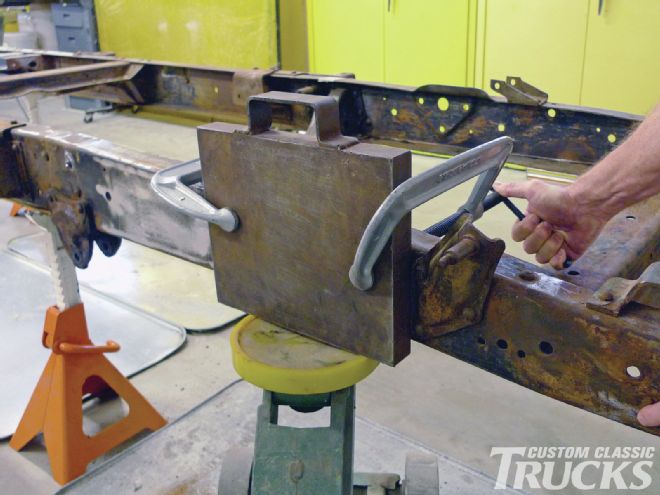
 5. I don’t know where these G-clamps came from (they’re my wife’s), but they’re surprisingly stout, and they’re the ticket for the initial rough-out. With two clamps holding the plate firmly against the lumpy ’rail, a third is used to raise the lows. This went on for a while or two, but it saved me some heavy hammer swingin’.
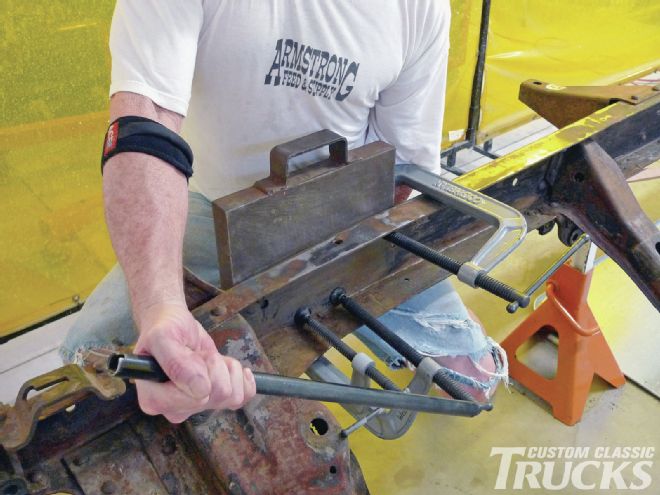
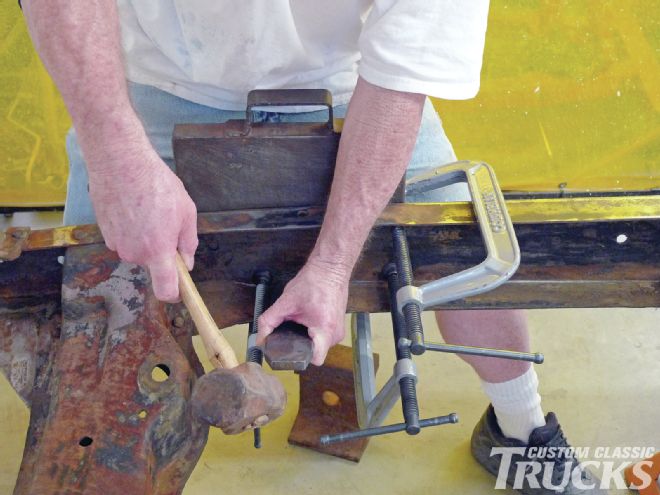 6. Inevitably, however, the situation came to blows, and them ol’ hammers weigh more than they used to. This hammer is dangerous. Its head will fly off-the-handle soon, but today it’s my buddy. Down on the floor, a short section o’ railroad track makes a form-fittin’ frame dolly, and I couldn’t work without an assortment of ol’ spring leaves.
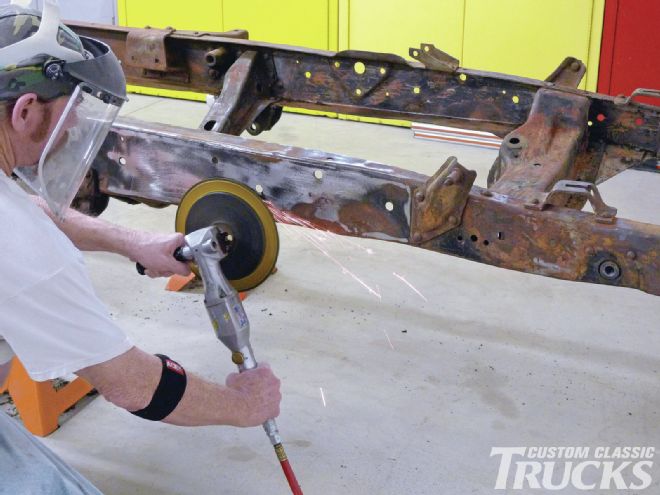
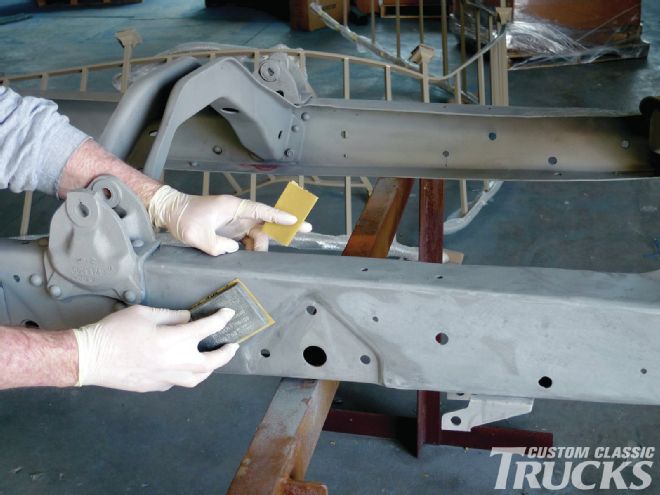
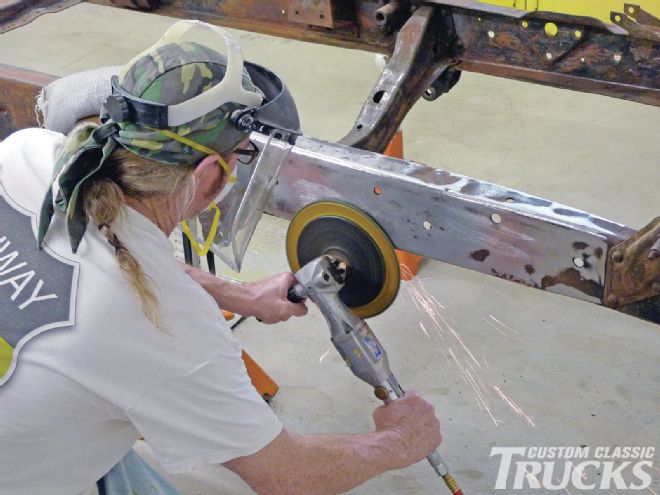 7 . Back to the ol’ grind—this time with a somewhat sharper 3M, 24-grit disc. The ’rails are less lumpy now, but telltale hammer marks remain. Here we get an accurate view of what will need filling ’n’ fairing before this frame is worthy of glossy black powdercoat.
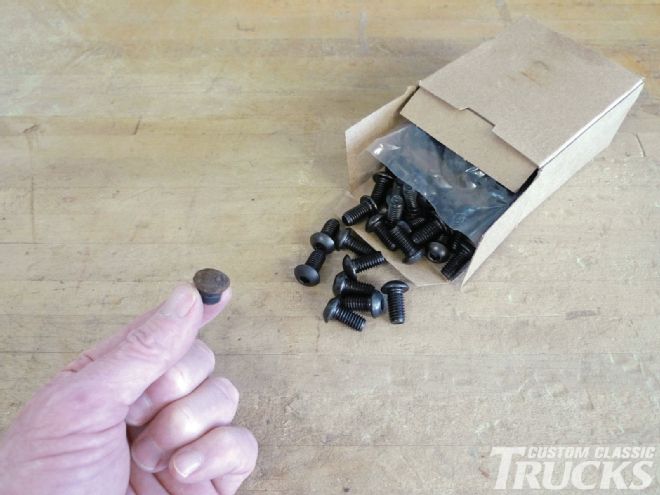 8. In 1955, the frame’s crossmembers were riveted in on the assembly line. Just a few days ago, on the frame rack, three of the rivets snapped under pressure. At our home-based shop we’re not equipped for such heavy riveting, but these button head Allen bolts already resemble the factory’s rivets—at least their topsides.
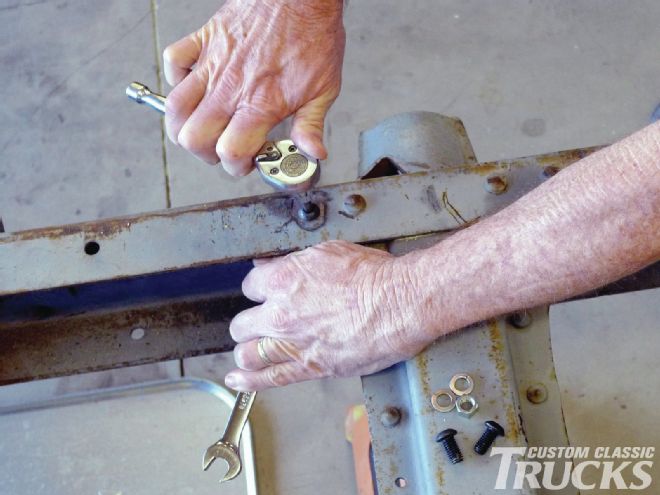 9. With a hidden hex nut and lock washer on the opposite side, we could just call it done. None of the three replacements will show once the truck is put back together, but because we all see them now, we’ll take it a little further once the new fasteners are good ’n’ tight. We are about to create mock rivets.
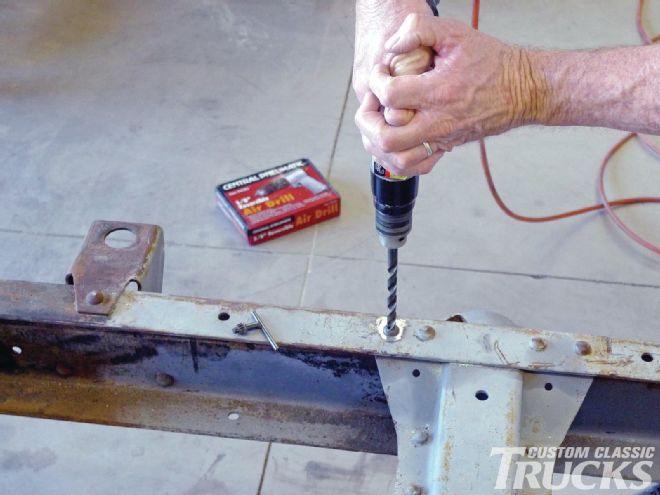 10. Mrs. Rotten offered to weld up the socket portions of the button heads’ heads, but I had reservations regarding heat. We’re planning to drill the sockets to a taper, and afterward these might be difficult to re-torque. The Central Pneumatic 3⁄8-inch, reversible drill was on sale at Harbor Freight, and we’re already gettin’ along just fine.
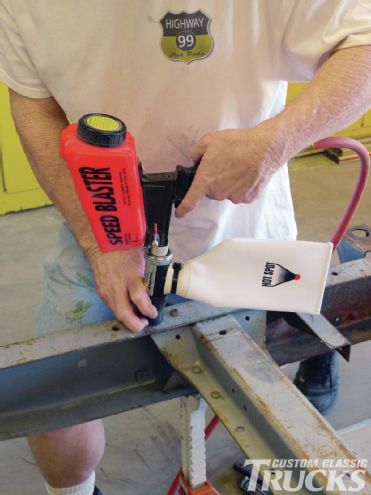 11. The Speed Blaster came from Eastwood years ago, and I use it quite a bit. The Hot Spot attachment is a new toy, being tried for the very first time. It comes with an assortment of different-shaped rubber cones, one of which allowed clean, accurate spot-blasting of our soon-to-be mock-rivets.
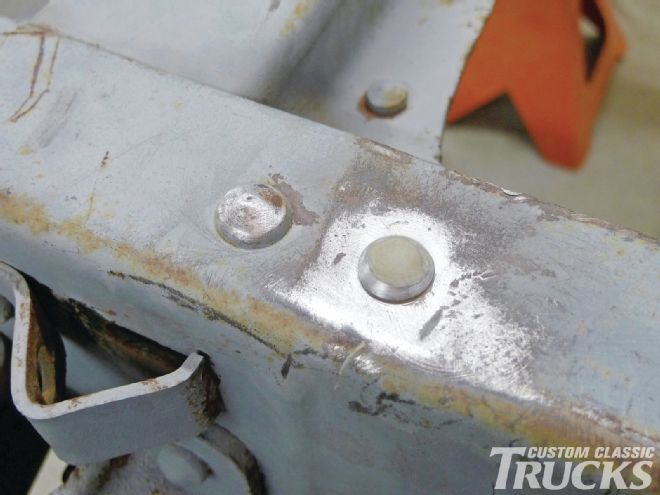 12. A phone call away, our preferred powdercoater confirmed that polyester filler is not acceptable for use under powdercoating. However, he does use J-B Weld for small imperfections. Fully cured J-B Weld can be sanded and powdercoated. So, for visual comparison, here’s a finished mock-rivet, right next to the real deal.
 13. Somebody, remind me to duct tape the J-B Weld on our mock-rivets when it goes to the powdercoater’s place. The first thing they’ll do is sandblast the frame. The heavier filler work will follow that step, but first things first, before we go, the frame is now rolled over on its back for another round o’ degreasing.
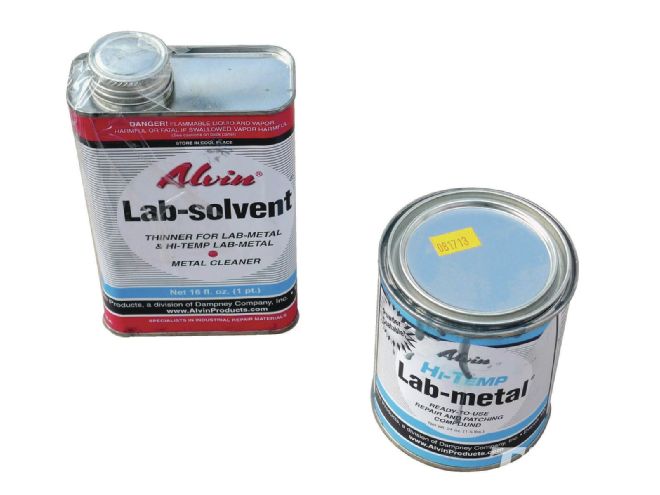 14. Let’s fast forward now from our garage to our powdercoater’s place. Not exactly as they arrived from Eastwood, these are our unused portions of Lab-metal and optional Lab-solvent, which we’ll keep in storage for a future job. Now let’s rewind to the used portions—and how they were applied to a freshly sandblasted frame.
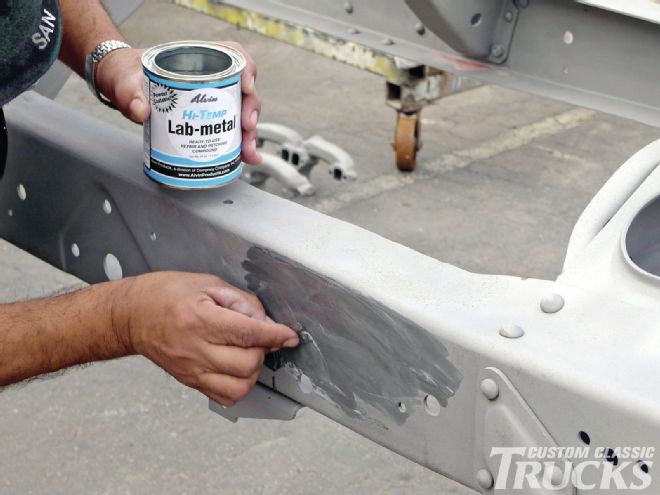 15. Although I’ve never tried Lab-metal before, I did roll in ready to work with a mixing board and a selection of spreaders. But one member of the powdercoating crew uses this product routinely, so these are the hands of experience. Thin layers are applied with a single-edge razor blade. Allow a few minutes flash-time, and repeat as necessary.
 16. Lab-metal’s instructions clearly state that after application, 24 hours of room-temperature air-dry are required before filing or sanding begins. But our powdercoater offered an alternative that would speed up the process. This ol’ frame is on its way to the oven.
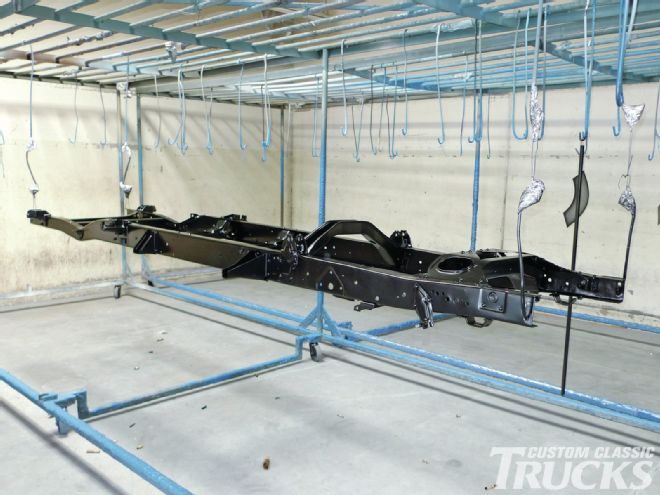
 17. It costs somethin’ to warm an oven this big, but even though we ran it twice, our powdercoater was kind enough not to charge for the additional bake. The frame is in there. Twenty minutes (at 400 degrees) later, it’ll be rolled back out.
 18. While the frame is still hot, the Lab-metal is still sticky. However, when the frame is cool enough to handle, Lab-metal will be ready to sand.
 19. Oven-baked Lab-metal sands quick ’n’ easy. Realistically, these are framerails, so this bit o’ filler work need not be laser-straight—just smoothed-over without hammer marks. 80-grit 3M Gold Stikit on a 6-inch DA (dual-action) sander faces off the high spots. Taking care not to undercut, we’ll switch to 120-grit and repeat.
 20. The final bit o’ shaping is best done with a flexible sanding block by hand. A small folded section of 3M Gold in 120-grit makes an appropriate tool for shaping edges and clearing the frame’s bolt holes as well. For powdercoat, 120-grit is as fine as we’ll need to go, so we’re just about done for the day.
 21. When the phone rang the very next morning, the job was fresh out of the oven and done. What happened to glossy black? Well, quite honestly, due to some rather small surface imperfections which remained after filler work, the ol’ frame’s owner and I had a change o’ heart.
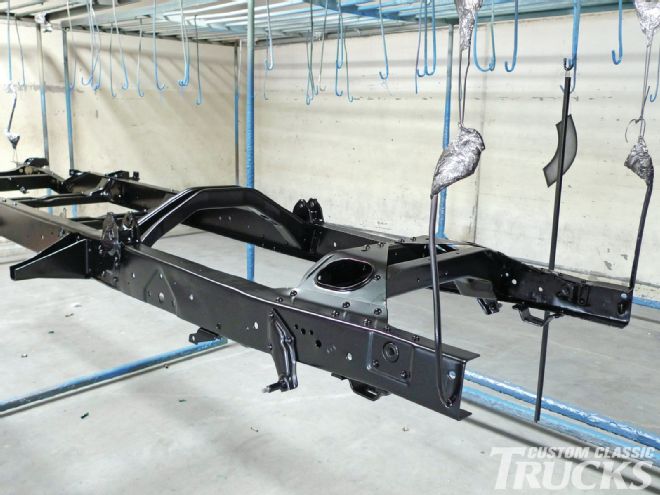 22. Here’s a somewhat closer look at what we’re talkin’ about. I’m a guest in this shop. Customers don’t ordinarily hang around, and extrasensory perception tells me that I’m in the way. So, rather than a second round o’ Lab-metal and a third round o’ baking, we’ve opted to take advantage of the camouflaging effects of semi-gloss black.
 23. Next time, I’ll dig this Central Pneumatic, portable abrasive blaster out of the corner and use it to spot-blast the short sections of ’rail that need filler work. This little jewel is as dependable as the day it came from Harbor Freight, and I should have used it right here at home.
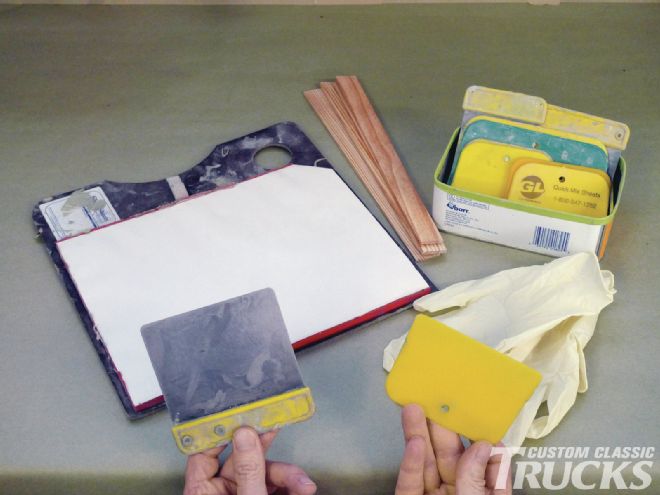 24. Next time, after spot-blasting, I’ll use a wooden paint stick to stir Lab-metal’s canned contents. Then using a mixing board, I’ll apply Lab-metal up to a ¼-inch thick with a standard-regulation spreader, like this one, or this one. These two steps could have and should have been taken right here, in our own garage—before transporting.
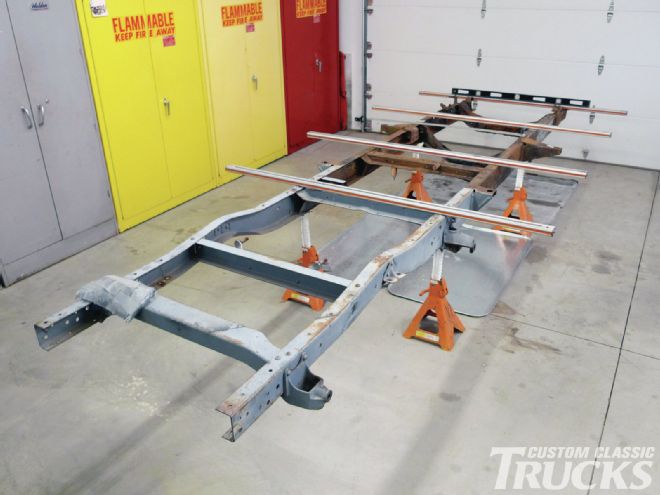
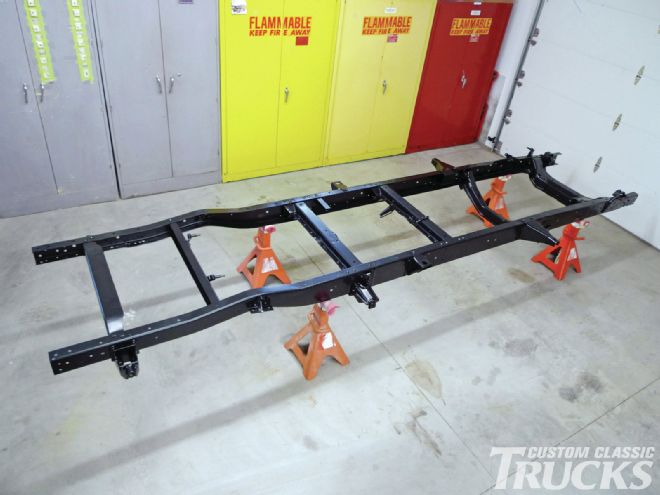 25. Here's another full view shot of the frame completely finished.
 26. Admittedly, yours truly has an obsessive compulsion for niggling over the smallest of details. My co-builder buddy (Mrs. Rotten) says “assemble the truck!” The truck’s owner tends to agree, so that’s just what we’ll do. But before this project’s sore spots are covered up and forgotten for keeps, take a good look. Not too bad, eh?