Have you ever stared at the mirrorlike perfection of a high-end paintjob on a show car and wondered how on earth the color and clearcoat could be made to lay so flawlessly flat? And then, of course, you wonder why your paint doesn't look like that. Some of it is budget and material expense, but here's a secret: that high-end paint didn't look that good when it came out of the booth either.
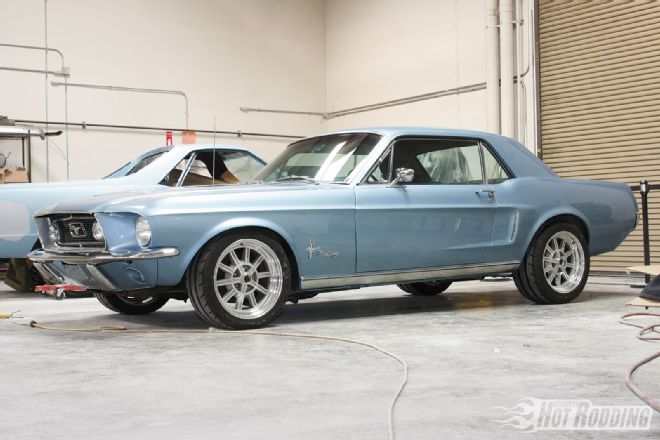
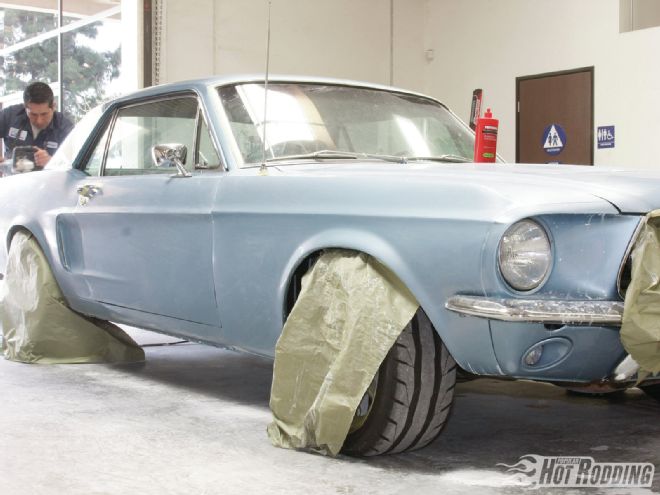
That's because no matter how good the painter is, or how refined the material being sprayed, dust, runs, and texture happen. A well-sealed paint booth, an experienced painter, excellent paint, and spot-on weather conditions can all increase the odds of a beautiful finish right out of the gun, but it's never perfect and it can always be better. Case in point: our '68 Mustang project that we painted in the May '13 issue. Top students at Los Angeles Trade Tech College prepped it with 3M materials, and it was sprayed with DuPont paint by Brian Ferre, a painter with 30 years of experience in a sealed downdraft booth. It looked incredibly good and had no major flaws anywhere, but a few tiny particles of dust had made their way into the clearcoat and we had a small run under one body line. Totally normal stuff, but we can make it all go away—and remove any orange peel texture along the way. All it takes is a little elbow grease and the right polishing products. And it's something you can do at home on your own project no matter how long ago it was painted.
We're talking about wet sanding and polishing, of course. Yes, we know the thought of rubbing sandpaper across your paint causes most hot rodders to pause and back away, but we promise it's not as bad as you fear. To show exactly how the guys who prep those same high-end show cars tackle typical paint problems, we took our Mustang back to the guys at Elite Restoration in Paramount, California, to get the DuPont finish wet-sanded and polished out with Mothers polishes. We started with a car that looked great, but after a couple days of sanding and polishing with master polisher Santiago Andrade, we had a paintjob that stopped people in their tracks. Follow our example and we promise your paint can look better than you thought possible as well!
While the DuPont waterborne paint color still looked great, after fully curing and airing out for a few weeks, some light hazing was evident. This is very normal on any new paintjob and exactly what wet sanding and polishing is ideal for removing. While quite easy to see in person, it’s really difficult to photograph, but note the lack of crispness around the reflections.
This is the arsenal of products from Mothers that we intend to use to perfect our paint. This is their Professional Line of products, but anyone can purchase and use them without fear. All of these products are beneficial for heightening the shine of any paint, but in many cases it’s really only the Rubbing Compound and Foam Pad Polish that are absolutely necessary for a gorgeous shine after wet-sanding; the rest are extra steps to get that nth degree of gleam or for protection.
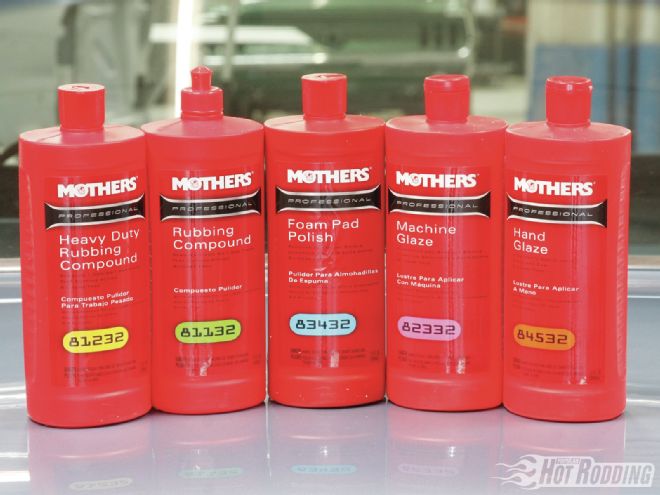
Mothers Professional Line might not be available locally for you (some paint supply places will carry it, and it’s always available on their website), but these two smaller bottles will be at any given auto parts store. You may even see them paired together as a Professional Paint Restoration System. The great news is that the Rubbing Compound is the exact same formulation as the Professional Rubbing Compound, and the Finishing Polish is exactly the same as the Foam Pad Polish, so your results would be the same as ours.
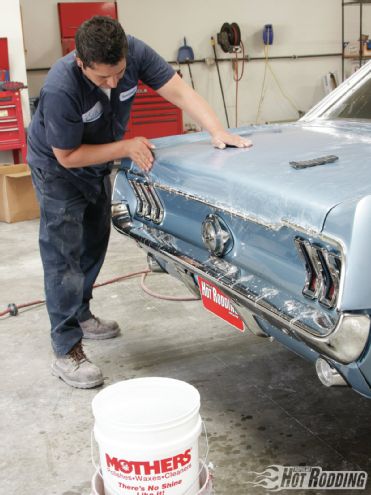
Even in a well-sealed downdraft paint booth, there are always a few bits of dirt that will end up in the paint or clearcoat. Before we’re ready to wet-sand, step one is to find those spots and nib sand them. Don’t just rely on your eye; shiny paint can hide things, so gently rub your hand all over the panels to locate them.
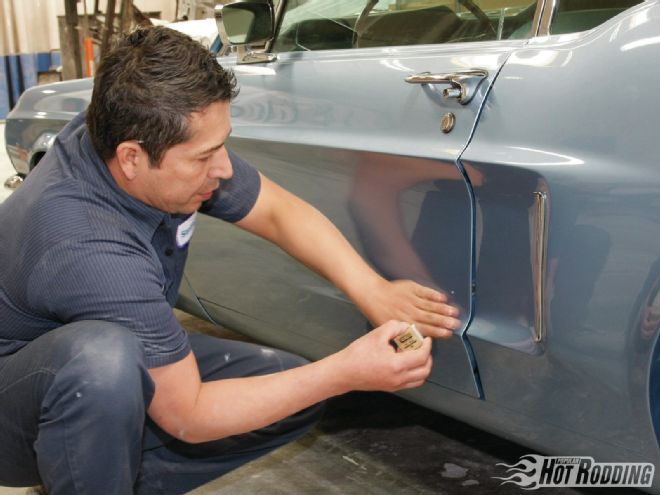
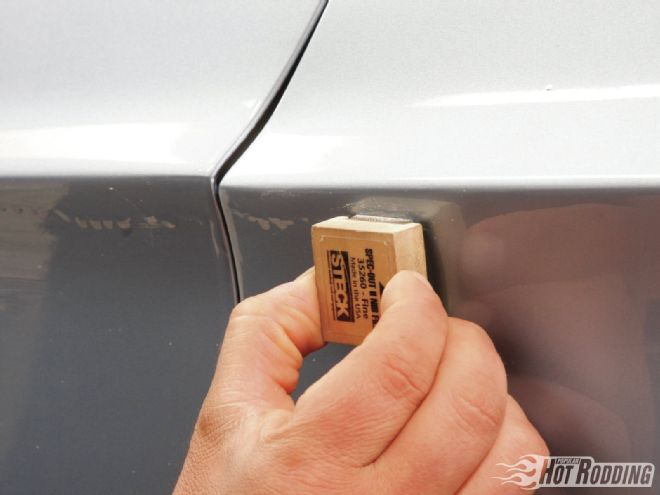
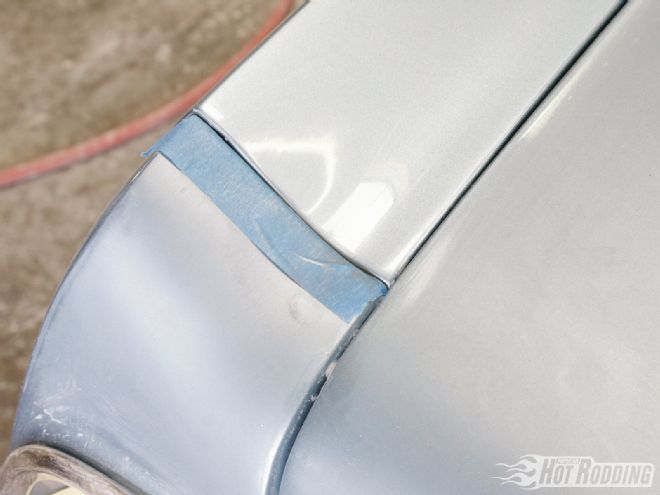
Runs are very common in clearcoats as well, and we found one under the top body line. Santiago Andrade uses a fine-grade nib sanding file from Steck to carefully knock off the dirt as well as sand down most of this run. Six hundred–grit sandpaper could be substituted.
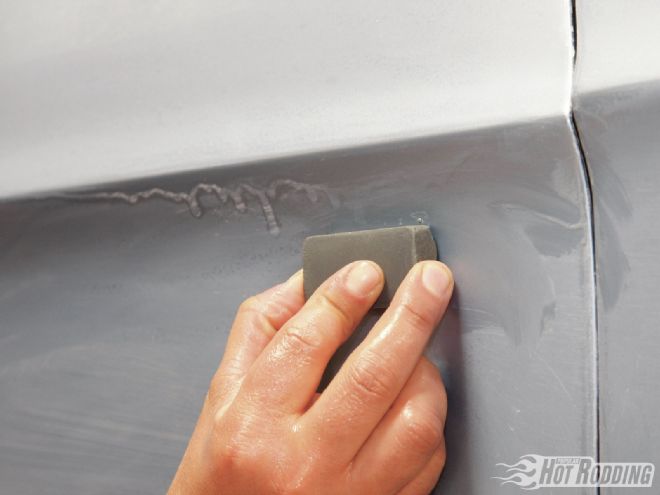
To fully level out the run, Andrade switches to an ultrafine wet sanding stone designed specifically for addressing issues such as this. Eight hundred–grit sandpaper can also be used, but either way take care to remove as little material as necessary; note the fully sanded area on the right versus the filed area on the left.
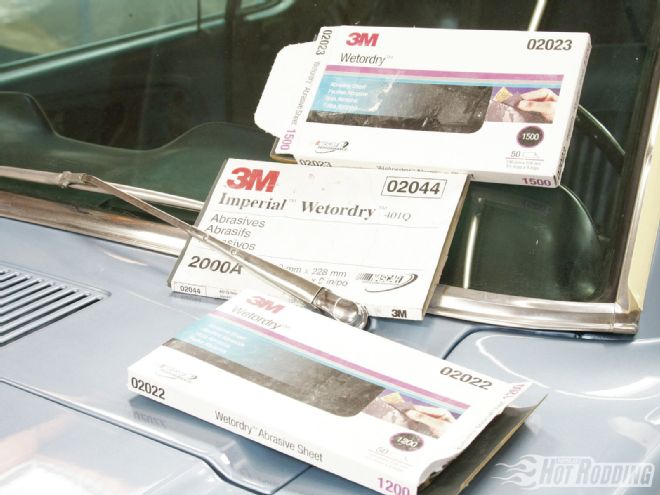
With the trash and runs out of the way, it’s time to get down to wet sanding! The goal of wet sanding is simply to use very fine abrasives to level out the clearcoat and create a very smooth and uniform surface for polishing. The highest levels of competitive show cars with many layers of paint may progressively work their way to 3,000-grit or higher, but 1,500- to 2,000-grit will produce excellent results with a good rubbing compound. We’re using 3M Imperial Wetordry paper.
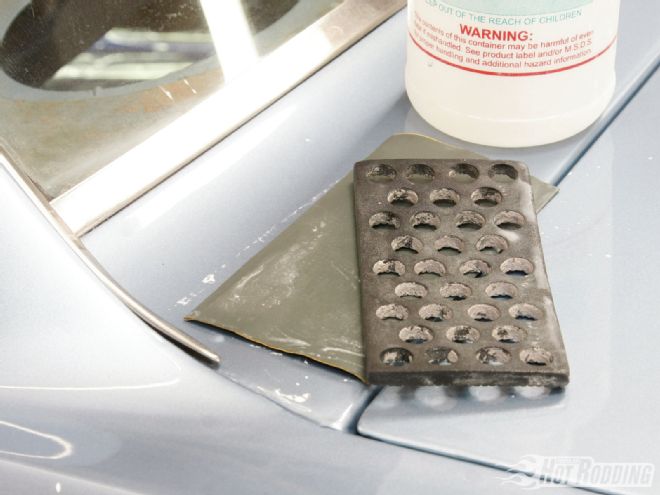
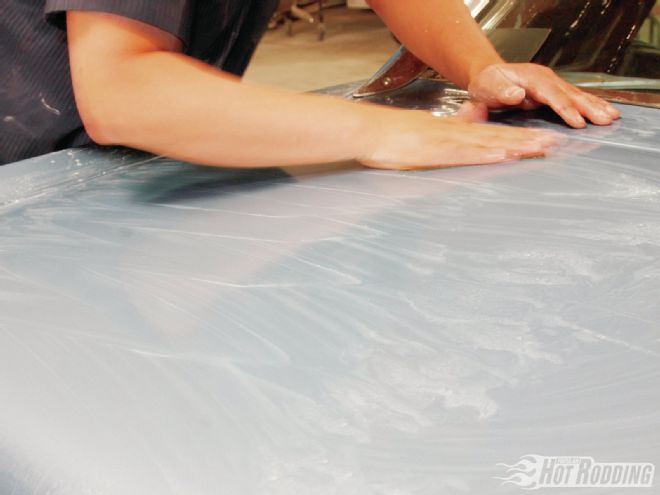
Whereas block sanding makes use of much stiffer boards, for wet sanding we want something flexible that we can conform to body lines. In some tight or curvaceous places it’s best to just use your hand, but these perforated wet sanding pads are ideal for flat and open areas.
A spray bottle of water is good for spritzing spots, but keep a large bucket of water nearby to continually rinse the paper. Keeping it clean will increase the effectiveness of the sanding as well as prevent scratching from excessive buildup.
Much like block sanding, it’s important to vary the direction of the wet sanding so that all of the scratches don’t run in the same direction. This prevents them from becoming too deep and difficult to remove during the buffing phases. Also, remember that we don’t need a great deal of force on the paper; we’re just leveling, not removing.
Wet sanding is a messy process, but in reality we’re only removing an extremely small amount of material per round. There are varying schools of thought on how fine the paper should be, but Andrade recommends starting with around 1,200-grit and finishing with no less than 1,500. Higher grits will serve to create even finer scratches and require less buffing to remove.
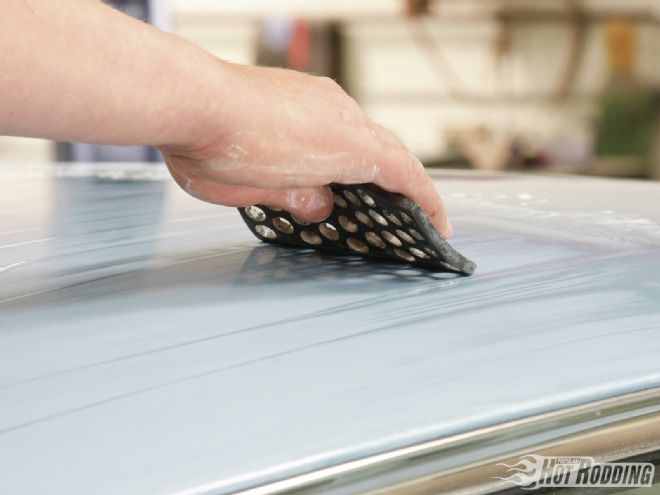
It’s important to wipe your working surfaces often to prevent the emulsion of sanded material from continually clogging the paper. The side of the sanding pad makes an excellent way to sweep everything away and assess your work.
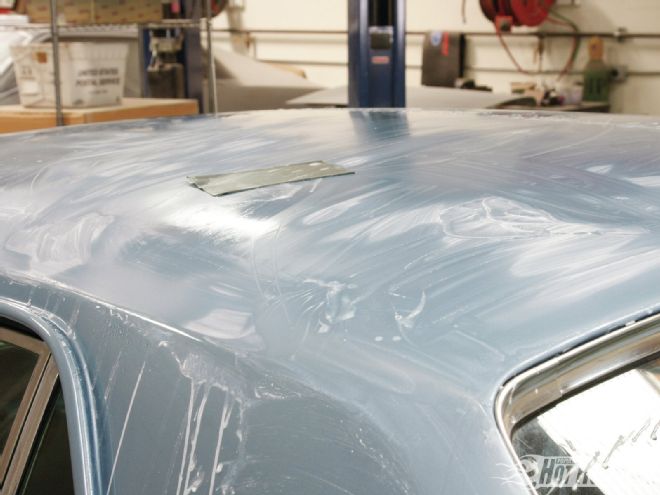
Sanding off the shine hurts, but we have to take a few steps back to end up with a better finish. Once the car was fully wet sanded, Andrade wiped away the sanding emulsion to assess his work and prepare for the next phase. We’re looking for a very uniform satin sheen with no variances in the surface. To truly see how well our sanding went we have to start buffing. Only then can we see if any areas need more sanding.
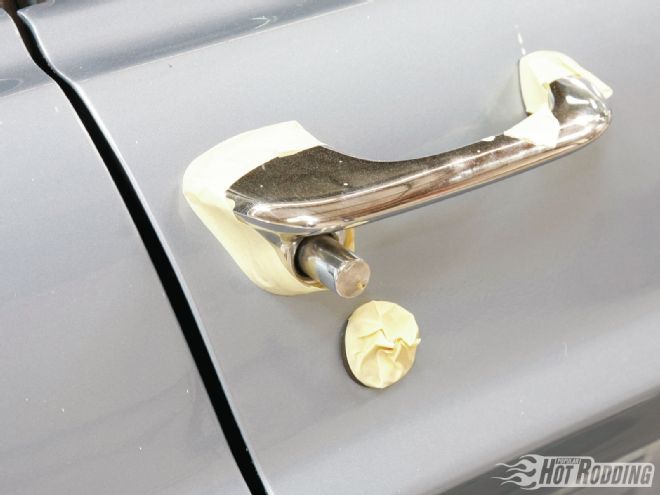
If you’re working on an assembled car, it’s a good idea to remove all small trim and script that you can. For the rest, use painter’s tape to prevent snagging from the buffing pad.
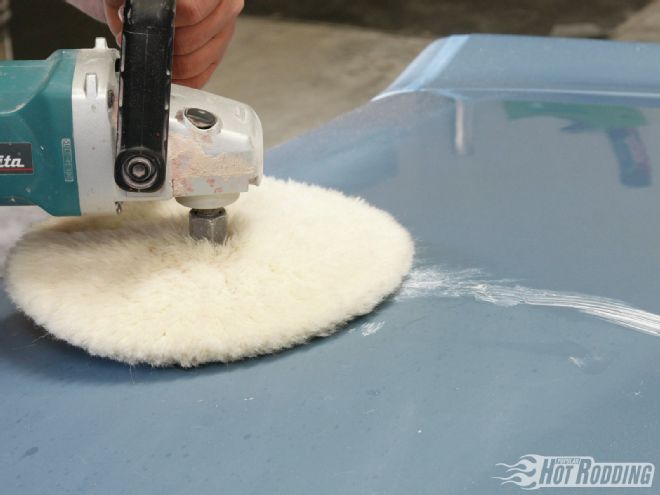
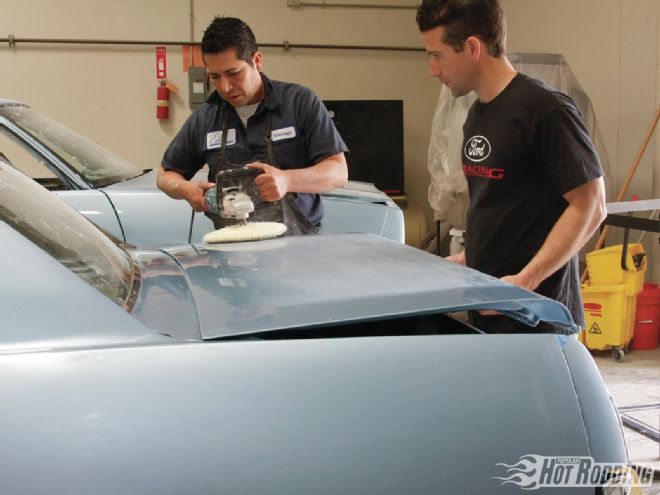
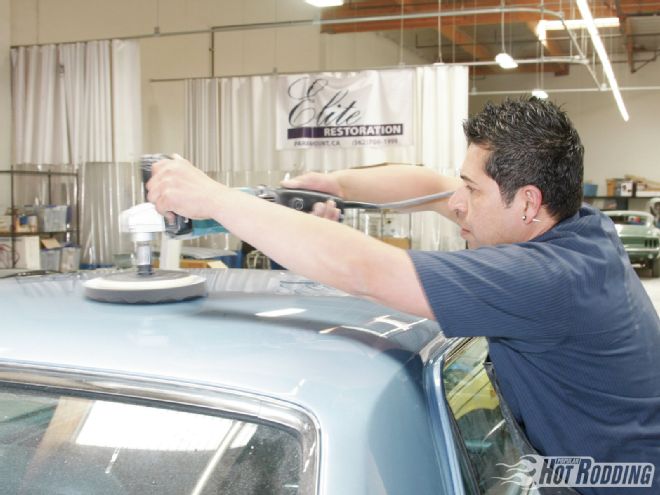
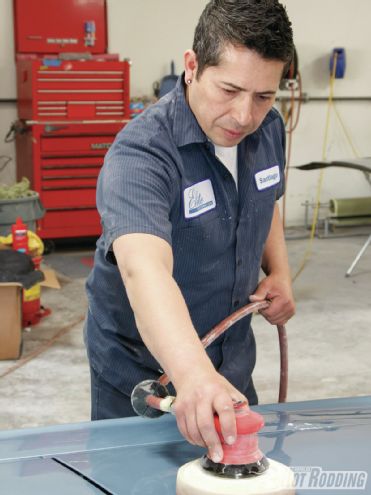
To buff we need a standard 7-inch sander/polisher with a wool buffing pad and Mothers Rubbing Compound. To begin, we only need a small amount of Mothers Rubbing Compound smeared onto the surface. The polisher is set at a medium speed and Andrade will use moderate pressure, enough to create the necessary friction on the surface, not enough to flex the metal. Also note that Andrade does not hold the pad flat on the surface; it’s tilted so that he is using one side at a time. That aids in maintaining control reducing swirl marks.
Since he determined 1,500-grit was enough for our Mustang’s finish, he could have used either the standard Rubbing Compound since it is rated for 1,500-grit and finer, but opted to use the Heavy Duty version (rated for 1,200-grit and finer) on most of the car because he preferred its faster cutting results. The compound choice is a bit subjective to the polisher, but either way, the main thing to remember about polishing is that we’re just making the scratches tinier and tinier until they can’t be seen by the naked eye. The real key is to maintain control and keep the pad moving at all times.
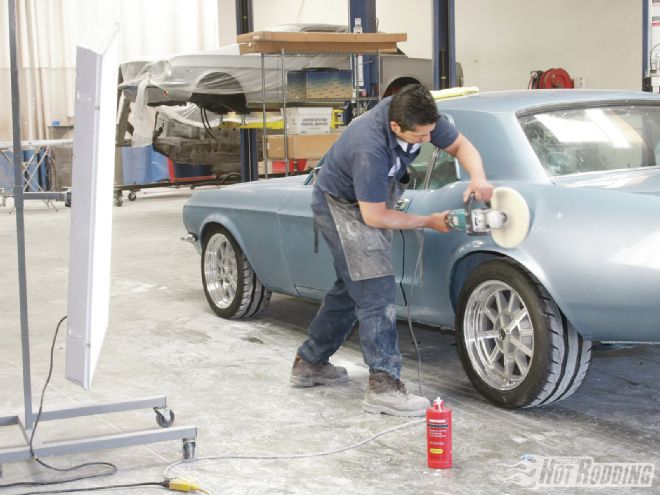
It’s easy to snag the wool pad in body lines and possibly burn paint, so when possible it’s a good idea to separate them. Plus, it allows Andrade to polish right to the edges of the panel, such as on the trunk lid here.
For seams that can’t be easily separated, Andrade recommends uses painter’s tape to protect one edge at a time.
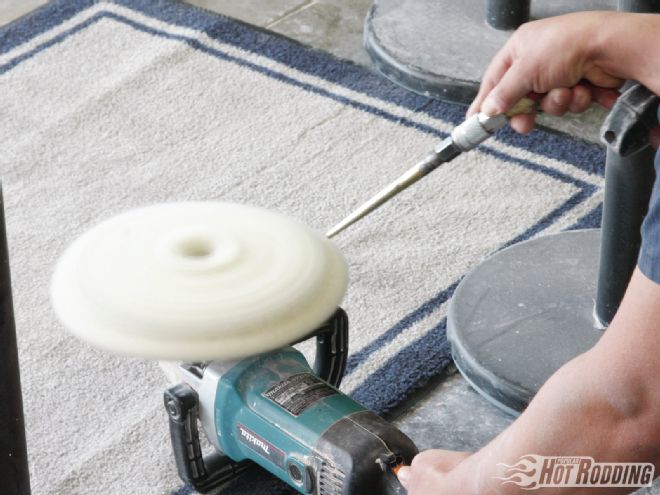
Just like material builds up on the sandpaper, it does on the buffing pad as well. To keep it cleared out, just blast it with compressed air while spinning the pad. This will remove dried compound as well as material from the paint.
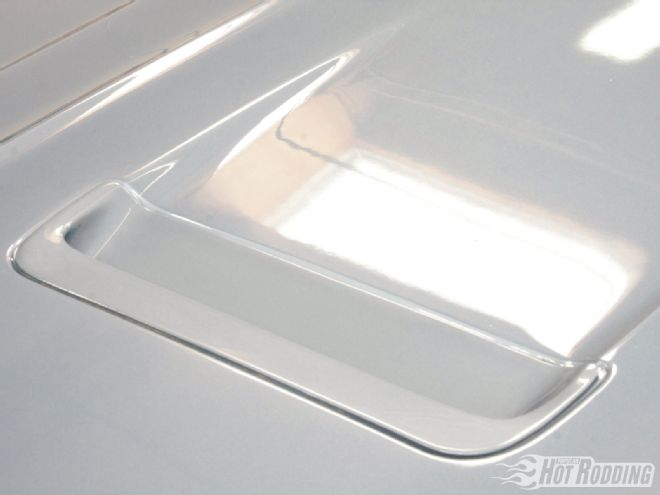
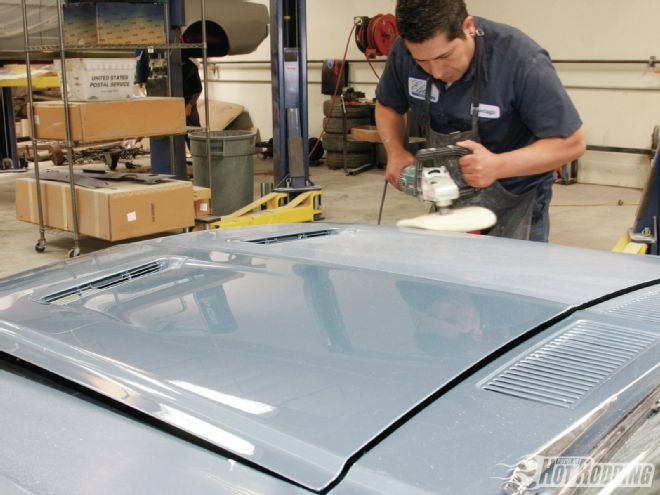
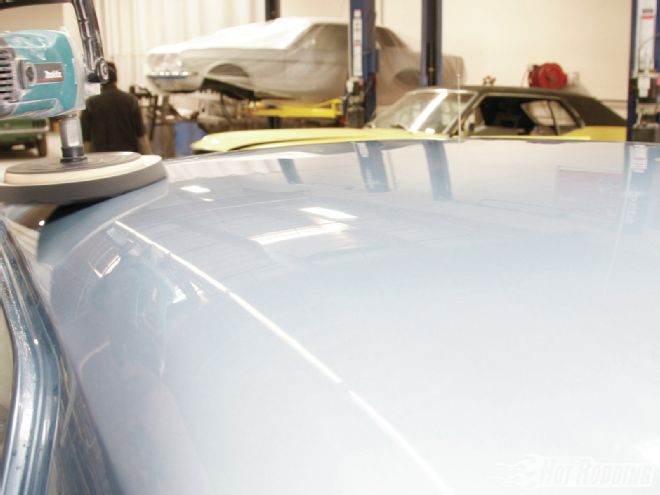
Mothers new Rubbing Compound formulation is astoundingly good; with very little work it took our dull wet sanded finish to a higher gloss than it had when we started. The side of the hood in the foreground has only one pass across it and 15 minutes of work. Mothers warned us about this; the paint will look so good after the Rubbing Compound, you’ll think you’re done. Look how much the reflection has improved already.
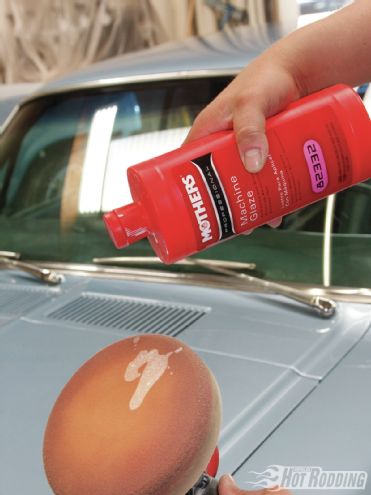
But you can’t stop there! Assuming the shine from the compound revealed no areas that needed to be sanded again, it’s time to move onto the polishing phase. In most cases you’ll move directly to the Foam Pad Polish, or Finishing Polish, but if there are any areas that appear to need a touch more work, Mothers Machine Glaze is a perfect in-between polish at this phase. It’s also recommended as the next step if you used the Heavy Duty Rubbing Compound versus the standard, as we did.
Since we’ve moved onto true polishing, we don’t need the aggressive cut of a wool pad. A foam pad designed for polishing is ideal for the Machine Glaze. Andrade opted to use a flat foam pad on a small D/A for this phase since he would not need to go over all panels with it.
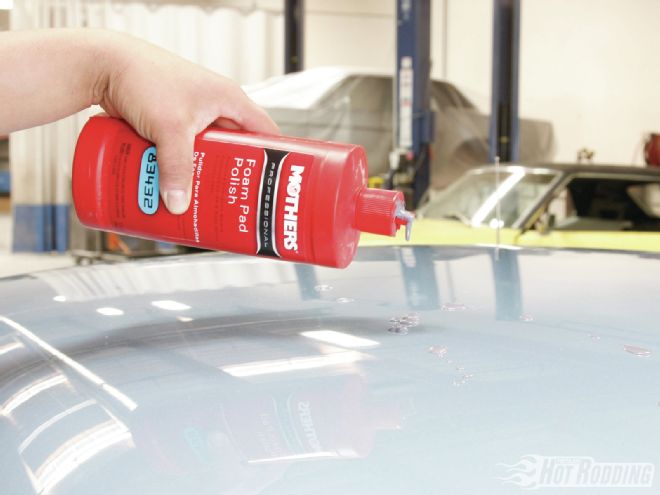
This is our favorite stuff, and the second step after Rubbing Compound for most projects: The Foam Pad Polish. The Foam Pad Polish has much finer abrasives designed to remove any swirls or noticeable scratches left from the compounding, and it’s also the step that really enhances color and adds depth to the paint.
For this step, Andrade swapped his 7-inch polisher over to a 3M foam polishing pad with a convoluted surface. The speed will remain the same as before, but the pressure on the polisher will be less.
The Foam Pad Polish creates a very light haze that is very easy to wipe away with a microfiber towel. While the scratches on the surface were already too fine to be noticeable, the Foam Pad Polish makes them so fine that it changes the way the paint reflects light and actually does add a sense of depth and vibrancy to the paint.
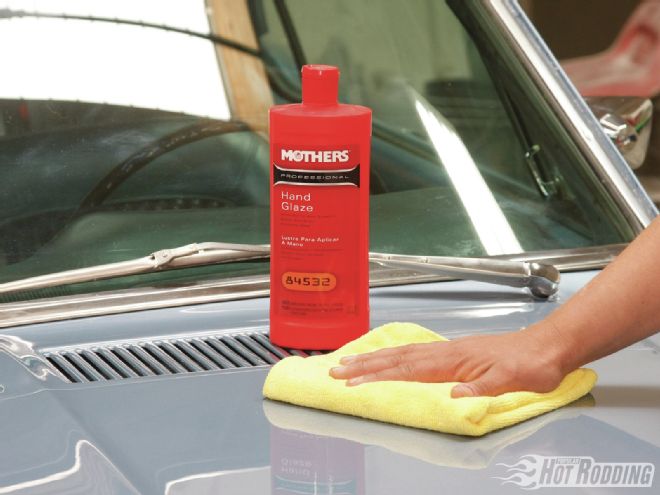
The very last step to perfect and protect the paint is Mothers Hand Glaze. No machine is necessary for this phase; a dense microfiber cloth from Mothers is ideal for application and removal. At this point we can read the fine print on the bottle in the paint’s reflection, and this glaze will help protect that mirrorlike shine created by the other products and help prevent environmental damages.
And here’s the stunning result of our wet sand and polish project! All of the hazing, light orange peel, and lack of crispness in the reflection is completely gone. The more finely polished clearcoat made our DuPont Brittany Blue paint really pop. This is also the first time we’ve had the lower body trim from YearOne installed, and we couldn’t be happier with the quality and how it sets off the paint. If we can improve the appearance of brand-new, high-quality paint this much, just imagine what Mothers products could do for older or neglected finishes.