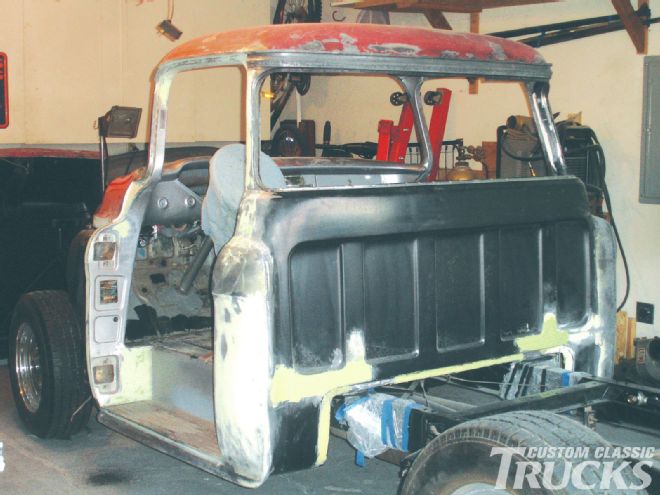
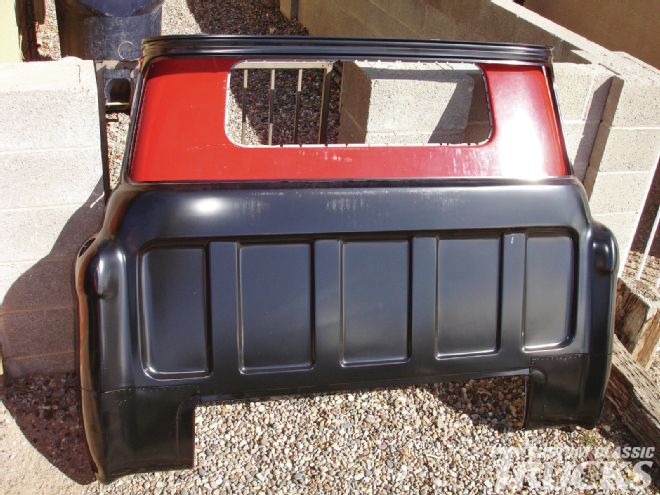
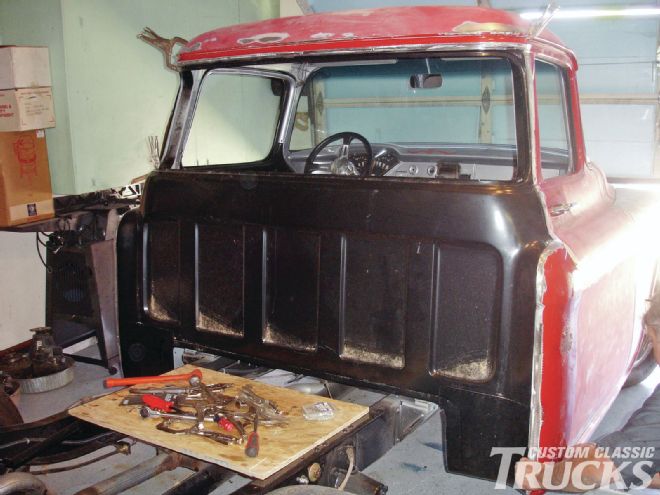
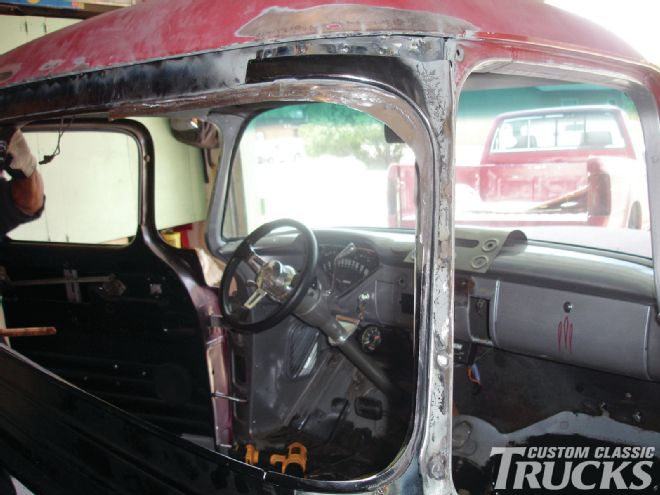
 1. This was how the truck looked prior to replacing the back of the cab to accommodate a big back window. I think someone told me I was crazy, but what the heck.
My goal for many years was to have a big back window cab on my ’55 Chevy truck. I had located a big back window cab for $300 during the late 1980s, but with raising three children the funds were not available for a nice paintjob, and therefore that goal got postponed indefinitely.
After attending a car show and viewing big back window trucks during Labor Day Weekend in 2011, I made a decision that the timing was right to purchase the inner and outer cab section for the modification. I found that the two parts were not readily available from the same supplier, so therefore I purchased the outer section, manufactured by GoodMark, from Classic Discount Truck Parts, while the inner section was purchased from Car Parts Discount, and the big window was purchased from Brothers Trucks. I had found only eight outer sections available in warehouses, four in California and the other four on the East Coast.
My plan was to remove and install the rear of the cab by myself, but after removing the entire rear of the cab and attempting to test fit the inner and outer sections, I felt I needed someone with panel replacement experience to get the project completed properly. I obtained help from a professional body person who made modifications to the panels and installed them onto the truck.
While test fitting the two panels to the truck, it was found that the window openings did not match one another. The solution was that the inner sections needed some additional steel welded onto the window flange for a proper fit. Another problem was that the gap was not uniform between the rear edge of one door and the outer section of the cab corner where it had been factory spot-welded. It turned out the gap varied from less than 3⁄16 inch to 7⁄16 inch. The major problem was the outer section was too wide to fit properly to the rain gutter at the roof and still fit into the door pillars at the back edge of the door—the solution was to use both the old (small back window) and the new outer sections.
The old section was cut to save only an inverted “U,” the portion fitting into the door pillars and along the top edge of the section above the window opening. The new outer section was cut larger than the removed portion of the old panel to allow for overlapping the two panels. These two portions of the outer panels were first aligned and secured with self-tapping metal screws for a test fit to the truck’s cab prior to spot welding the two parts together.
Before installing the inner and outer sections, both were test fit and secured to the door pillars with self-tapping metal screws to ensure everything looked acceptable. The inner section was then installed first since it needed to be welded to the inner roof section and access to this area is not available once the outer section is installed. The inner section of the cab panel was also shipped with additional bracing, one for each door pillar and these were installed once the inner section was completely installed. The outer section of the cab panel was then placed into position and secured with the same metal screws prior to welding the panel into position.
Where the overlapping of the two outer sections occurred, a small weld bead was placed and ground down to ensure that movement of the metal would not cause damage to the final paintjob. Along these weld seams, body lead was applied to eliminate the need for body filler as much as possible. Now with this work completed and all the body gaps even, the entire truck is scheduled for a fresh paintjob.
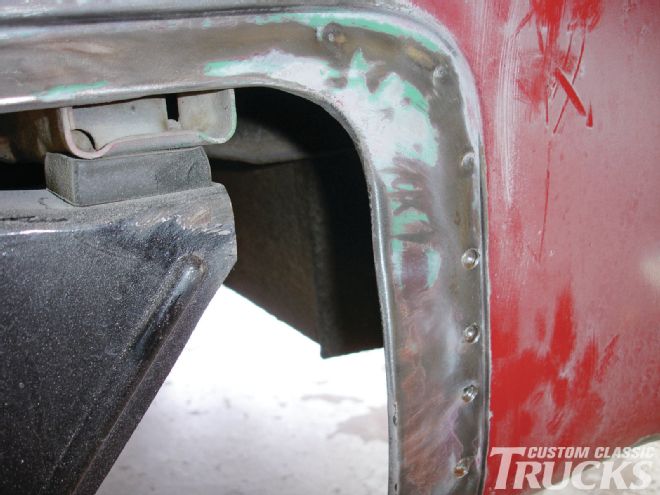
2. The spot welds on the lower section of the cab’s corner have been drilled out to enable separating the outer section of the back of the cab from the inner cab corners. The other spot welds are visible and still need to be drilled out.
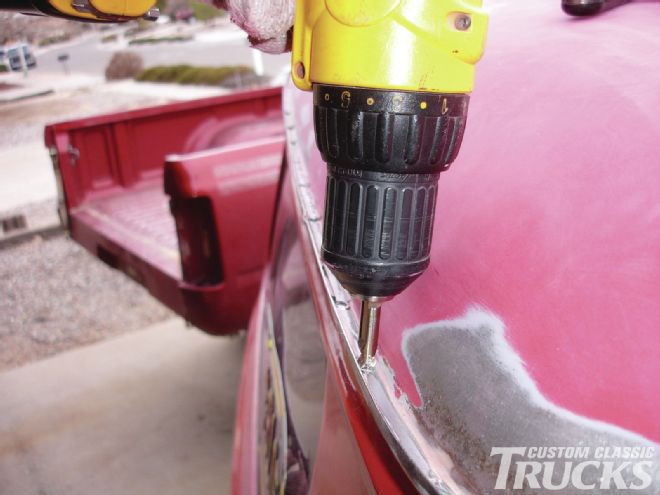
3. Using a spot weld drill bit, the spot welds along the rain gutter are drilled out to separate the outer section from the outer roof section of the cab.
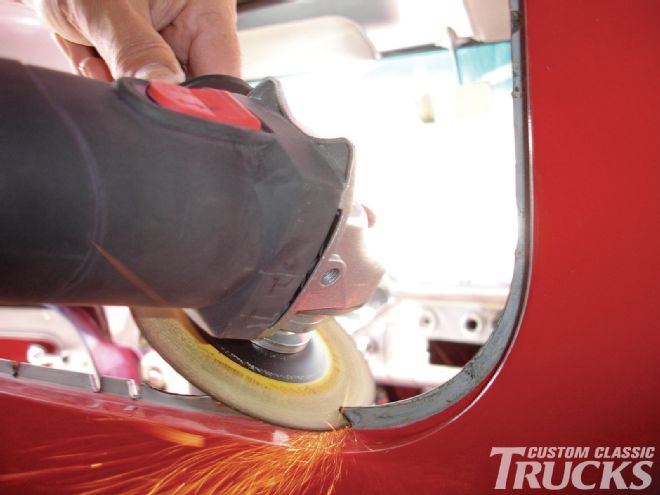
4. In lieu of drilling out the spot welds along the opening of the small rear window, an angle grinder with a cutoff blade was used to simply cut out the spot welds.
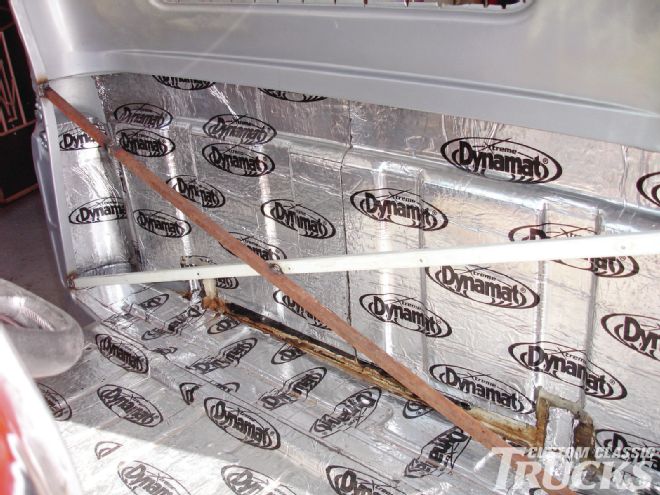
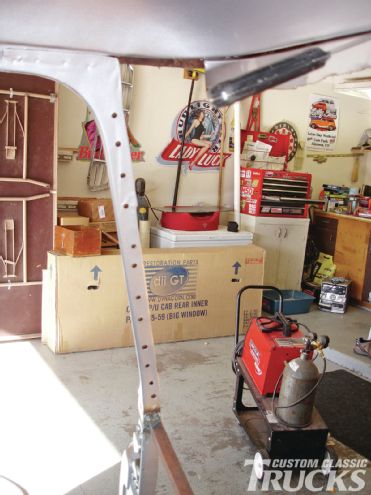
5. Prior to removing any portion of the rear outer or inner sections of the cab, crossbraces were tack welded to the door pillars to avoid the back of the cab from getting racked out of shape.
6. With all the spot welds holding the outer section of the cab to the door pillars, rain gutter, around the small back window, and along the bottom edge of the cab removed, the outer cab section was plied off the door pillars and extracted from the cab.
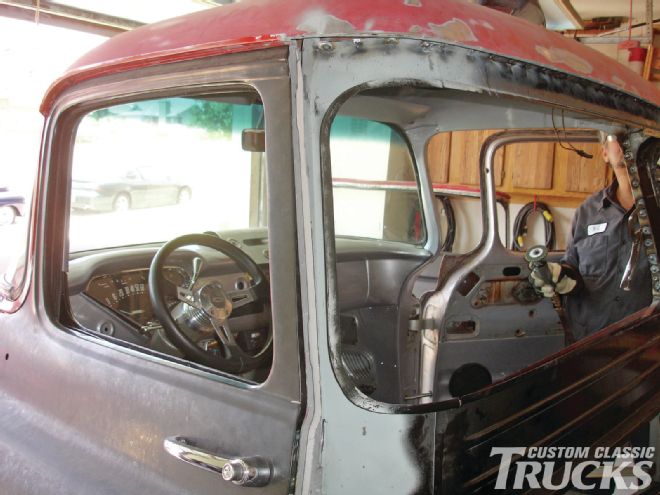
7. The outer section has been removed from the door pillars and the inner section of the back of the cab is shown still secured to the door pillars and the inner section of the roof.
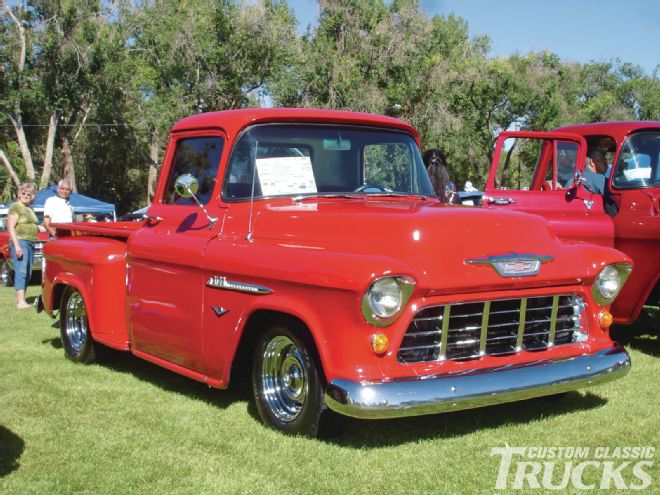
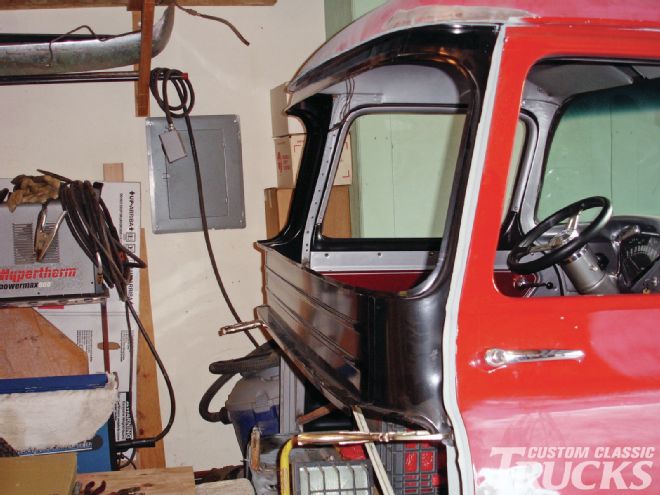
8. This is the comparison of a small to a large back window; I am sure the work will be worth it when all is completed.
9. A portion of the inner section has been removed from the door pillar. A Sawzall was used to remove the majority of the inner section, especially above the window opening, to allow for a drill to reach the spot welds, which secured the inner section to the inner roof section.
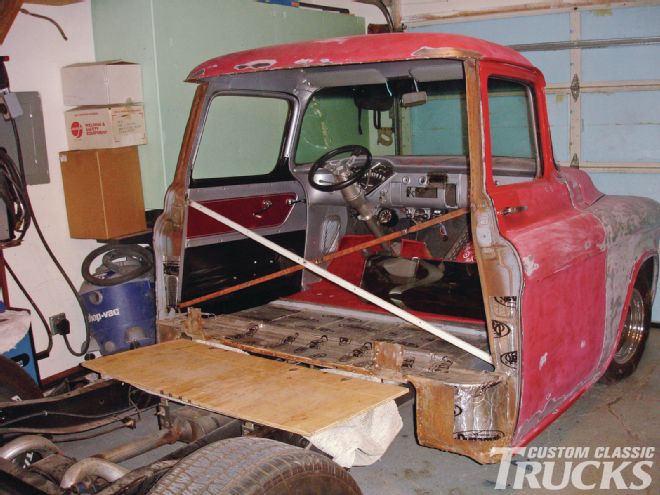
10. Both outer and inner sections of the small window cab have been removed. Here, the crossbracing is visible.
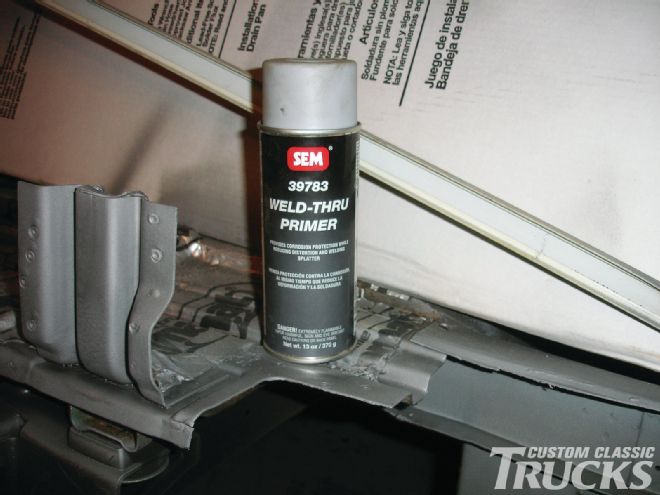
11-12. With the skin removed, it was found that the inner panels suffered from a bit of surface rust. A quick pass with a sandblaster and then a coat of weld-thru primer ensures this problem won’t rear its head later.
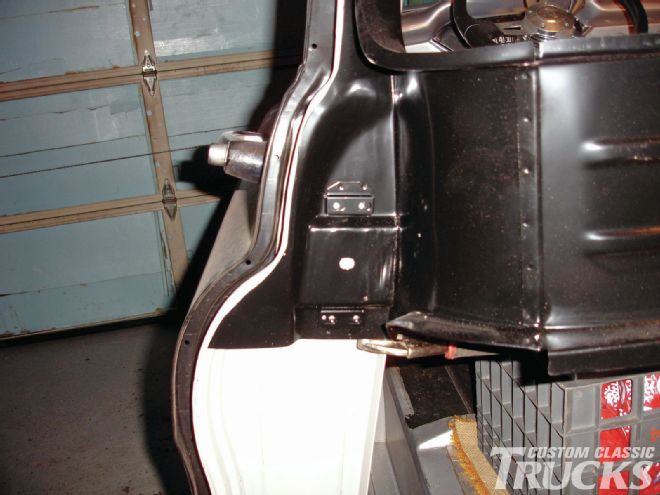
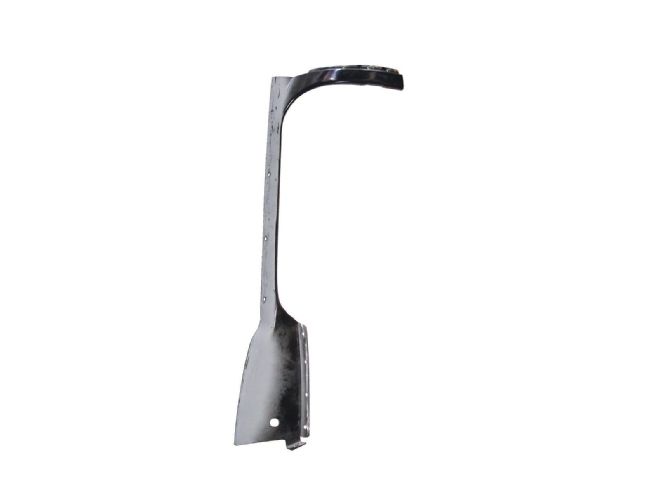
13. This is the area of the inner section (black) of the cab that needed to be trimmed to allow proper fitting over the recessed portion of the door pillar where the door latch is located on the opposite side of the pillar. The new section did not allow for sufficient depth of the recess of the door pillar.
14. This is the portion of the inner section, which was removed to allow for a flush fit to the door pillar.
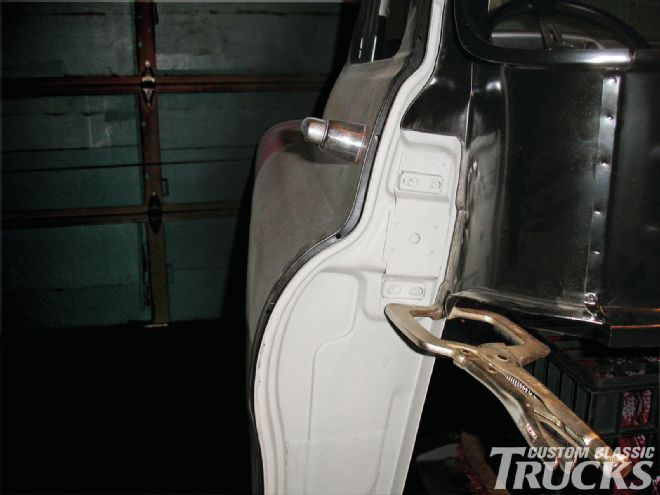
15. The new inner section of the cab is held in position with the use of Vise-Grips.
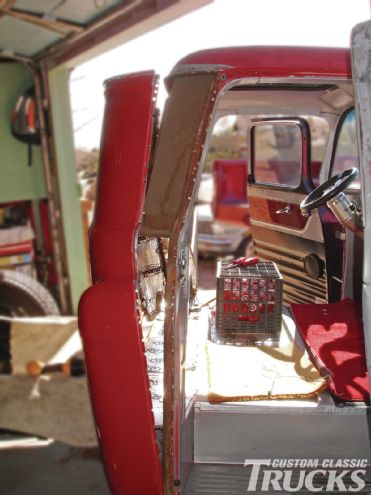
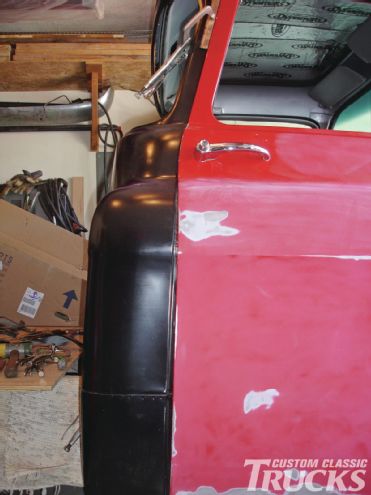
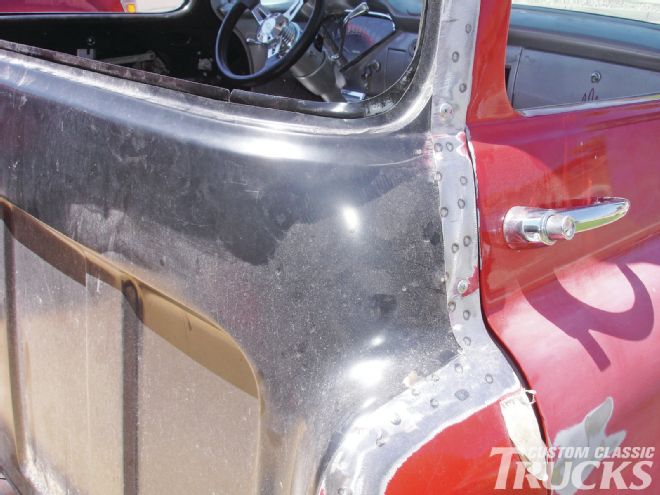
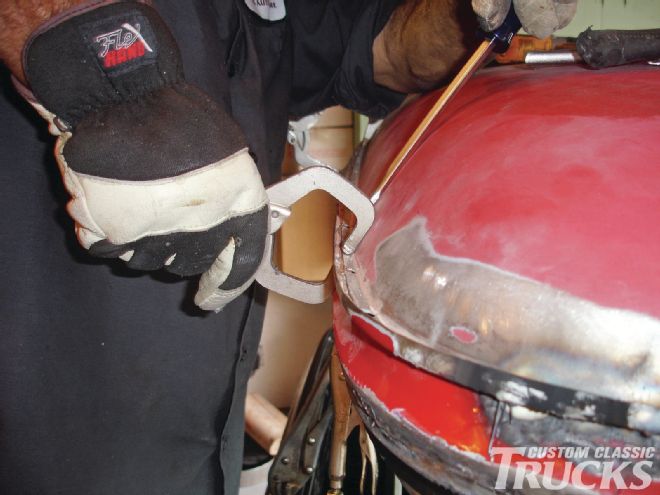
16. The outer section of the back of cab was also held in position using Vise-Grips. Note the width of the gap between the door and the rear of the cab where the lower rear outer corner had been factory attached to the upper section. This distance was 7⁄16 inch as compared to less than 3⁄16 inch toward the top of the outer section.
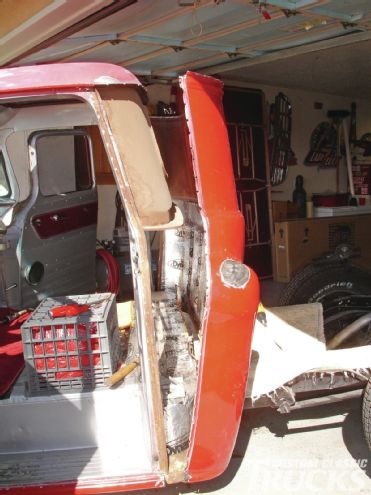
17. The old outer section of the cab was cut in an inverted “U” shape and the new section was cut slightly larger for an overlap of the two sections to allow for welding both sections together. This was decided the best solution to solve the problems with the door and rear cab section gap. The outer section was also too wide to allow for securing to the rain gutter (the gap between the rain gutter and the outer section was approximately ½ inch at the centerline of the window).
18. The two outer sections of the cab have been spot welded together prior to checking for proper fitting to the back of the cab.
19. The inner section of the cab has been installed and welded into position along the door pillars and the inner section of the roof.
20. Additional bracing will be installed along the door pillars along the sides of the back window.
21. The additional bracing has been installed and welded in place along the side of the window opening.
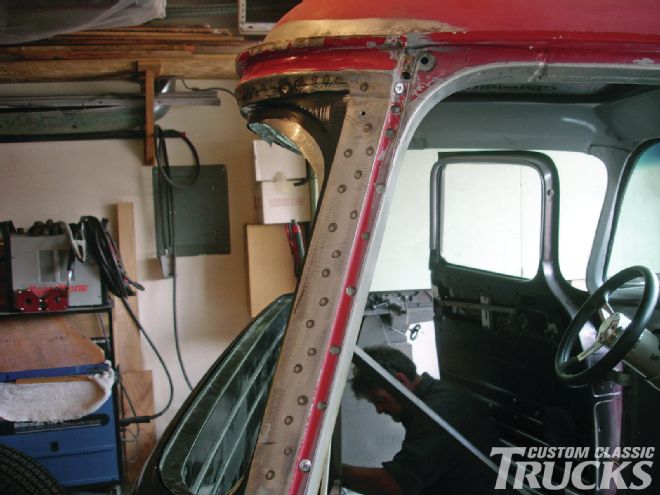
22. The outer section of the cab has been properly positioned to fit the window opening, rain gutter, and door pillars. The section was temporary secured in place with self-tapping sheetmetal screws prior to welding.
23. Addition bracing was installed to avoid any displacement of the door pillars during the welding operations. Here, the two outer sections have been butt-welded together. This will all be ground nice and flat a little later.
24. The outer section of the back of the cab is welded to the outer roof section along the rain gutter.
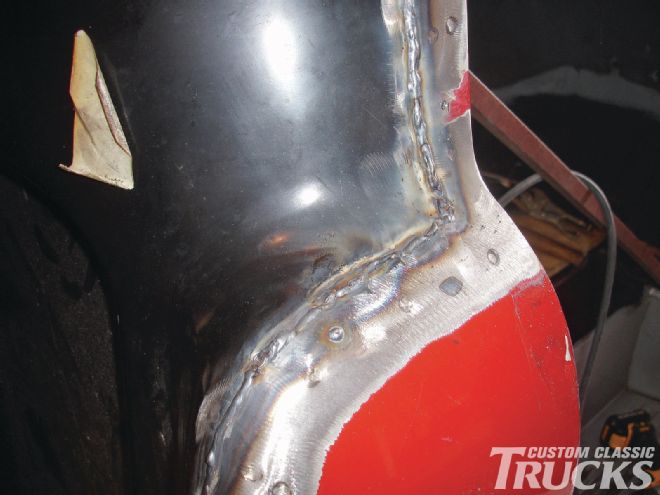
25. Both inner and outer sections of the back of the cab have been installed and welded to the respective locations. The offset created by overlapping the two sections and welding the seams has been worked smooth using lead to avoid a thick layer of body filler. The lead work has been done only along the horizontal seams where the lower corners attach to the upper section and along the vertical seam below the window on the left side of the photo. A little more bodywork and then it’s off to the paint shop to have our new big-window cab resprayed.