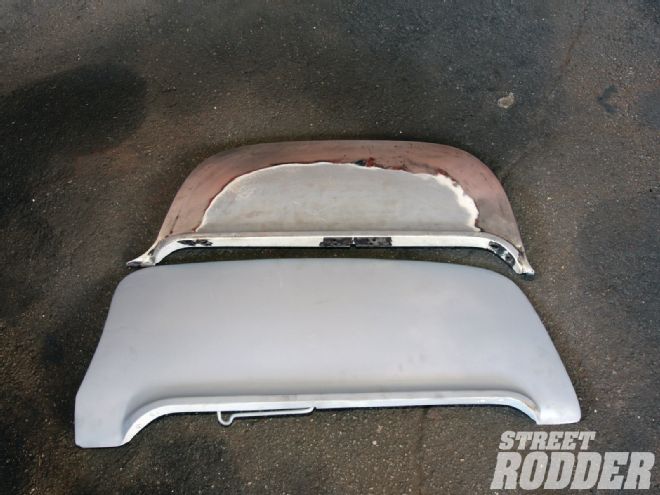
A custom Merc without fender skirts is like a sundae without a cherry. The ’51 Mercury project underway at Hollywood Hot Rods (HHR) in Burbank rolled in wearing a set of stock skirts, but will roll out with fabricated flush-fit skirts.
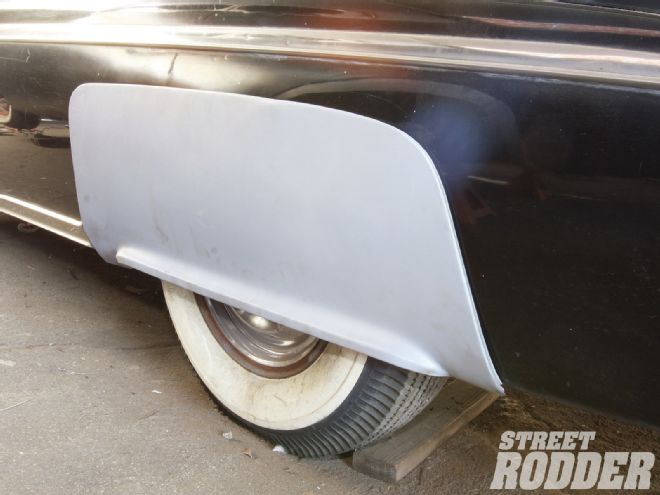
The wheel openings in the fenders were not reshaped, but the skirts were trimmed and modified so that they match the stock wheel openings instead of overlapping them, leaving a small seam.
Using original material, a Pullmax machine, Eastwood shrinker/stretcher, grinder, sander, band saw, some hand tools, and a lot of creativity and skill, the guys at HHR had the job done in about 10 hours.
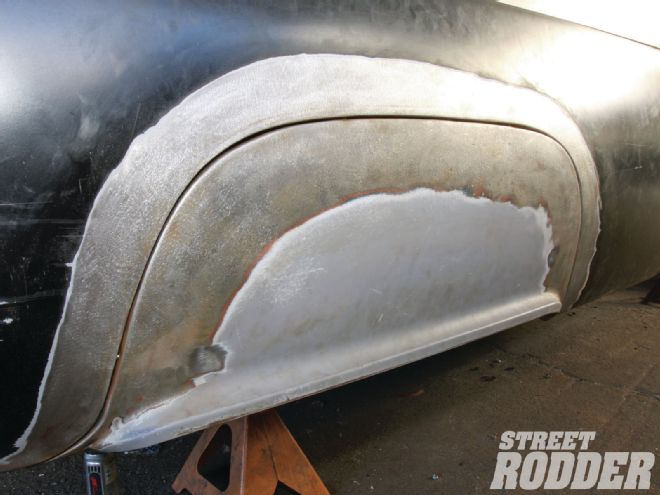
These stock ’51 Merc skirts aren’t bad looking, but a pair of flush fender skirts will look better. That’s the point of building a custom.
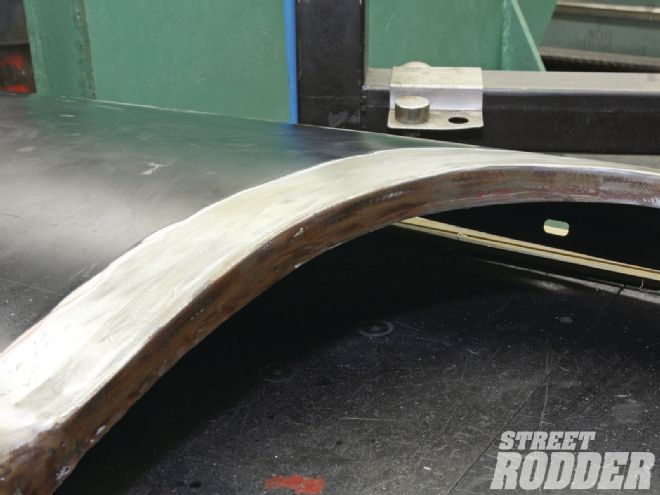
Using a Pullmax, the flange was squared to a tight 90-degree angle. This inside flange will be matched with the reshaped skirt.
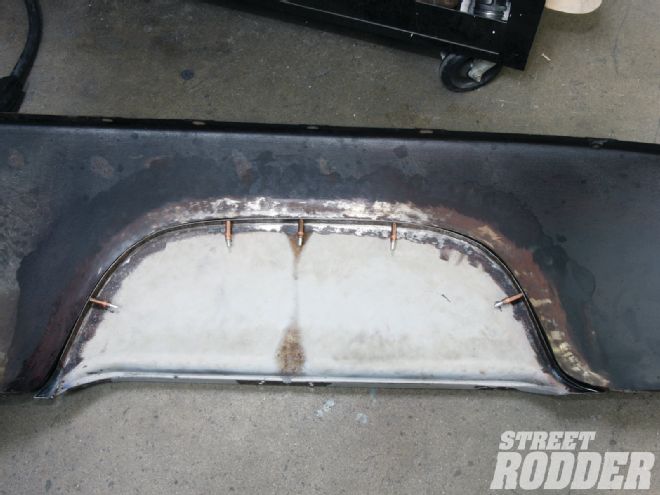
The radius rear wheel opening already contains a flange.
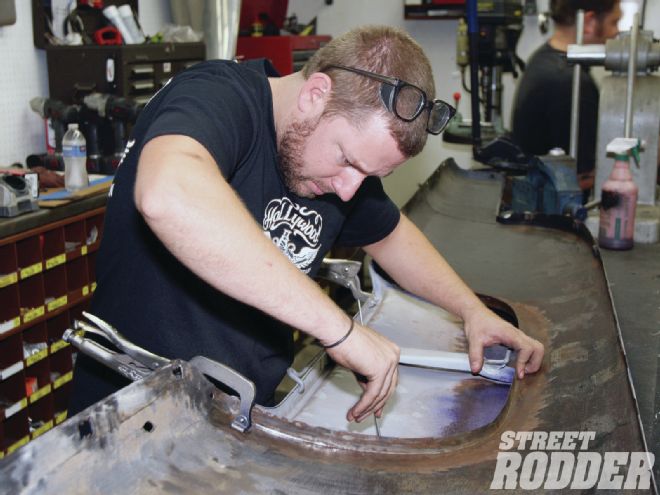
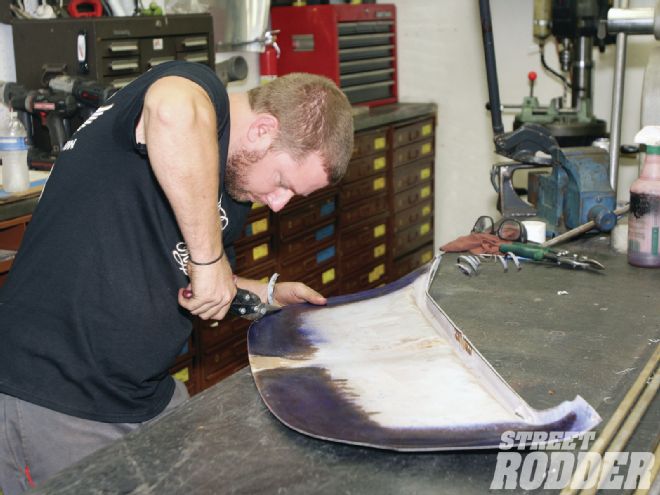
The skirts needed a little cleaning up before any metalwork was done. This was accomplished with a grinder and a orbital sander.

A cut line was scribed 9/16-inch outside the first line. Putting the break line for the flange 3/16-inch inside the first line will create a gap between the skirt and the fender, and leave 3/4-inch of material (3/16 plus 9/16) along the edge of the skirt. On the Pullmax, this will be turned into a 3/4-inch flange.
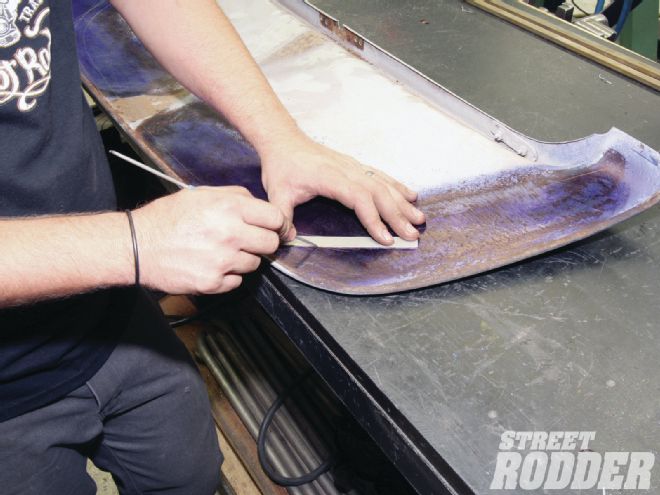
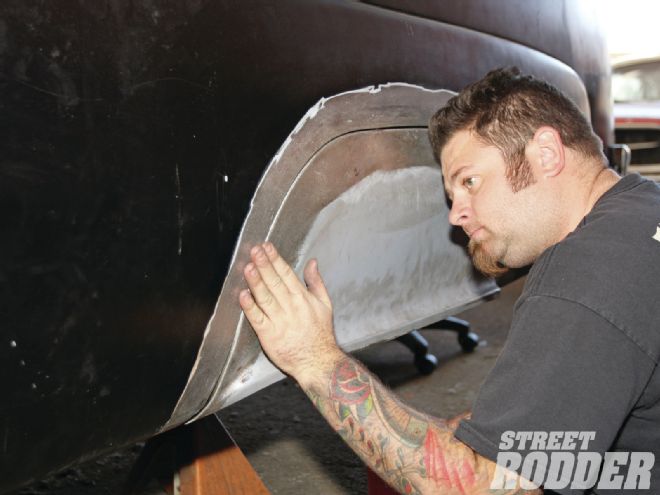
With a skirt clamped in position in the fender, the radius of the wheel opening was scribed on to the inside of the skirt.
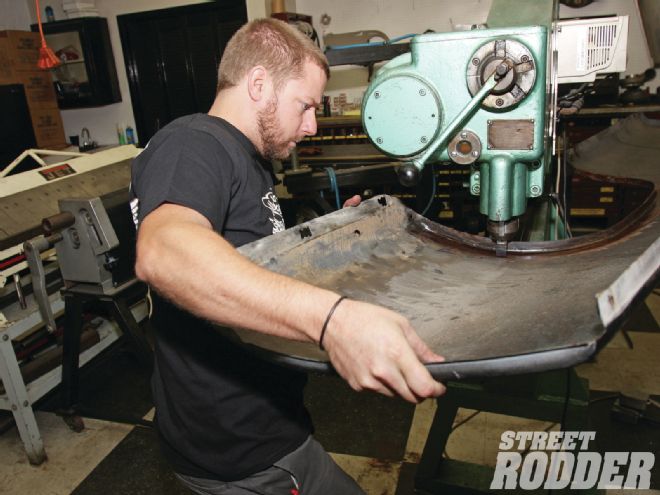
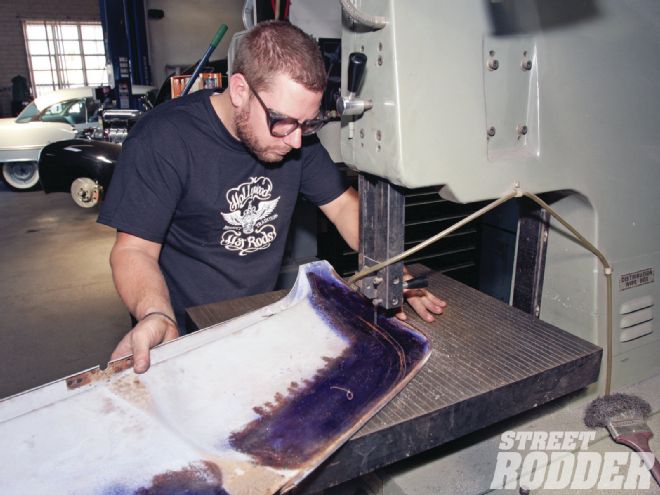
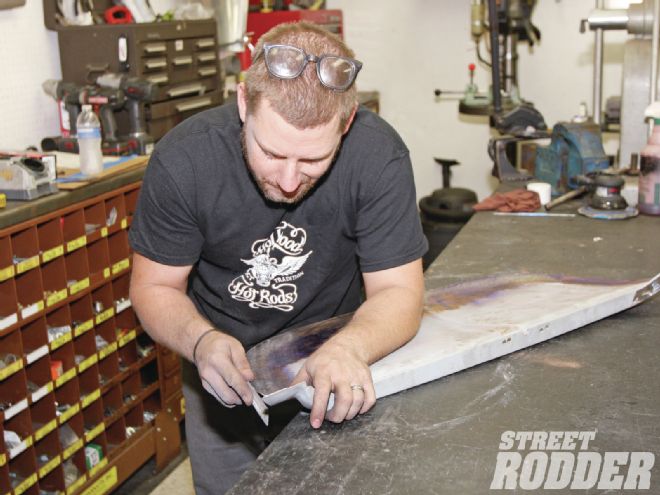
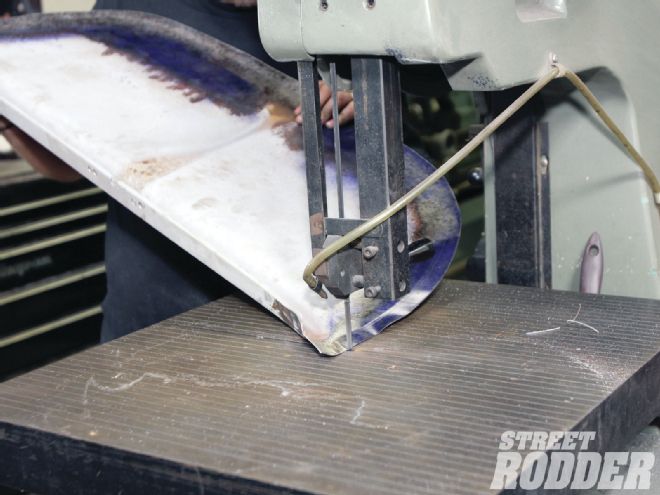
The skirt was cut on the bandsaw along the outside cut line.
The skirt was finished with tin snips.
The new edge was ground and filed.
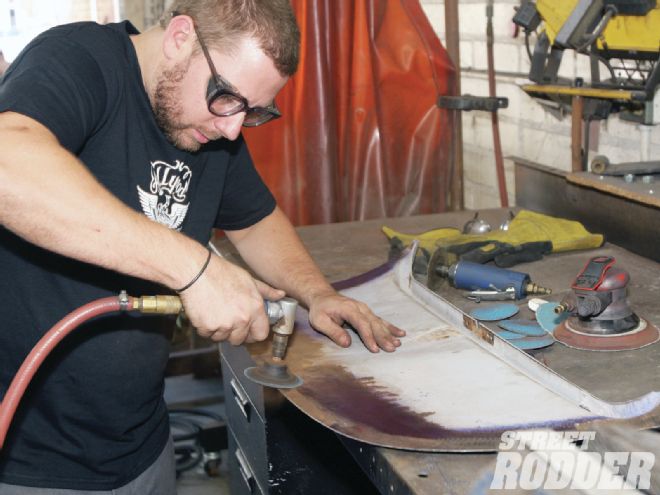
The new edge was ground and filed.
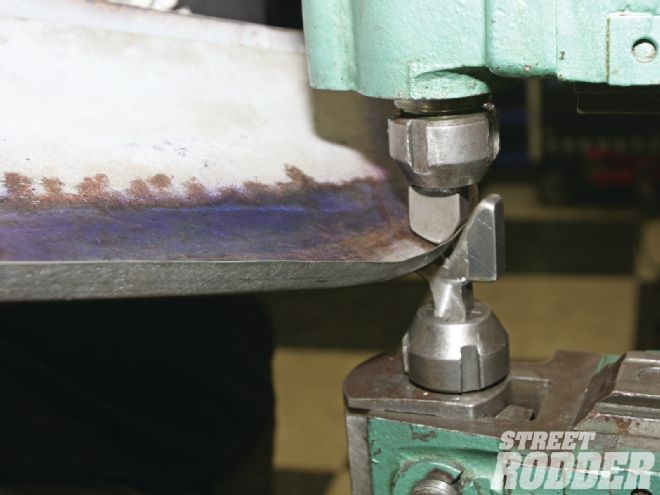
Now for the fun part—creating the flange. The first die on the Pullmax started a 90-degree angle with a soft radius.
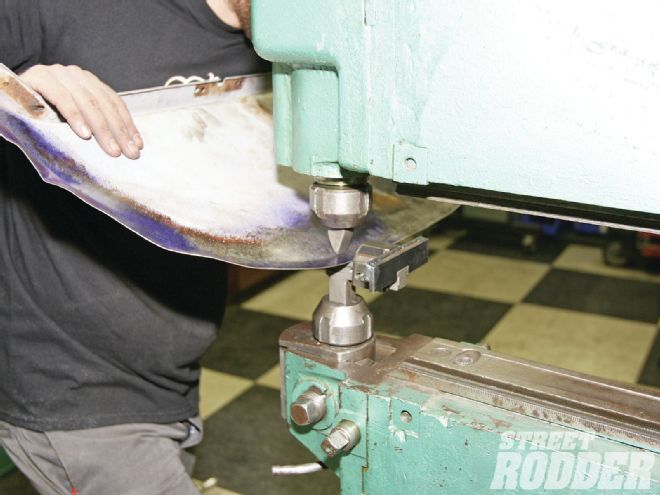
A second die completed the angle.
Notches were cut in the lower corners of the skirt where the sheetmetal will be trimmed to fit the lines of the wheel opening in the fender.
After cutting and bending the top of the skirt, the sheetmetal was getting wavy. The Eastwood shrinker was used to fix that, creating a smoother inside curve.

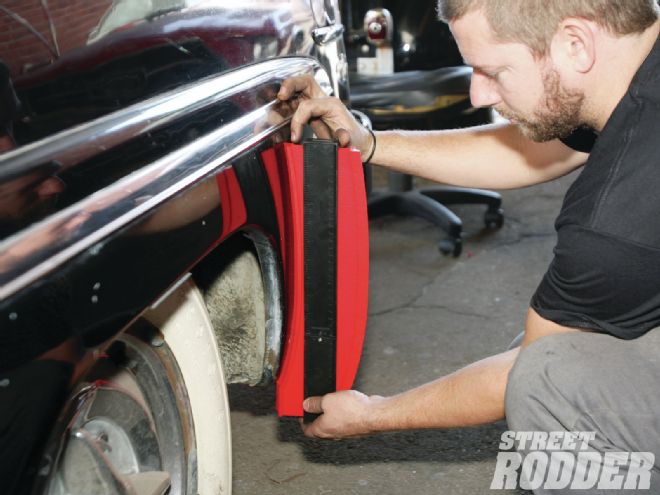
This Eastwood profile gauge was used to measure the contours of the fenders and make sure the skirts matched them.
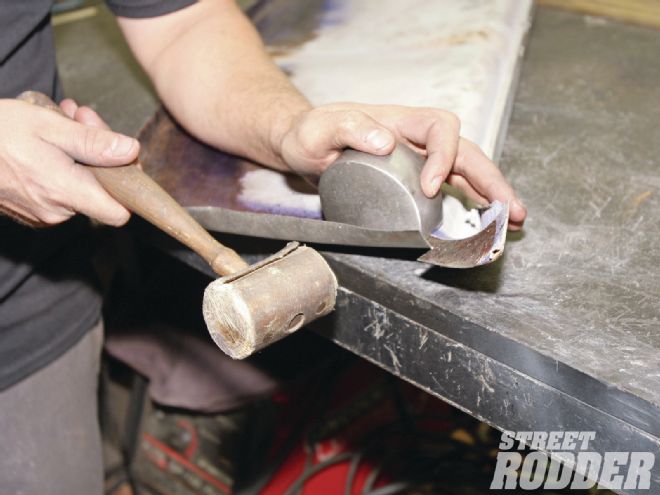
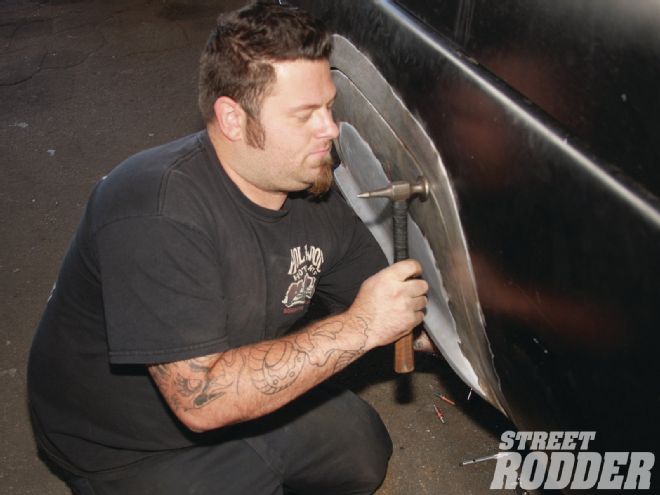
The curved flanged was further smoothed with a hammer and dolly.
Compare the finished custom skirt (above) with the stock skirt. Note how the lower corners of the custom skirt have been shaped and welded to match the wheel opening and finish the piece.
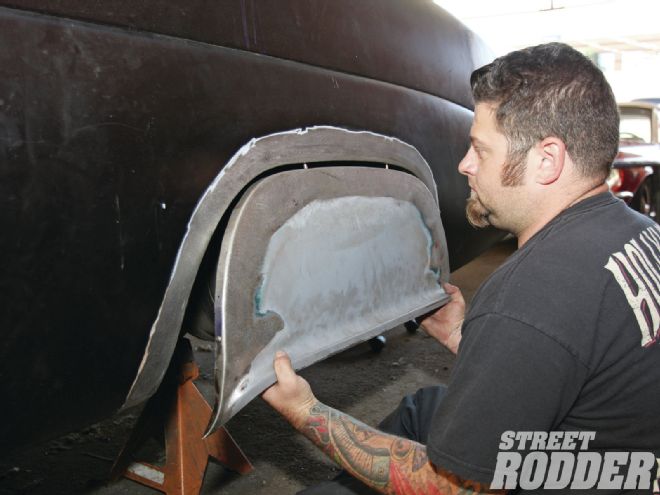
The finished skirt was temporarily positioned in the fender opening using Cleco fasteners to check fit and drill mounting holes. The stock latching hardware (visible on page 46 in the lower left) has been removed.
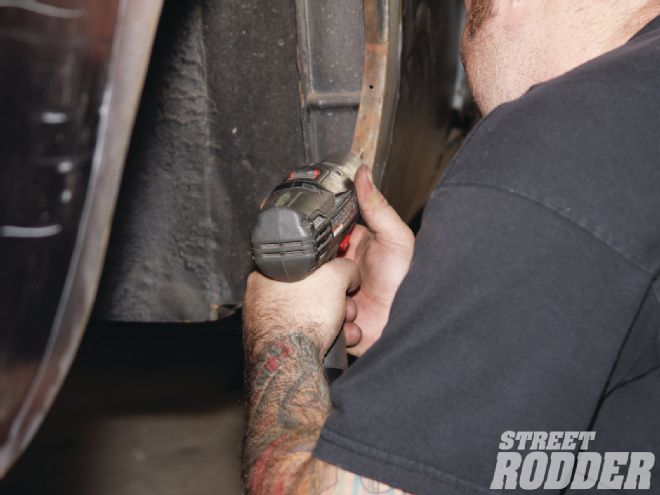
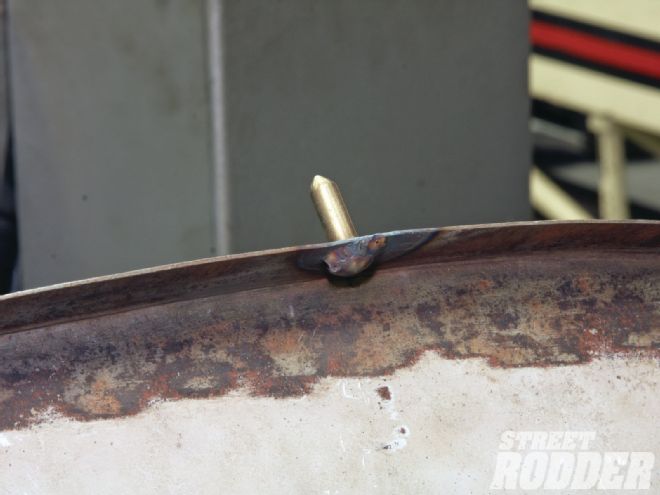
These pieces will replace the removed single latch. Spring-loaded side latches from an aircraft surplus store will hold the skirts at the front and back. A pair of upper positioning pins will locate the top of the skirt. They were fabricated from a pair of bolts. The threads were machined off and the ends were tapered.
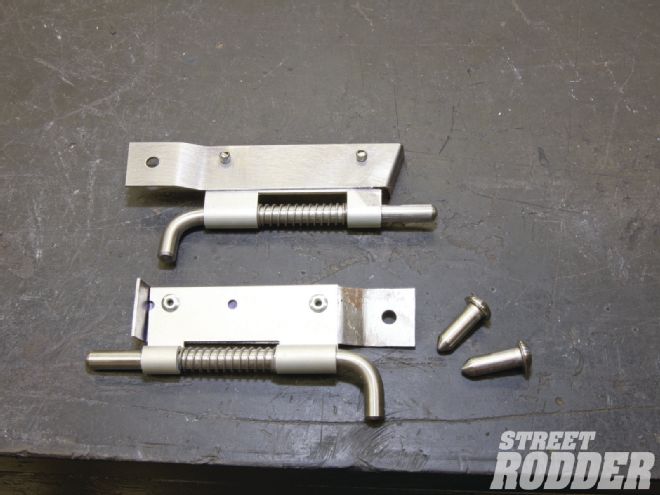
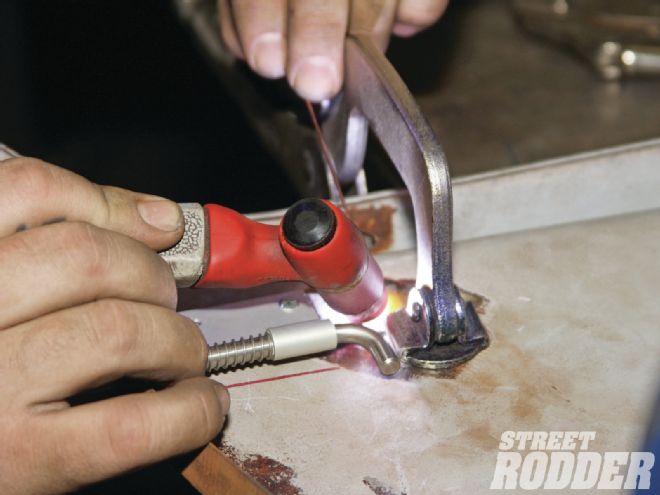
The aluminum latches were welded to the skirts with small steel brackets.
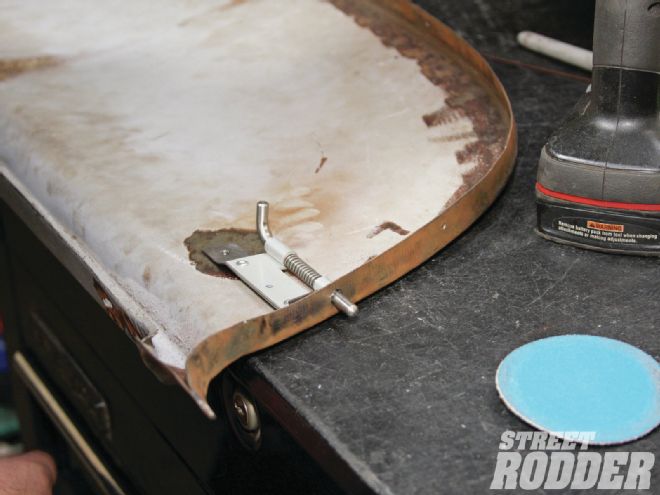
Holes were drilled in the fender flanges and skirt flanges to accommodate the pins and latches.
With the upper positioning pins welded to the skirt and the latches tacked in place the skirt was raised into the fender for a test-fit.
With the skirt positioned in place, proper fit was checked.
The skirts went back and forth to the shrinker a few times to make sure the flanges matched. Shrinking affects the shape of the piece, so some hammer and dolly work was required to make sure the contours stayed consistent and the gaps were even.
Once everything was correct, the latches were permanently welded in place.
We can’t wait to see these in paint, but even unpainted the flush fit skirts are an improvement over stock.