For some reason, hot rodders consider bodywork a daunting task. Most of us have no problem ripping into an engine or transmission, and we'll even attack electrical gremlins without regard for incorrectly wired components, but the thought of prepping our own car for paint? Better leave that to the professionals, right?
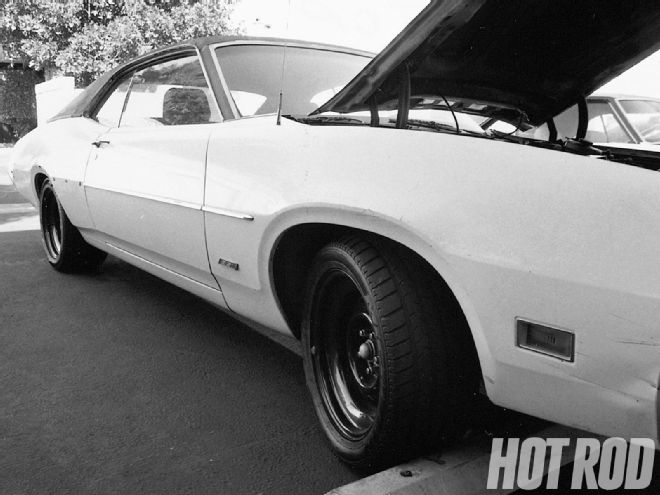 Before you dig in, you must determine the condition of the body and formulate your plan accordingly. Too many paint jobs may warrant stripping, and poorly executed repairs may need a redux. Our '70 Montego was amazingly rust free, straight, and sported its factory-sprayed coat, making it an excellent subject for beginners.
Well, sort of. It is true that quality body- and paintwork require skill and experience, but that doesn't mean that the average rodder can't participate in the process. Anyone who has ever had a car painted knows how quickly the costs can add up, particularly when refurbishing vintage tin. While you may not be able to take your machine from rust to restoration by yourself, you can certainly handle the basics, which will help contain your budget. In time, you might even gain enough experience to tackle body projects from start to finish.
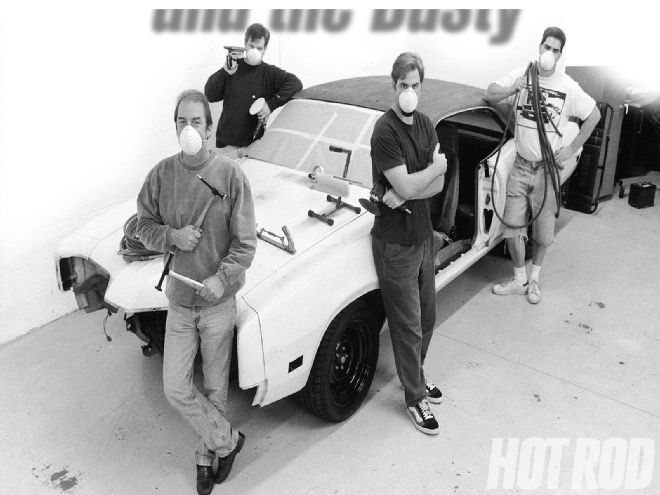
We recently faced the challenge of refinishing our Project Monte1go, a '70 Mercury Montego. The car's mechanical aspect had improved to a point that made its appearance seem way-below par; a repaint was definitely in order. Unfortunately, the staffers involved in the project could hardly be considered skilled in this field. But by consulting with experts, we were able to knock out a lot of the grunt stuff, which helped stretch the budget and allowed more room for quality paintwork. What follows will ease your introduction to the science of panel beating.
Assessing The Situation
Before you begin, you must determine the condition of the body and its finish, as well as your ability. Almost any car can be restored, but the skills and materials required can quickly exceed the depth of the novice's knowledge and wallet if the subject's condition is critical. Accurately assess your situation up front, and set realistic goals, or you may be disappointed, frus-trated, and possibly broke later.
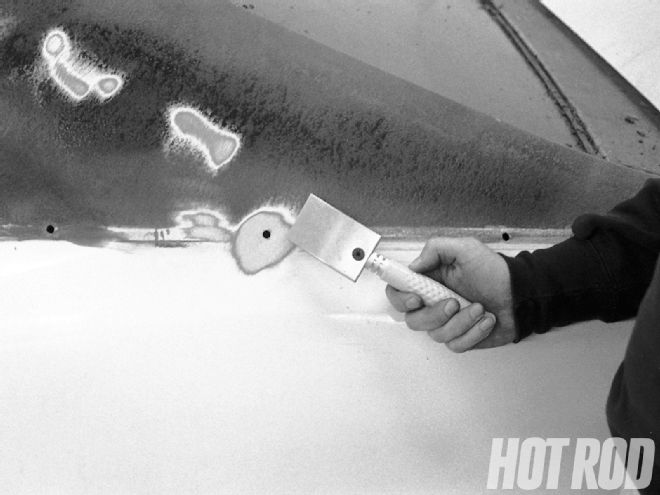
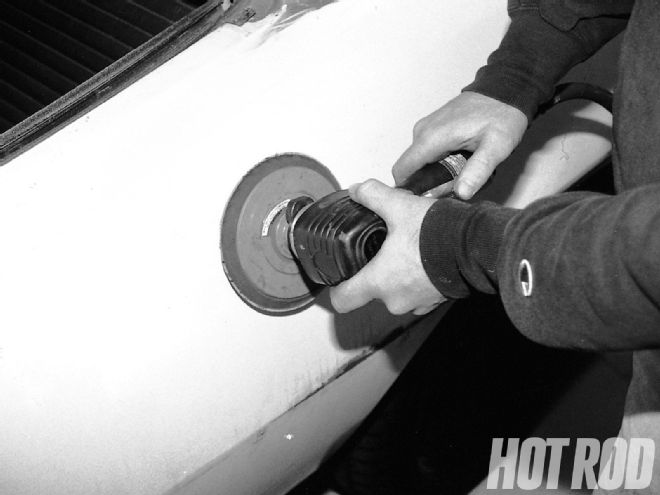 Your new best friend is the DA, a dual-action sander. The orbital action of the sanding pad is less abrasive to the surface and leaves a smoother finish than the basic rotational movement typical of a conventional sander. It's great for removing some of the finish without going straight through to the metal, which is often the goal. With experience, you can even use the DA to shape body filler. Prices start around $29.95 and escalate into the hundreds. If compressed air is unavailable, electric-powered versions of the DA are available at Sears.
Take a jaundiced look at your car. If it has gaping holes, rotted flanks, and sheetmetal that waves good-bye as you drive along, we're talking major surgery. While it is possible for the hobbyist to tackle such a nightmare, this task requires more than basic skills.
If the sheetmetal is in reasonable shape, take a very close look. You can usually determine if a car has been repainted by scrutinizing the hidden areas, such as the inside of the trunk, doorjambs, and engine bay. Unless the previous work was meticulous, you'll probably see overspray or masking lines in these areas. If the work was a typical respray (as opposed to restoration quality) it will probably be easy to spot.
Prior paint jobs aren't necessar-ily a problem, but you must determine now whether the body needs to be stripped to the metal. If you suspect the presence of paint other than the original, rub a piece of sandpaper on the paint in one area until you reach metal to reveal the layers of finish on the body. If you see primer coats between color, chances are you're seeing multiple paint jobs. Most bodymen recommend that new paint should be laid over no more than two previous resprays, and then only if that work is free of cracks and peeling. If you find multiple paint jobs, cracking, peeling, and so on, consider having the body stripped (see "Take It Off, Take It All Off," Aug. '98).
Try to determine if the body has been fixed. High-quality crash work can be difficult to spot, but if you see mismatched paint, unusual surface textures, or small cracks in the finish in certain areas, you've probably found it. Again, prior work isn't necessarily a problem, but you need to determine its status up front.
Stuff You'll Need
Even a fairly well-equipped do-it-yourselfer will likely need to expand his or her tool inventory for the first foray into body and fender duty. The majority of bodyworking tools are powered by compressed air. Small or portable compressors usually can't generate enough airflow to power them continuously-most sanders and grinders require a constant 90 psi. Even if you don't have compressed air, you're not entirely out of luck. We'll cite alternate means where air tools are listed.
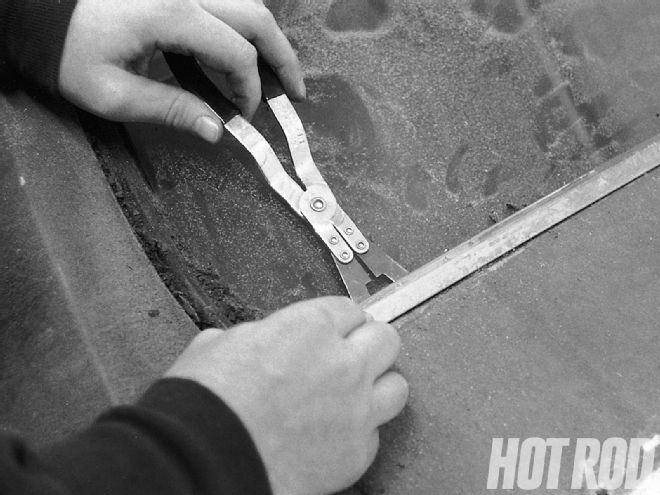 Because they can be difficult to remove, window moldings are often left unmolested. But if your car is old, it may have rust forming down there. Before you attempt to take them out, source a factory assembly manual to see exactly how the molding is held in place. Then get a trim clip tool, and carefully release the moldings. Go slowly. It's easy to tweak them and even break the glass.
Disassembly
The first step is to remove all of the items that won't be painted or ones that will be painted separately. Though it's entirely possible to do bodywork on a daily driven piece, you'll find that it's much easier to accomplish your straight, shiny finish if you park the car until the project is complete.
Many paint and body shops simply mask off the trim, emblems, lenses, and the like. We recommend removing as much of this as possible since masking can leave visible edges in the paint. Removing this stuff affords you the opportunity to detail it before reinstallation. Close attention to details can make a mediocre paint job look much better than it is... and vice versa.
Trim Elimination
Shaving the trim gives a slicker appearance. Unfortunately, this can entail significantly more work to erase its traces on older vehicles. If you aren't sure how to deal with your particular situation, consult a professional before you attempt removal and destroy the trim you're trying to eliminate. You may have a change of heart when you hear what he has to say. The cost of shaving trim may be enough to make you consider keeping it. Besides, a little trim helps to break up panels, directing eyes away from imperfections that may exist in your new paint.
 If you're confident with your basic skills, you may want to explore actual metalworking. Professional bodymen have used hammers and dollies to reshape dented sheetmetal for ages. An excellent start is Eastwood's hammer and dolly set, which includes two high-quality Martin hammers and dollies, a dinging spoon, and a metal file. The Metal Bumping manual, written by skilled artisans in lay terms, is also included.
Techniques & Tips
The key to successful bodywork is knowing the methods and the proper execution. Without experience, the best way to get on track is to watch a veteran of the trade and ask questions. We sourced a number of bodymen for the basic techniques and tips, so we could get our project under way without creating more work.