Whilst one- and even two-piece hood tops are available in the aftermarket for a number of early cars, stray from the norm, and you're likely going to find yourself having to make, or have made, a one-off hood tailored to fit your application. Such was the case with this Model A that uses a Speedway Motors track nose. Not only is this a completely different shape to a Model A grille, but it was also mounted several inches farther forward than stock, necessitating a scratch-built hood.
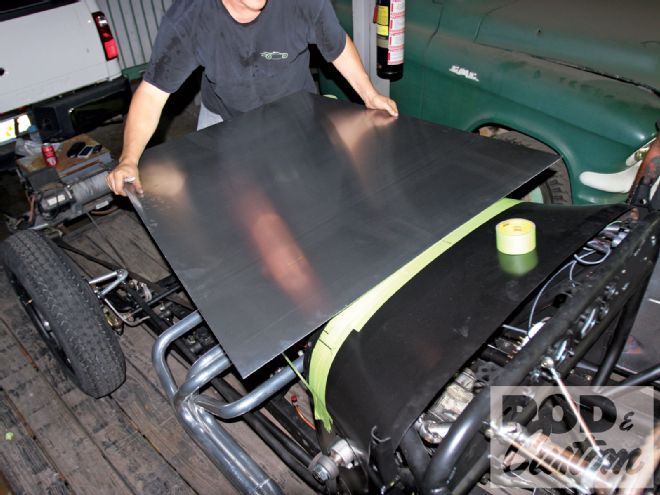
Luckily, one of the phone numbers in our address book is that of our good pal Jeb Scolman, of Jeb's Metal & Speed, in Long Beach, California. Which is how we found ourselves spending one of the hottest evenings of the year at his shop a few days later. And yes, before an observant reader points it out, we didn't take the Model A off the trailer, but backed the whole rig into the doorway of his busy shop for a few hours to get the job done!
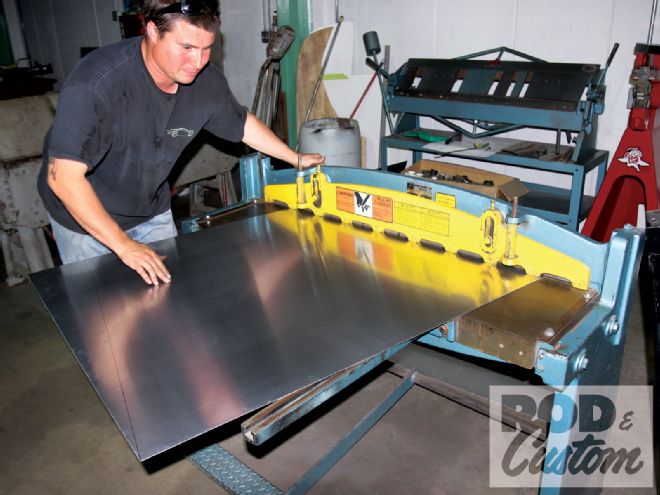
We started with a 4x4-foot sheet of 0.063-inch-thick Type 3003 aluminum, chosen as it is stronger than Type 1100 pure aluminum, and as it's alloyed with 1.2 percent manganese, it offers better workability, weldability, and corrosion resistance, too. Here's how a skilled metalman can make an intricate job look easy.
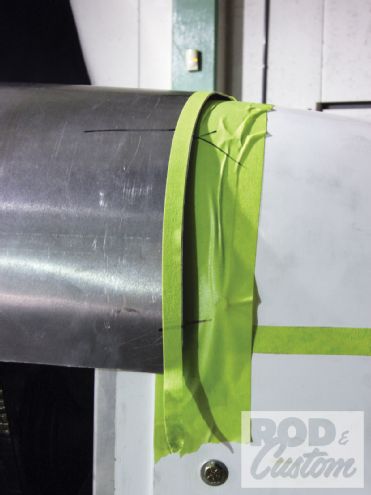
1. It's always a good idea to perform this type of work before a car is painted, given the high risk of scratches or damage. Scolman starts by laying out 1-inch tape to determine the edges of the hood top.
2. With the sides taped out, 2-inch tape is laid over the edges of the cowl and grille shell.
3. The center line of the cowl and grille shell are determined and marked on the tape.
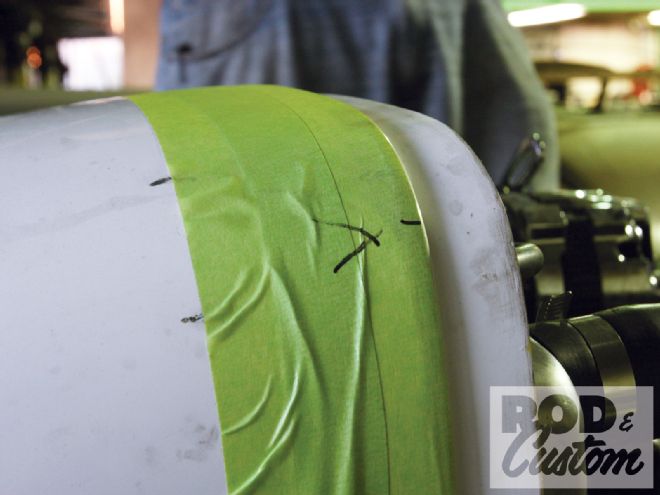
4. Next, Scolman marks where the tightest radii need to be formed.
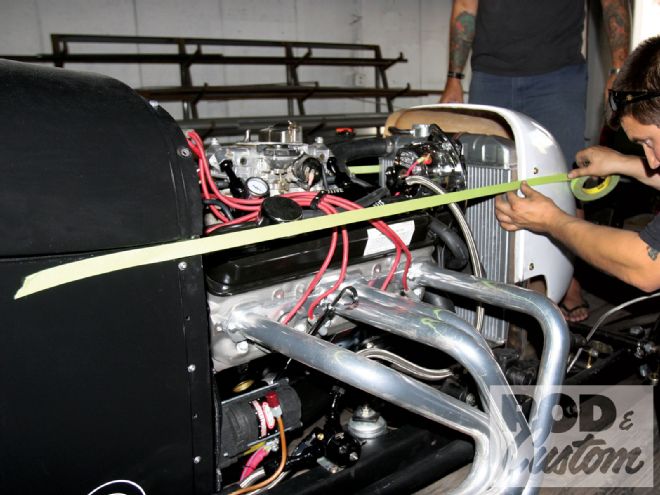
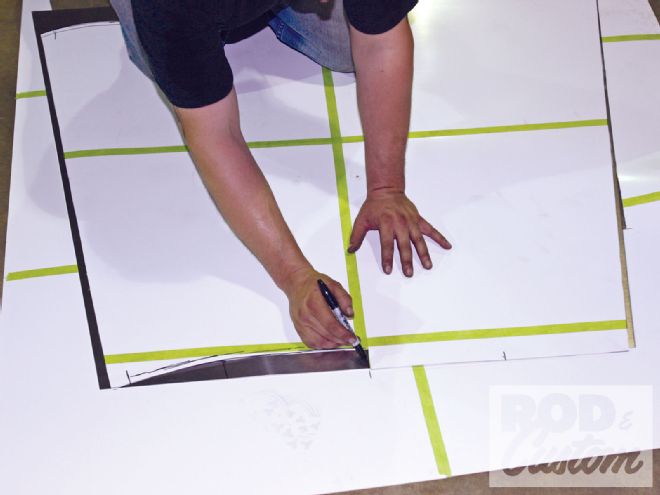
5. A card template is made, centered on the car, and marked slightly oversize to follow the edges of the cowl and grille.
6. The aluminum sheet can now be cut, again slightly oversize.
7. The aluminum sheet can now be cut, again slightly oversize. A quick double-check he's on the right track ...
8. ... and the card template is used to mark for trimming the front and rear of the panel. While the cowl and grille edges may appear straight when viewed from above, they're anything but before the hood is bent to shape.
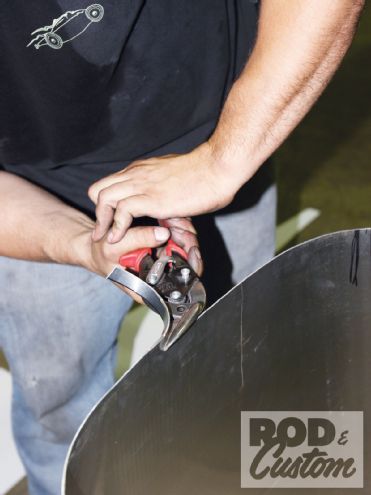
9. Scolman uses a rotary shear to trim the oversize panel.
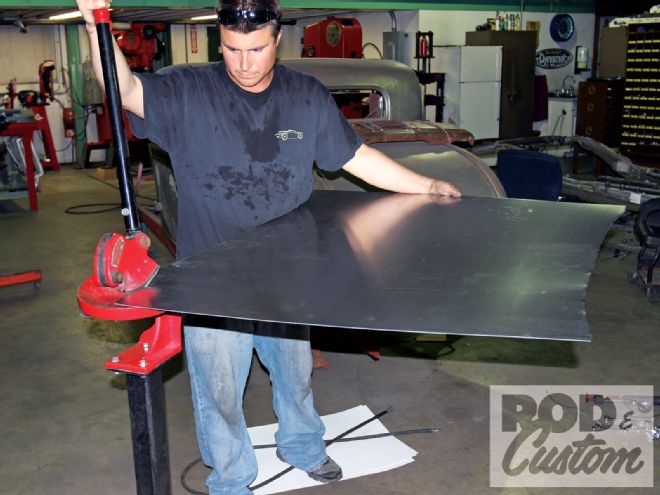
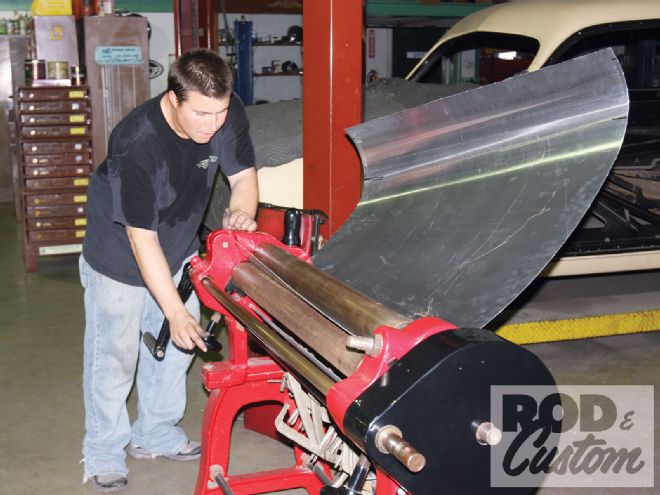
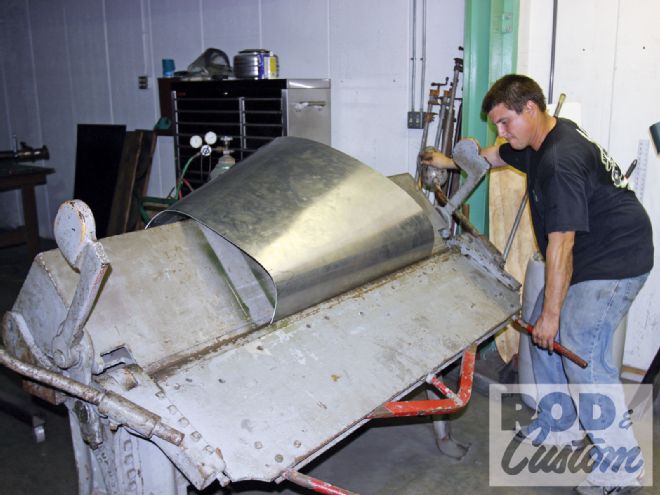
10. Here's where the skill comes into play. Knowing exactly where and how much pressure to apply on the rollers of the slip roll will determine the radius of each bend. The grille shell on this car has particularly tight radii on the top corners, meaning the hood must have a tighter bend at the front than the rear, and be identical side to side!
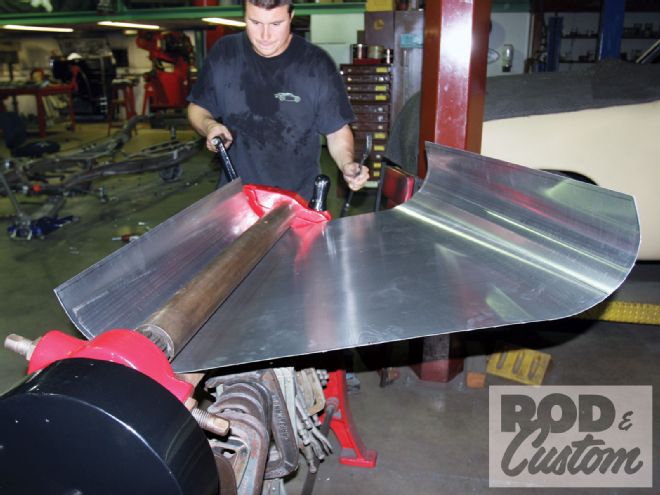
11. With the panel held in place, it's marked where a tighter radius is required, then returned to the slip roll. This may take a few tries before it's perfect.

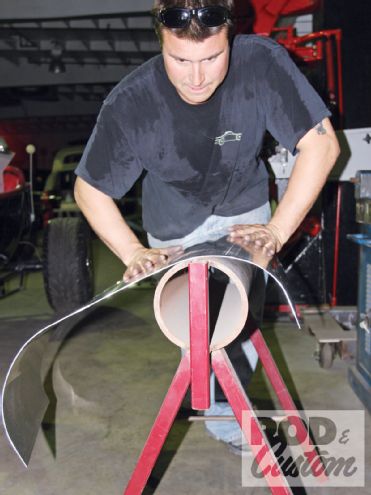
12. One of Scolman's purpose-built tools is this item, a fancier version of bending a panel over a gas bottle! Again, skill and experience tells him where to apply pressure.
13. Finally, it's back to the slip roll, adjusted to form a tight radius at the front of the hood.
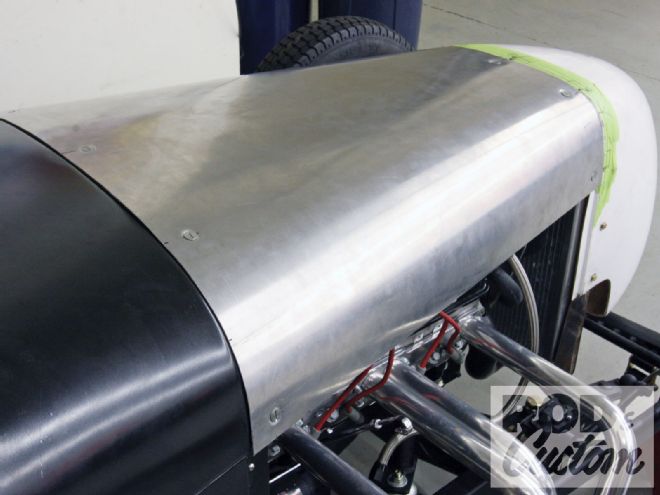
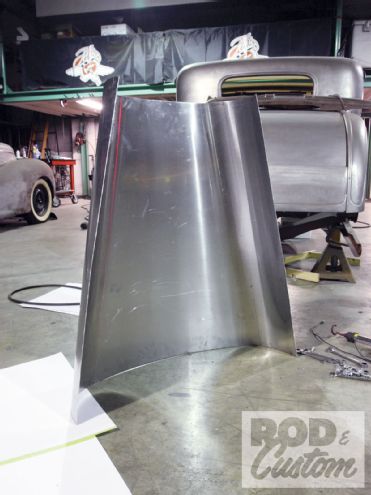
14. Here's where we're at so far. It may not look like much (unless you've attempted to do this yourself!), but the hard work is done.
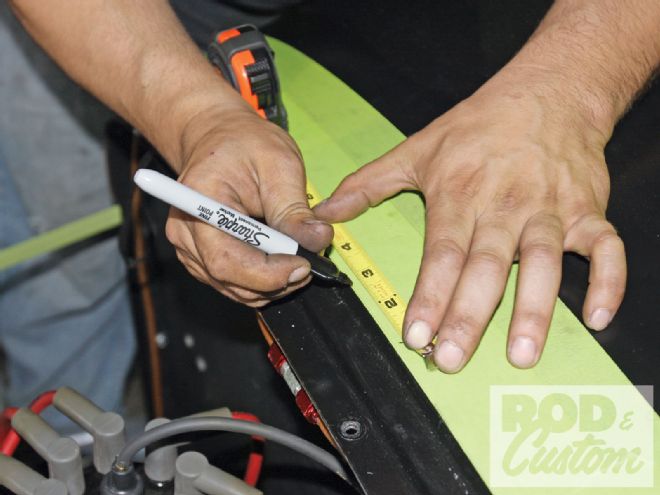
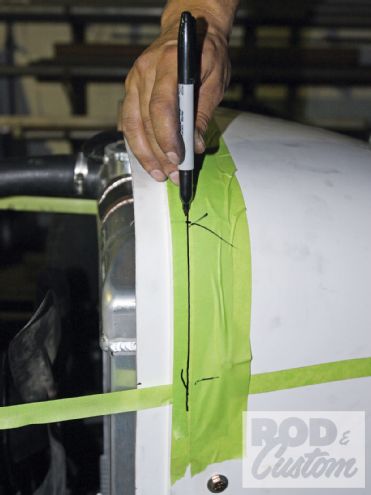
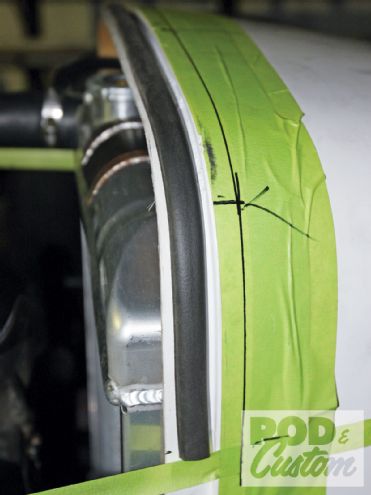
15. It's hard to see, but 3/8-inch tape has been laid along the edge of the grille shell reveal and cowl and Scolman is marking the edge of the tape with a Sharpie.
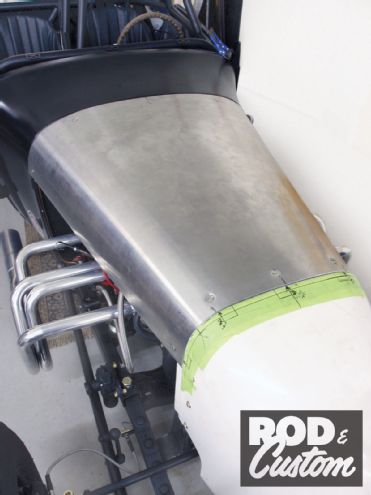
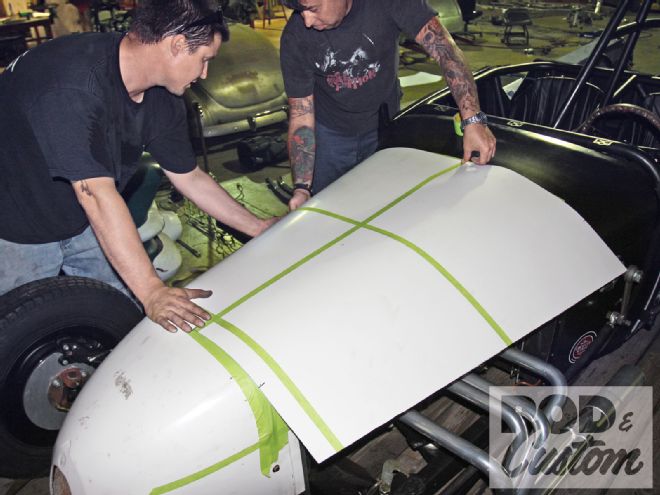
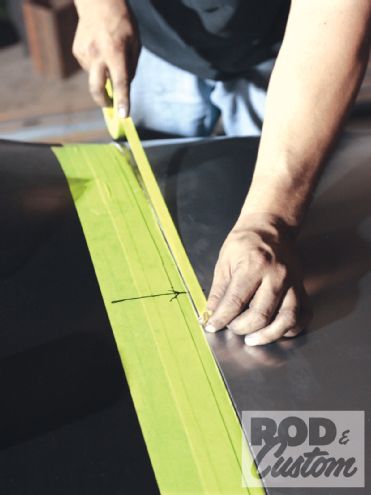
16. With the hood in place and centered, more 3/8-inch tape is laid on the hood, its edges following the Sharpie lines.
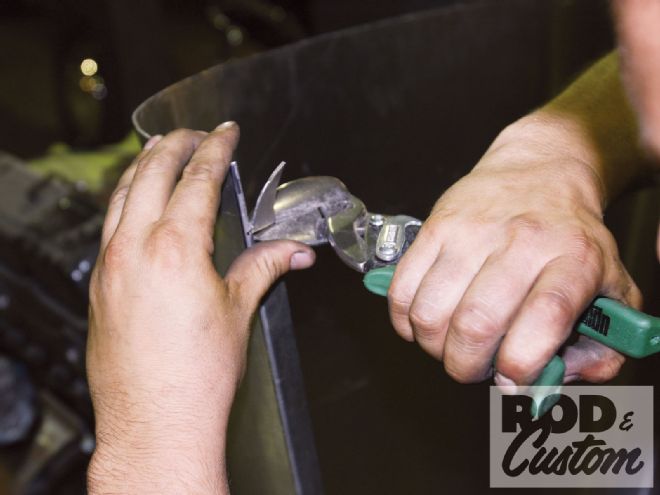
17. The inside edge of this tape corresponds with the edge of the reveal on the grille and cowl. The hood is trimmed by hand to this line. It's now only very slightly oversize.
18. Self adhesive rubber welting is applied to the grille and cowl reveals ...
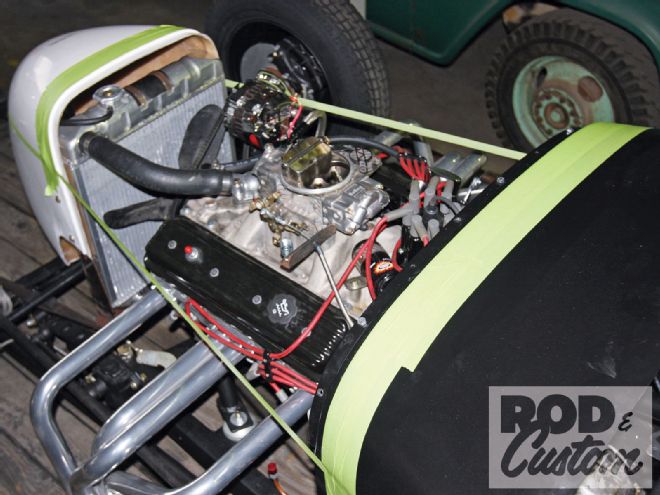
19. ... and the hood laid in place. More 3/8-inch tape can now be used to mark the final location of the edges of the panel.
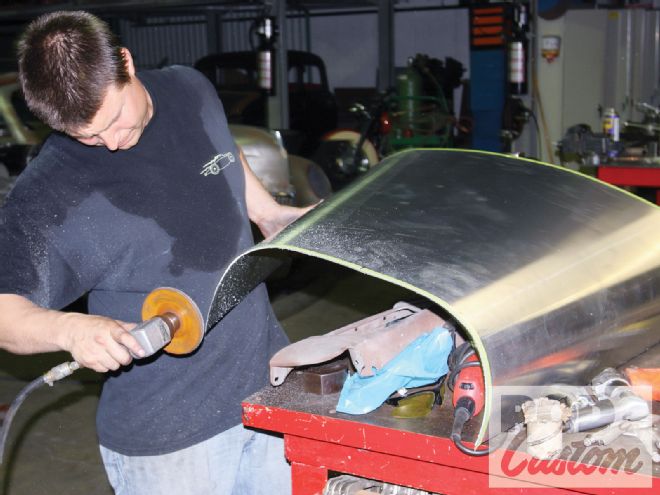
20. With wax applied to a soft pad on an air grinder (to prevent the aluminum clogging the disc), the hood is trimmed to the edges of the tape. As always, use protective eyewear at this stage!
21. A final check for fit and the hood is placed in a brake to fold the return edges along the sides.
22. The corners are then removed by hand for clearance on the adjoining panels.
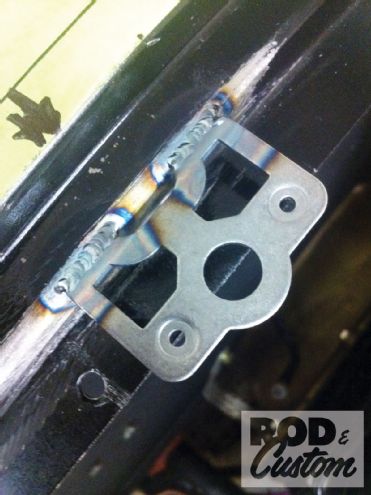
23. While proprietary hood mechanisms and latches are available, this hood will be installed using Dzus fasteners, necessitating the appropriate brackets be welded to the cowl, and a steel framework be fabricated to serve the same purpose on the fiberglass nose.
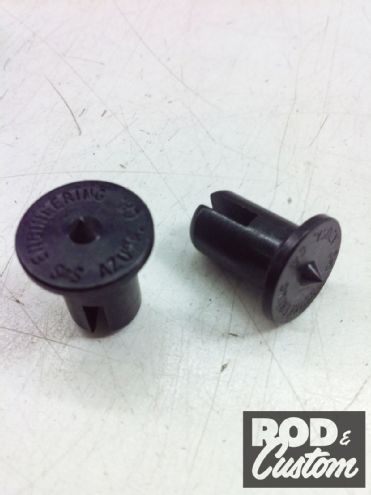
24. Determining the exact location of the holes in the hood so they align with the Dzus brackets is almost impossible. Unless, that is, you have these great transfer punches!
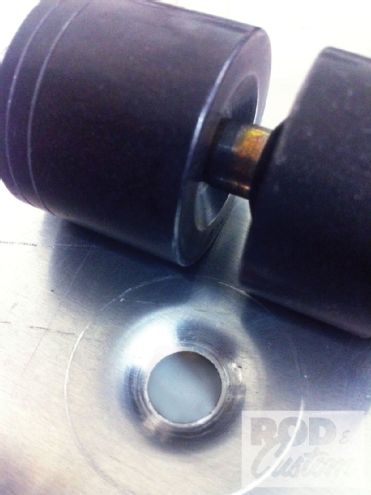
25. This dimpling tool is also great for forming dimples in the hood, after drilling a 3/8-inch hole.
26. The finished product: a made-to-measure aluminum hood top.
