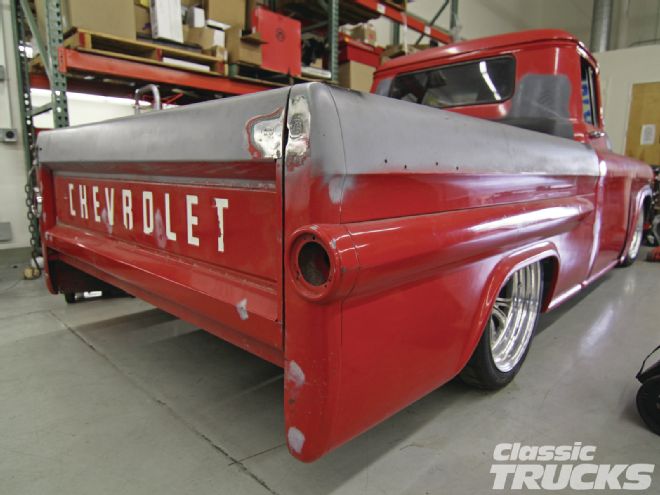
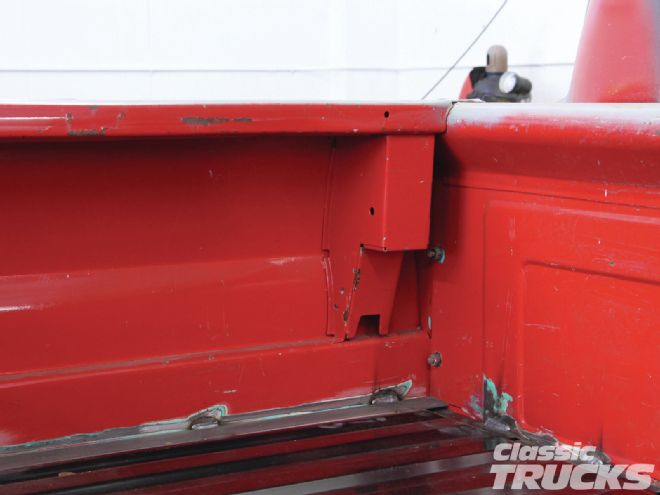
Have you ever wanted to get rid of those pesky chains? How about those stake pockets that are somewhat painful to look at? If you said yes, then you are just like me. Removing the chains on the tailgate not only cleans up the visuals; they take away the fear of scratching the bed after the truck is painted. Do you need stake pockets? Unless you’re planning on hauling a bunch of stuff around then you really don’t need them on a hot rod truck.
01 The plan is to tackle a few things at a time, including some minor body panels and rough them in without the use of body filler, etc. I started off by grinding down the paint and all body filler on the stake pockets, and then followed that up with a wire wheel on a 5-inch grinder. By using the grinder and wire wheel combo I could successfully remove all the paint and rust hidden down in the corners of the stake pockets. If I used a sanding disc to get rid of the rust in the corners, it would make the surface of the stake pocket uneven and harder to fill with patch panels.
02 A cool trick is to turn the grinder sideways to let the wire eat at the paint and rust. Get out of there paint!
03 Using 10G cold rolled steel, I cut out a small patch that fit inside the stake pocket. A magnet can be used when MIG welding, but I have run into some issues when TIG welding and holding stuff with magnets. If you’d rather TIG weld the filler pieces in, then you could use filler rod to hold the filler piece. TIG welding and magnets always give me problems.
04 Here I tacked the filler piece in one corner and then used a small Snap-on pick to move the patch where I needed it.
05 All four corners were tacked and I let this cool off while I moved to the three other patches.
06 The trick is to weld small sections at a time and let the metal cool off by itself.
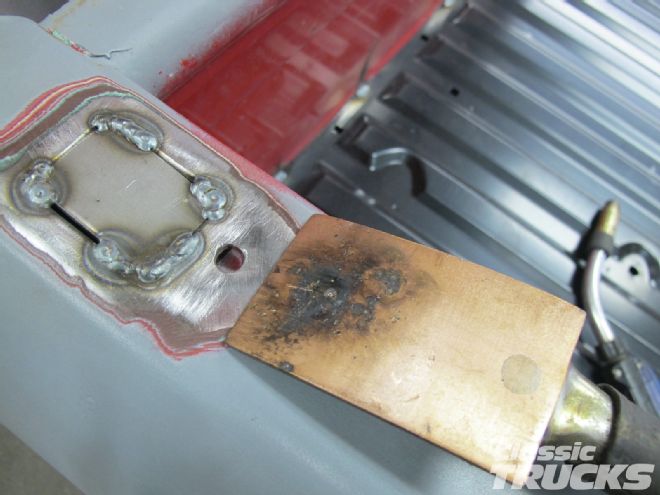
07, 08 On the underside of the bed I used a copper backing plate to provide a non-stick surface for filling the small hole.
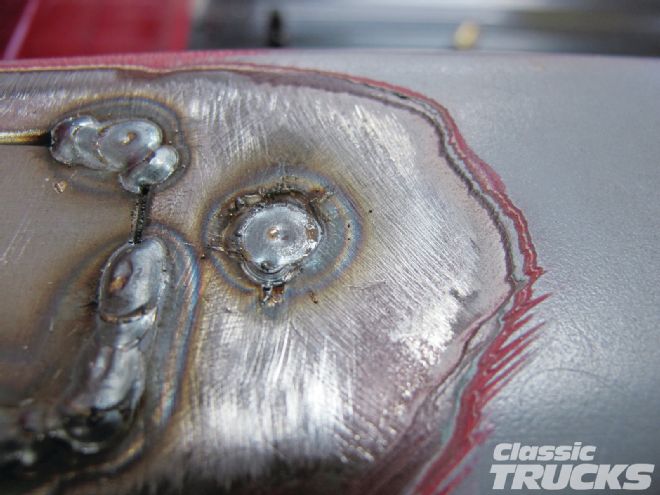
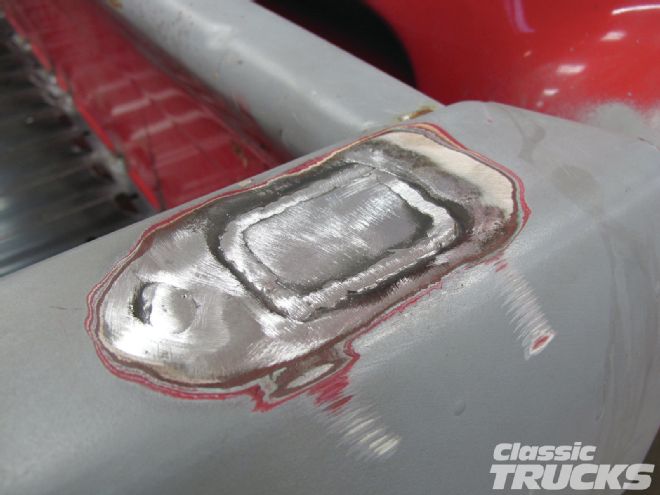
09 Don’t worry about making the prettiest welds because you are grinding it all off anyhow. If the patch looks like this, then you are doing well.
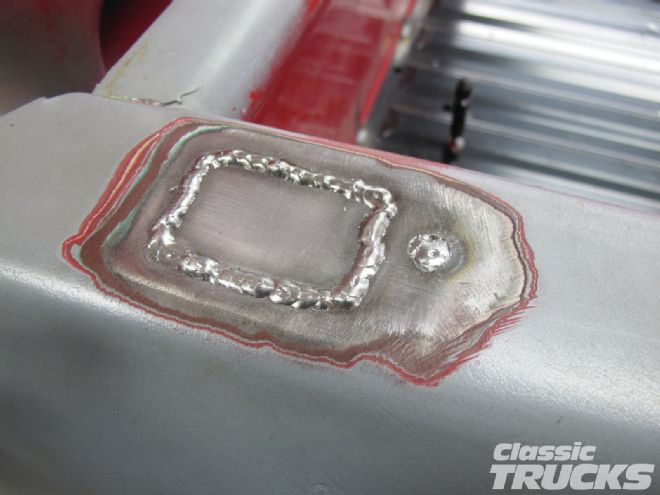
10 A little grinding and spray of self-etching primer and the patch is almost done. For now, this is where I stop because I don’t want to finish the patch with filler and have to do it all over again a few months down the road.
11 Some guys like to remove the remainder of the stake pockets. For now I will save that for another day, but eventually this area is going to be removed.
12 The stock tailgate latches look really cool on a restored pickup or a resto-mod. For some reason all I can see are the chains ruining a nice new paintjob.
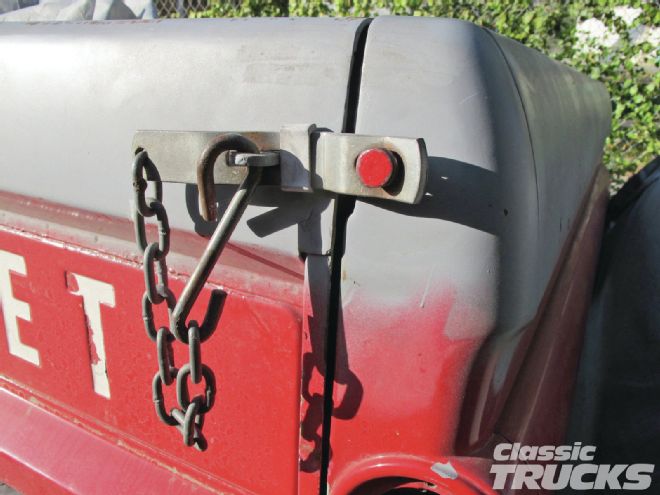
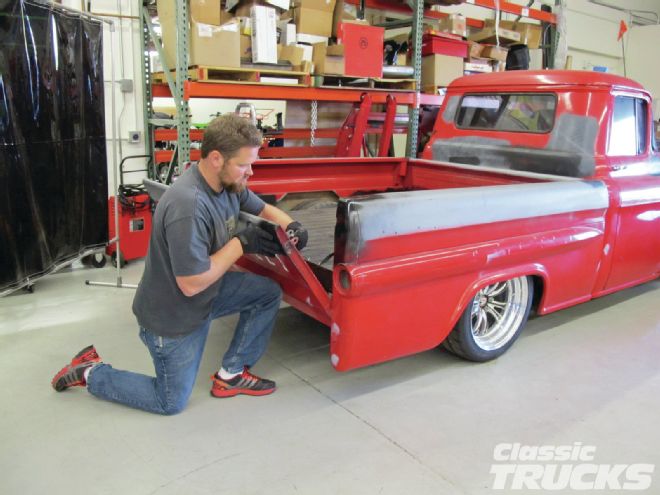
13 Pro’s Pick has a really cool hidden latch kit that, with some basic tools, can be adapted to most classic truck pickup beds. The stock chain in this photo is being use to hold the tailgate up while I work on installing the hidden latches.

14 The latch comes with this spring-operated popper that pushes in and out when in operation.
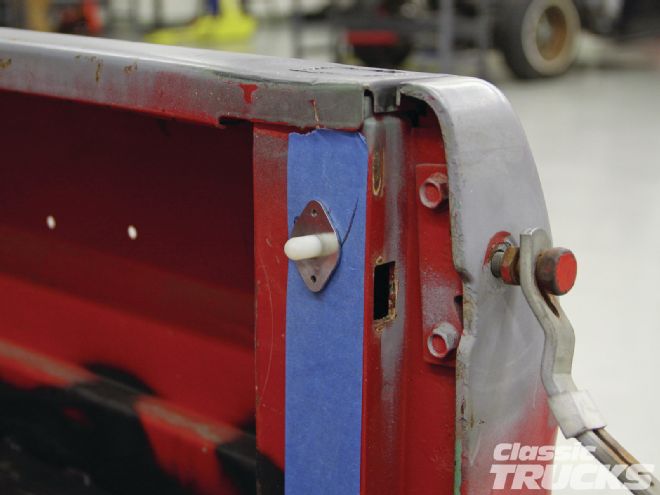
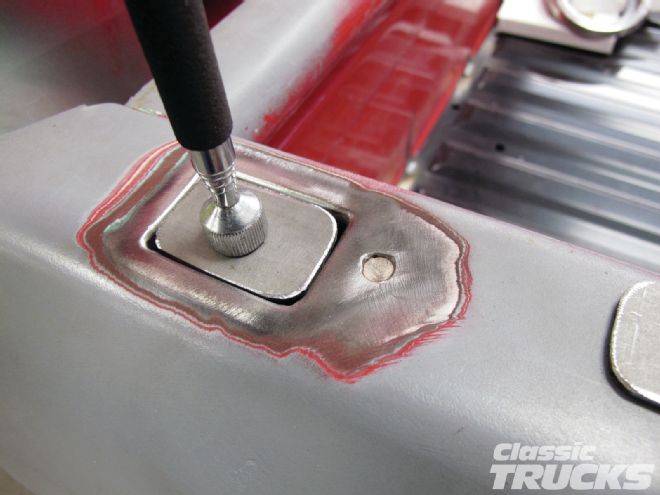
15 To install the popper, the latch must be installed on the tailgate. The kit provides a special locating punch that helps with aligning the popper.
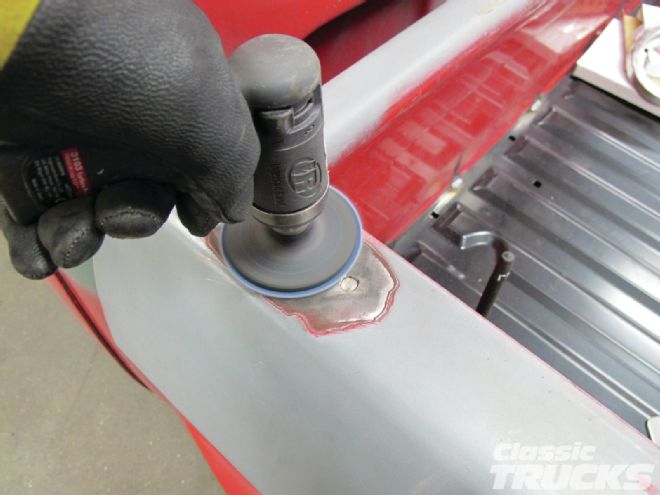
16 The kit says to use a hole saw bit to get the proper-sized hole for the popper. I didn’t have one, so instead I used a small drill bit to locate the hole. Then I stepped the drill bit up a few sizes until I could get a carbide tool inside the hole. Outlining the shape of the popper, I then sized the hole using the carbide bit on an air grinder.
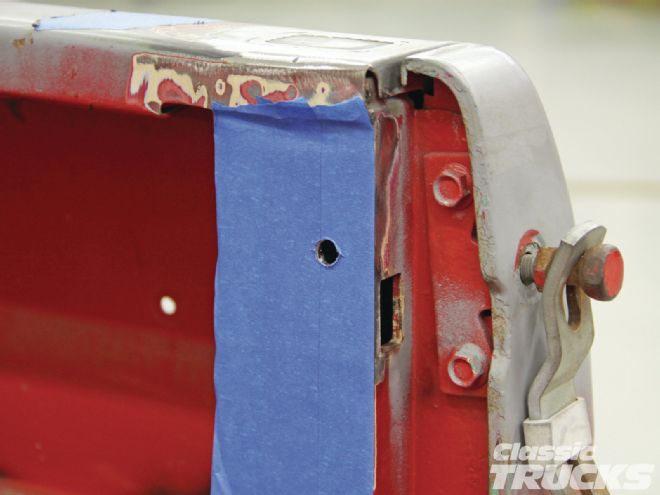
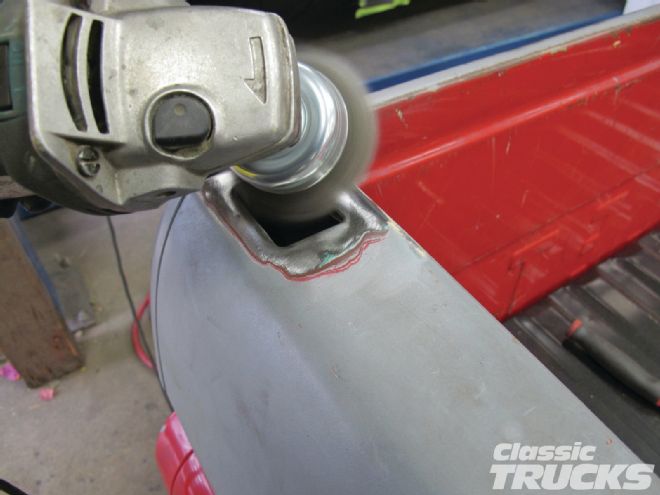
17 I then removed the tailgate tab and chain off the rear of the tailgate. Then I used a grinding disc to remove the paint away to get the tailgate ready for welding.
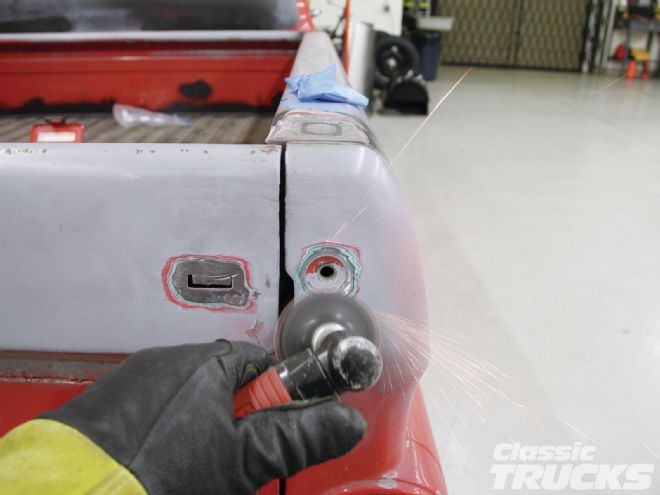
18 I used a Lincoln MIG welder to tack the holes closed. Make sure to take your time so that you don’t warp the panel.
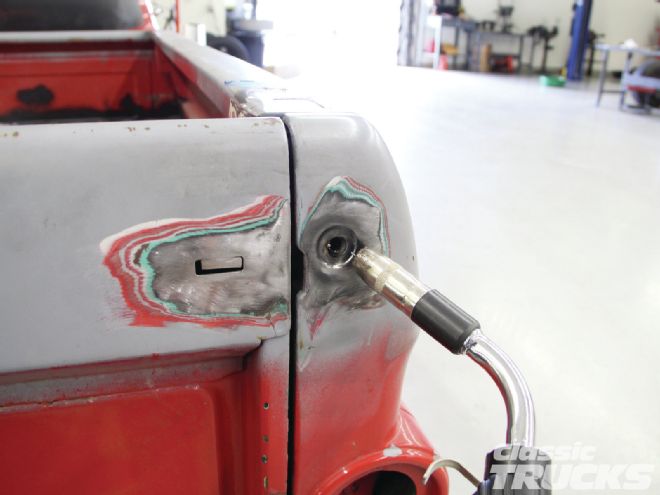
19 Filling the holes was easier than I thought. Make sure to take your here time when grinding because it also creates heat and can warp the panel.

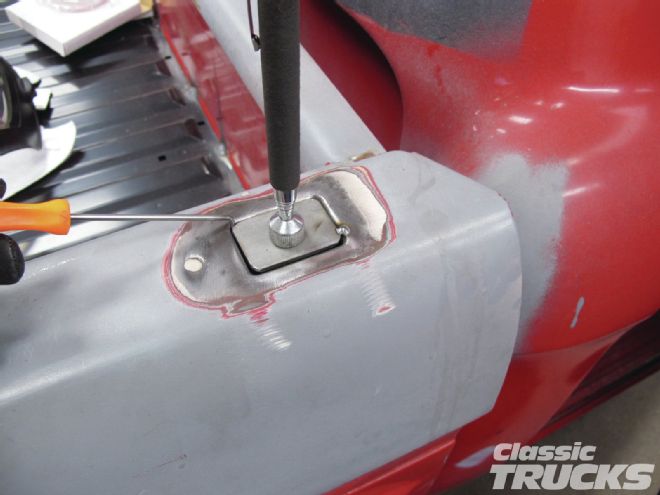
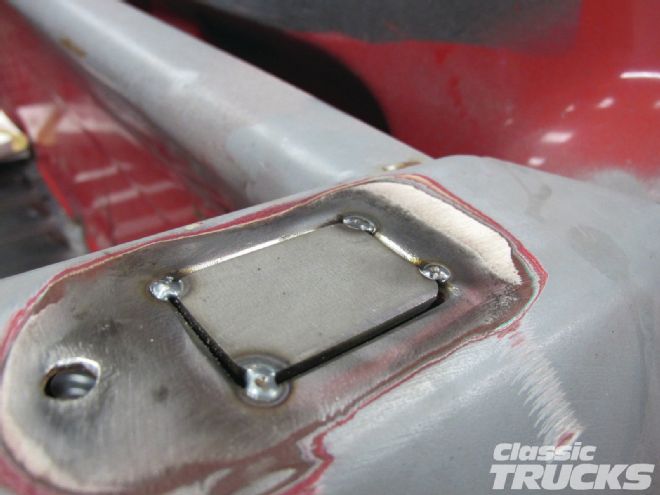
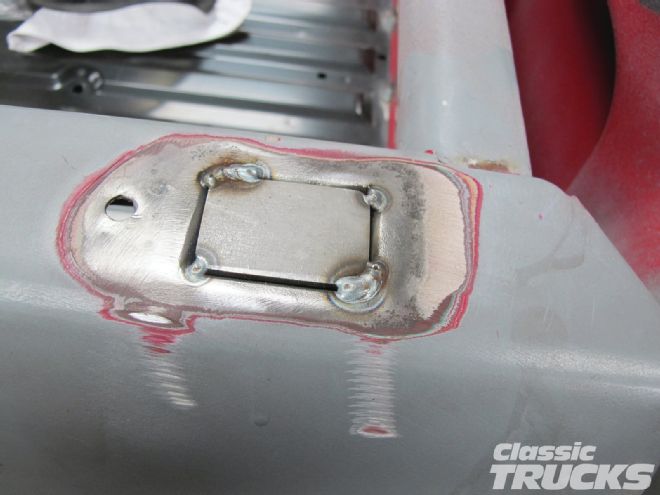
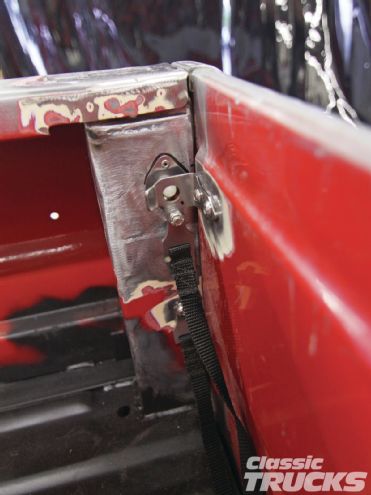
20 I used a long bolt, washer, and nut to tighten down the nutserts provided in the Pro’s Pick kit. This is also a good location to mount the tailgate strap that holds the tailgate up.
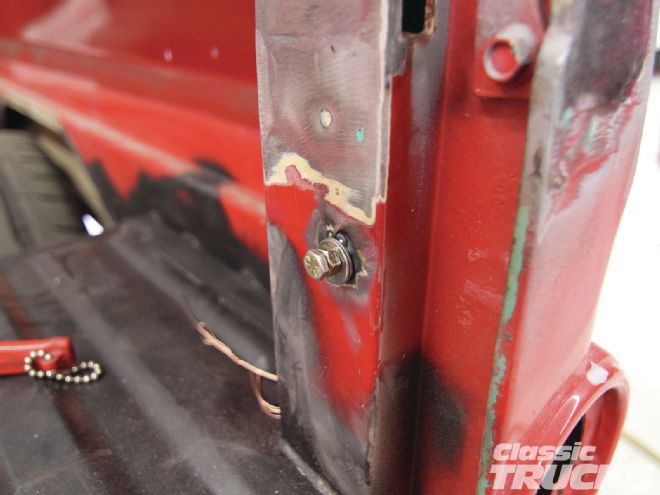
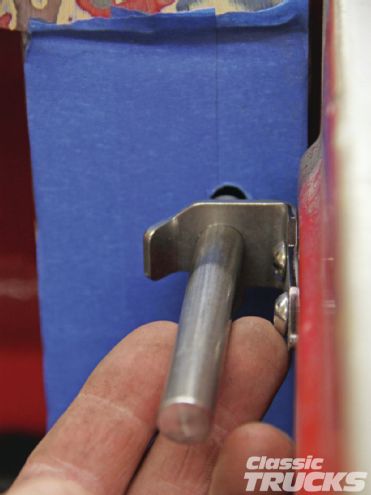
21 With the tailgate latched, the popper should make contact with the latch and hold the tailgate securely.
22 My goals are complete for now until I start tossing around the body filler to fill the uneven surfaces in the metal. My plan came together and I successfully cleaned up the rear of the tailgate and top of the bedrails.