Project Gasser is picking up momentum. This is our Body Buyer's Guide issue so we couldn't think of a better issue to show the fresh Tri-Five sheetmetal available through Woody's Hot Rodz and assembled by Real Deal Steel. And being hot rodders we couldn't leave well enough alone, so out with the torch. We hatched a plan with Woody's own Chris Sondles and asked if we could cut up the fresh sheetmetal on our '55 Chevy “post” car. After he got up off the floor he was in favor of us giving the sheetmetal an unmistakable Gasser modification—radius wheelwells.
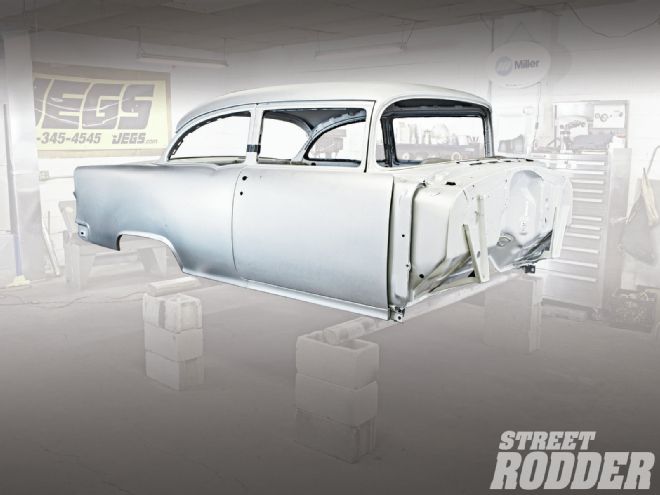 The first ’55 post car since, well 1955, and we are going to cut it up!
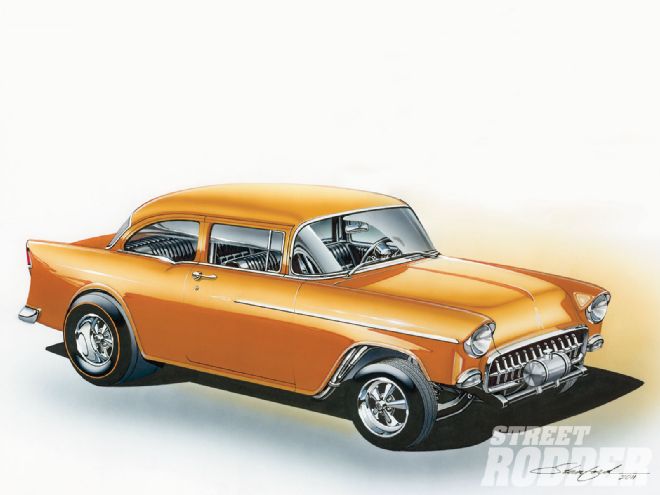
Turns out the wheelwell opening of the fresh sheetmetal '55 will easily handle 8.20x15 Coker/Firestone cheater slicks (pie-crust edge) on 8x15 Cragar S/S wheels. The chassis is outfitted with a Currie 9-inch rearend specifically for a Tri-Five Chevy (PN CE-GMB5557X) but narrowed an additional 1-1/2 inches per side (overall width 57-3/8 inches) to get the added wheel and rubber combo we wanted to add. The look is taken from the Steve Stanford artwork based on the popular mid-'60s artwork. But once we opened up the "hole" we found we needed much more tire and wheel. In place of the 8.20s we are now using 10.00 Coker/Firestone cheaters and swapped out the 8-inch-wide Cragar S/S wheels for 10 inch.
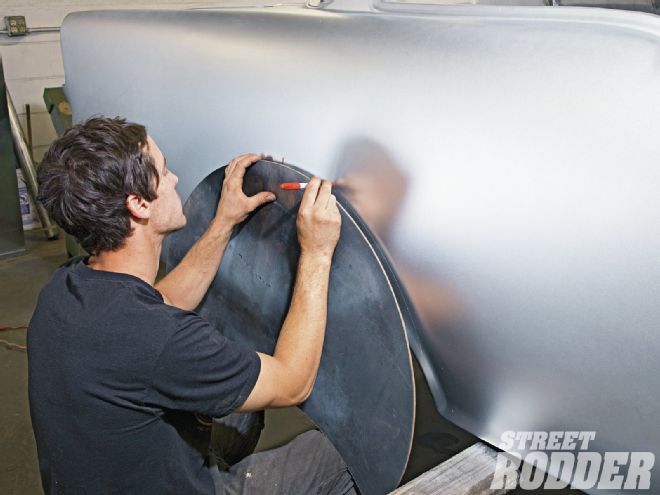
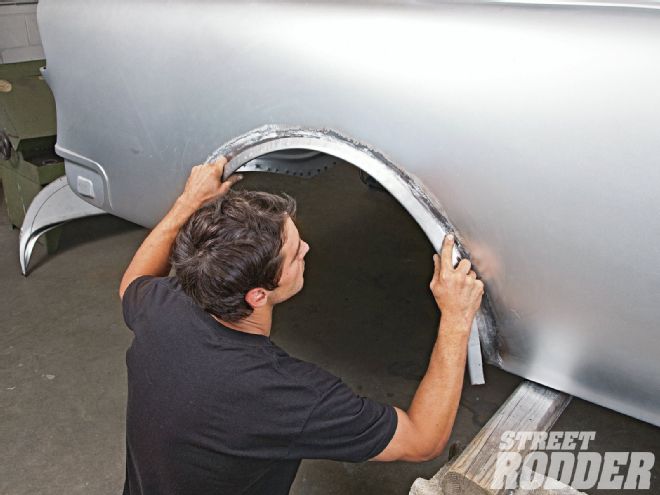
We followed Dane Heninger of Woody's Hot Rodz as he gave our post '55 a trim. Follow along in the photos, the process seems simple enough, but you will probably want you body and chassis attached. In this fashion you can be sure of the exact size of the opening you will need based on your wheel and tire combination. Typically you will want to mark the axle center on the quarter-panel at the top of the arch of the radius. You want to make sure the rearend housing is centered in the wheel opening. Next up is to make yourself a template of the wheel/tire radius and then transfer that to the sheetmetal. This in turn will give you the shape of the opening and the amount of body panel metal to be removed. Cutting is the easy part. Getting the opening so that the wheel/tire is centered is critical but not difficult. However, should you get it wrong you will be doing a lot more bodywork! The difficult part may actually be the making of the new lip. Oftentimes in the '60s we would see a Gasser with a “raw” cut on the wheelwell. Sure the larger wheel/tire combo fit just fine but the sharp edge on the sheetmetal neither looked good nor was it safe. By placing a new fender opening lip it not only finished off the sheetmetal work, making the fender look like it “belongs”, but it will also save you from sliced body parts later on.
Making of the fender lip isn't difficult but there are a few tricks to the job, but with a little patience it's easily accomplished and most definitely worthwhile.
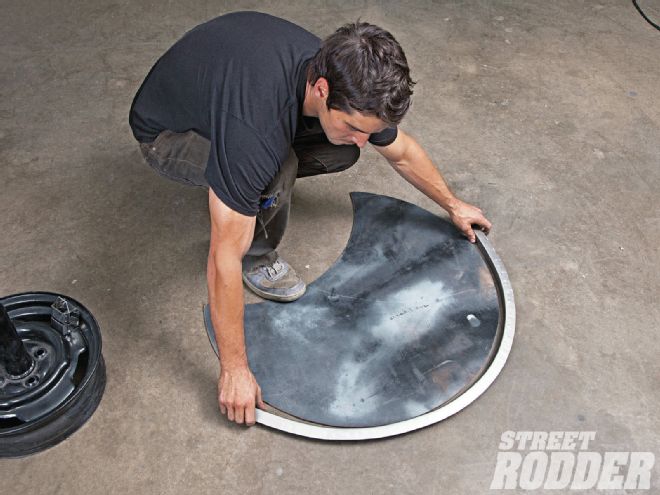
Dane Heninger of Woody’s Hot Rodz fashioned a template of the overall wheel/tire measurements; this was made to mark the exact radius needed, also allowing for the gap and size of sheetmetal lip.
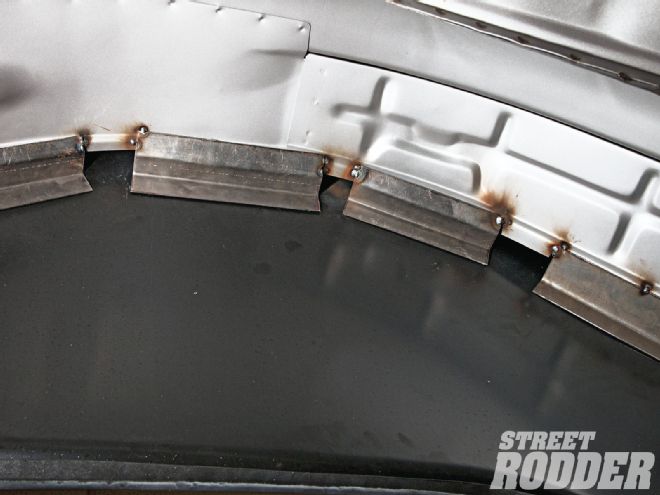
Prior to cutting, Heninger tacked in some angle pieces inside the wheelwell between the wheel tub and quarter-panel to support during mods and will be removed after mods. This is done as the metal will flex at this point.
A 4-inch cut-off wheel was used to cut the radius, carefully scoring across the arch marked from the template. He did not cut at the ends until the rest of the arch was free to help hold the cut piece in place then carefully cut the ends loose.

Heninger scored the metal and repeated to score until the piece was cut loose.
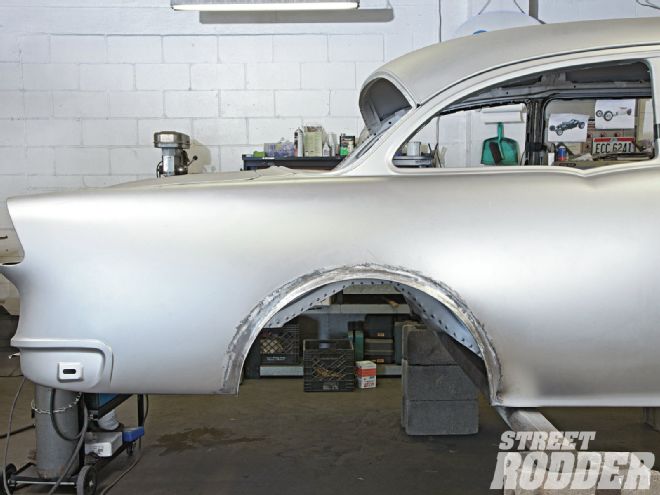
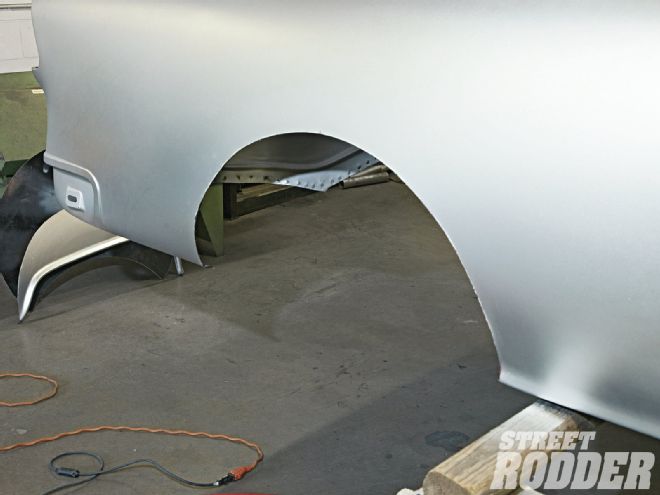
Here is the raw opening. Still needs additional metalworking, including the fender lip to be fashioned.
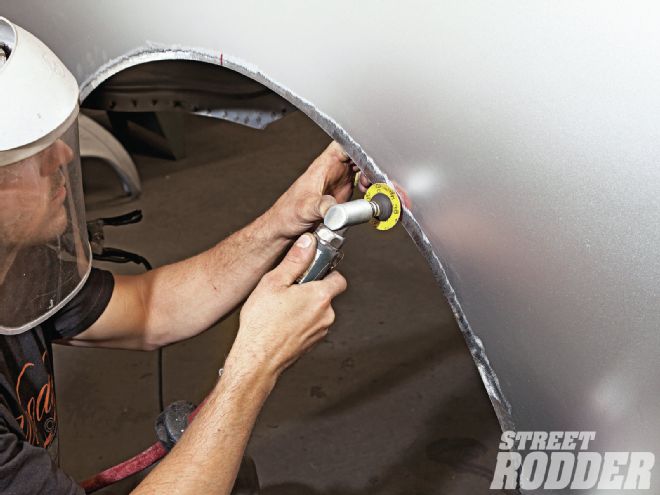
Heninger used an air grinder with a 50-grit Rolox disc to smooth and deburr the edge of the cut.
Starting with 20-gauge steel, Heninger marks a piece 50 inches long by 2-1/4 inches wide (1-1/4 inches for lip and 1 inch for inside edge). Using a cut-off wheel, the strip is cut out and then the edge is deburred.

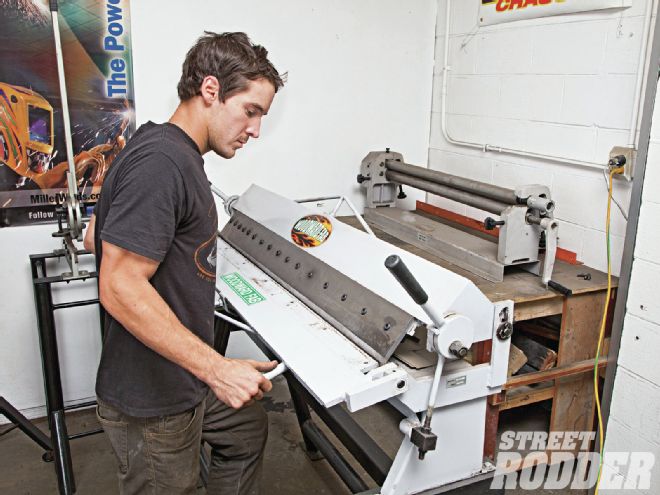
Using a brake, he bends on the predetermined bend line to a little more than 90 degrees. The actual bend will be more but this is done during the stretching and shrinking process.
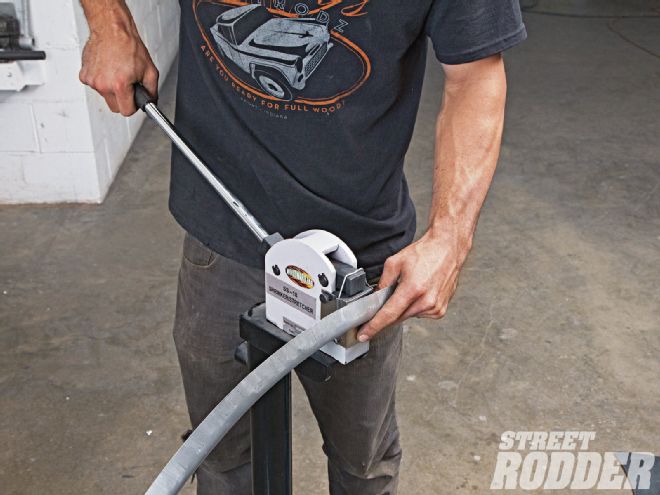
A stretching die is used to make the radius.
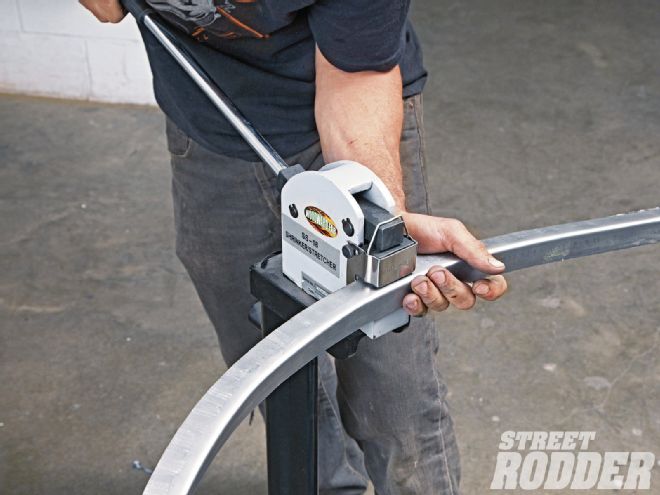
Use your template to make sure the radius is close, then working on the inside of the wheel lip shrink the piece to form to the contour of the quarter-panel. Repeat the processes until the desired shape is made.
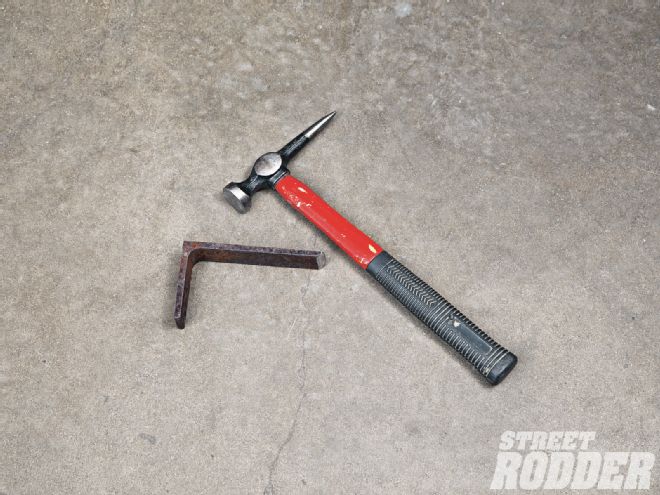
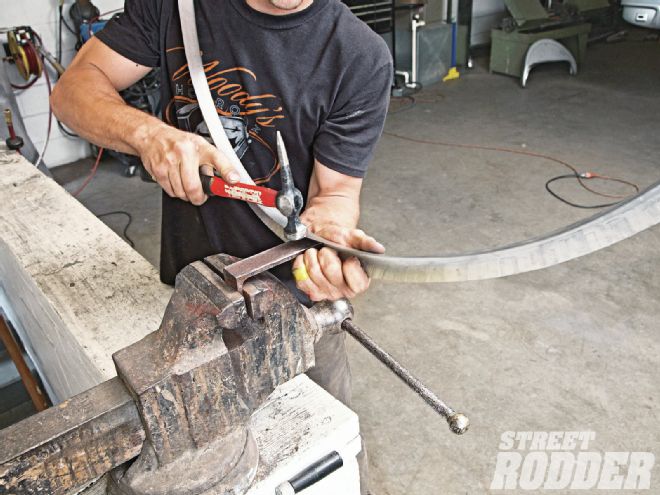
Use a hammer and 2x4 angle iron that’s a 1/4-inch thick as a dolly.
Using your hammer and dolly, shape the bend and the back of the wheel lip. You can also smooth out the marks from the shrinking and stretching with the dolly.
Practice fit, one or more times, and make any subtle adjustments at this time.
Make your adjustments between practice fits.
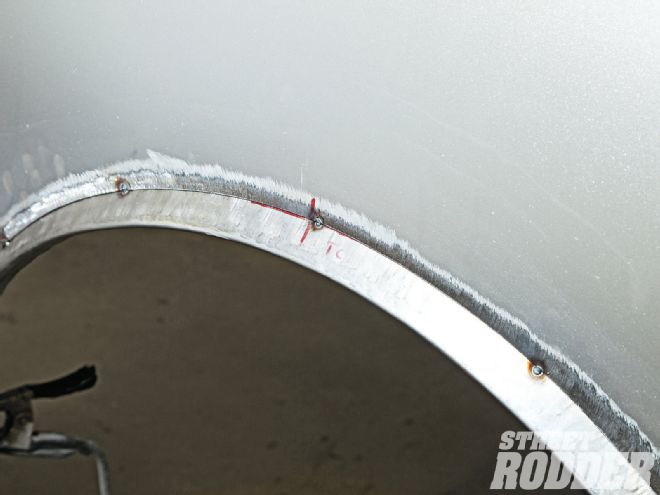
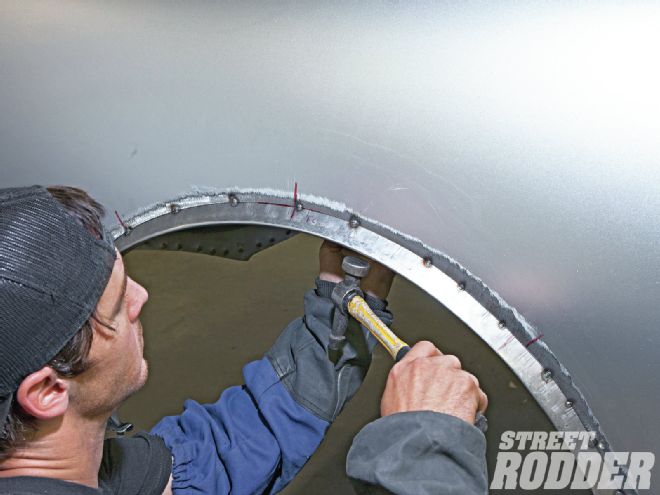
Once the rough shape is made, check it against the cut, then position it and mark the lip and panel for position for the welding process.
The lip is positioned, clamped, and finally tacked to hold its position.
A series of templates help guide the lip and match the different contours of the panel. As the tacking occurs, adjust and work the metal with hammer and dolly to work the metal to the desired position.
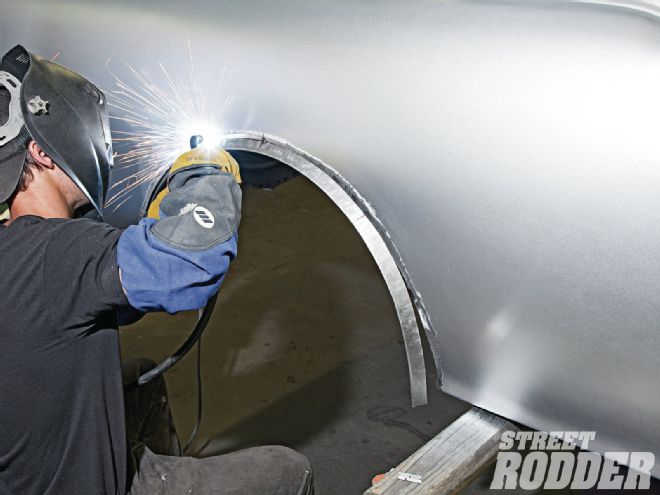
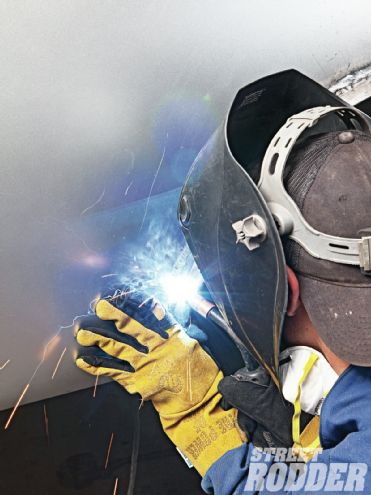
Carefully tack and cool the metal with an air hose then work around the wheel opening and continually change position to keep the metal from warping due to the heat.
To shape the rear of the lip and to shape it properly to the panel it’s marked with cut lines and carefully scores the lip, not cutting off.
Once the lip is in the desired position, carefully tack it into place.
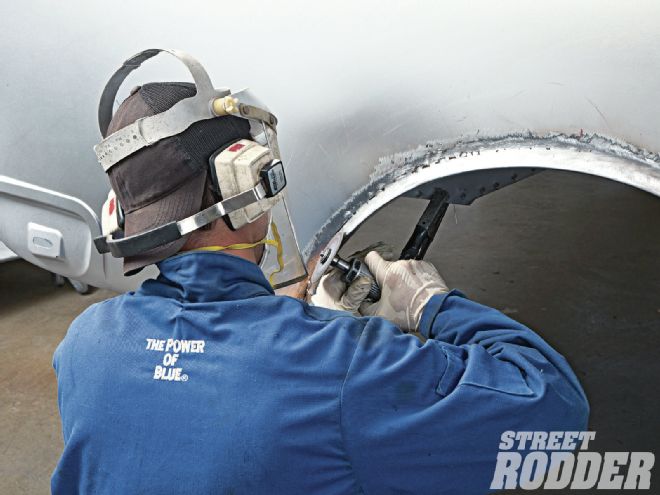
An air grinder is used to clean and smooth the welds.
The finished wheelwell radius gives the ’55 a distinctive appearance associated with the Gasser look.