
All of us know a good-looking paint finish when we see one. Knowing and doing, however, are two different matters. Seeing is a long way from "doing" but it is a skill that you can learn and improve upon. To get this knowledge we looked to the pros in paint finish: PPG. The doing is up to you.
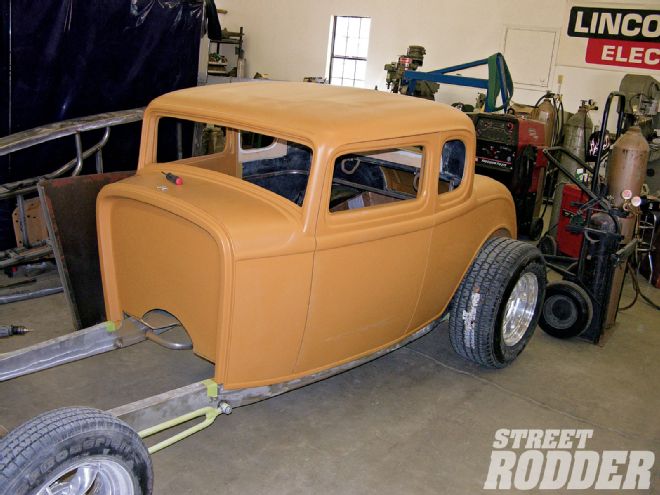
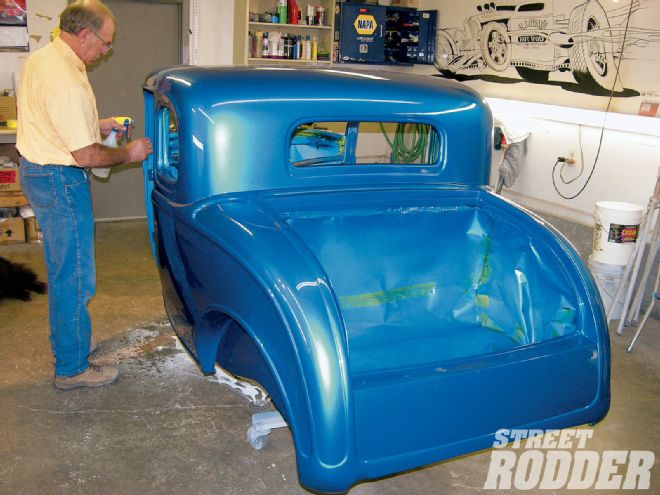
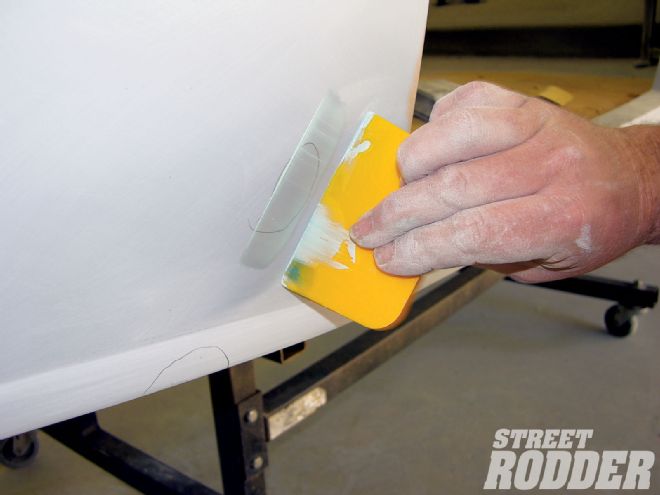
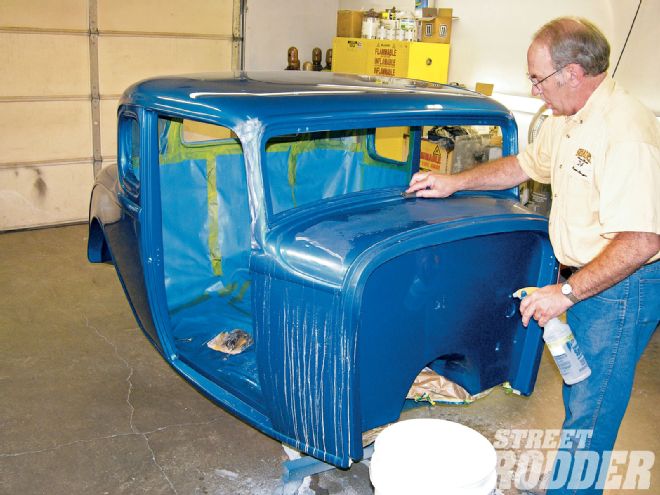 Applying our knowledge to years of practice, Joe Bailey of Alloway's Hot Rod Shop is shown here working on the color sanding of our Rat's Glass fiberglass '32 highboy five-window.
If we have any interest in painting our own street rods, proper prep is an absolute. It has been said that patience is a virtue thereby making painting a virtuous act. Preparation in painting is paramount.
There are a number of aspects to the "perfect paintjob" but let's begin with understanding some of the basic dos and don'ts to surface preparation, surface abrasion, plastic filler, primer, primer surfacer, V-seal sealer, basecoat/topcoat, and clearcoat. There's a lot of knowledge and effort resting beneath the vibrant and colorful topcoat all of us marvel.
Since we want professional results we should seek professional input and for that we visited the paint labs of PPG. The following are some basic dos and don'ts that each of us should be aware of before moving our project from bare metal (or fiberglass) to the final topcoat. Remember what you learned in first grade: "Anything worth doing, is worth doing well."
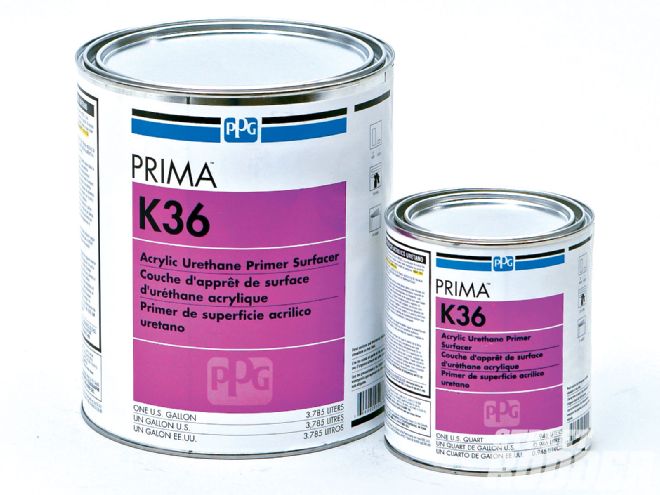 K36 is mixed five parts K36 to one part DT885 and one part K201.
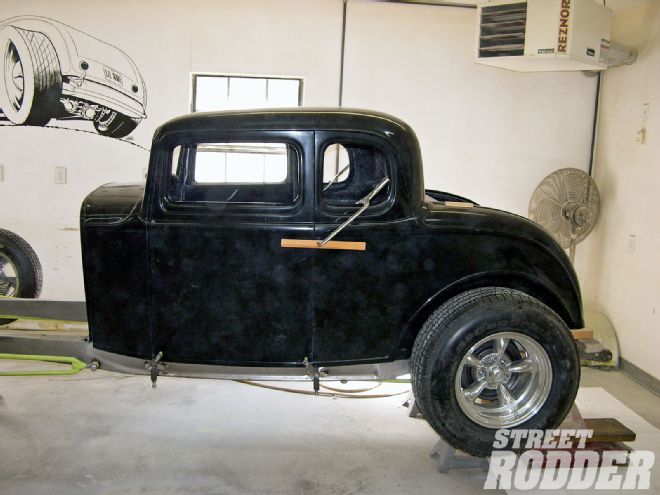
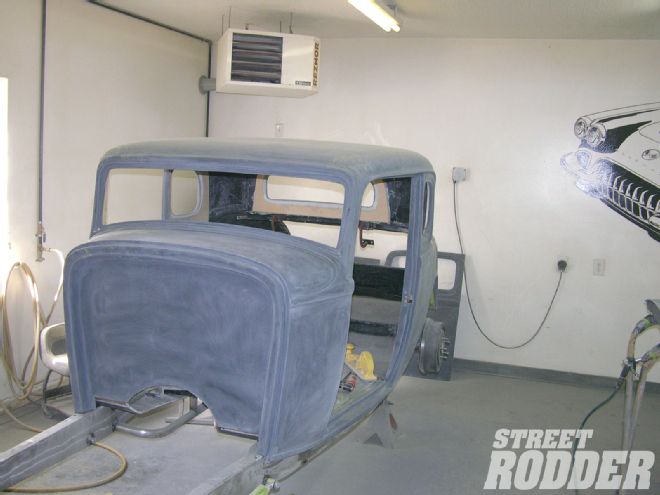
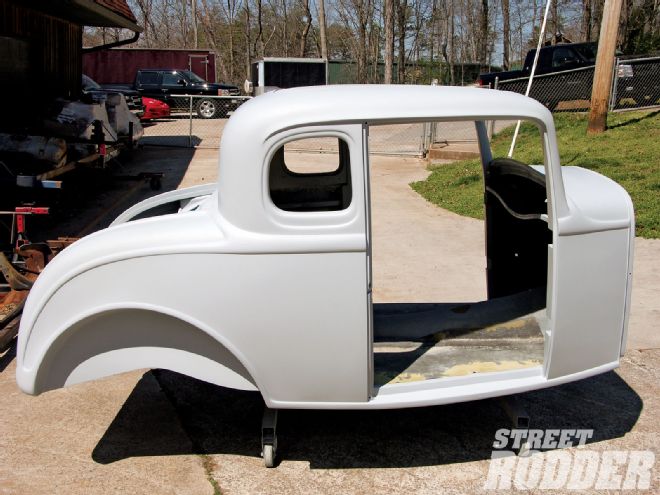
With book learning in hand we thought it would be a good idea to follow the process on a street rod. For this we visited the paint booth of Alloway's Hot Rod Shop in Louisville, Tennessee. Our subject is a fiberglass '32 Ford five-window coupe from the molds of Rat's Glass in Friendsville, Tennessee.
Surface Preparation
Our moms told us to wash our hands before sitting down to the table. Well, it's no different when painting. Not only should you wash your hands, and make sure all of your equipment is clean, but that the surface soon to be painted is clean and ready to go.
 Our fiberglass '32 in the gelcoat as delivered from Rat's Glass. Gelcoated fiberglass requires sanding with 280- or 320-grit paper prior to the application of a surface. If filling is required, sand or grind areas where filler will be applied with 80-grit paper.
Wash the surface to be painted with warm soapy water and rinse thoroughly. The intent is to remove any waterborne contaminates. Clean, dry air is crucial to a successful paintjob. If there is water vapor or oil vapor coming through the airlines from the compressor, the success rate will drop drastically. Water and oil are contaminates in paint and will cause a failure, if not right away, in a matter of months.
Wipe the surface with a good solvent cleaner to remove all oils and grease; PPG DX330 will get the job done. The intent of having a clean surface is to ensure good adhesion of the fillers and finishes used. Any trapped contaminate will lead to future corrosion.
Surface Prep Dos
Use liberal amounts of DX330 to break up and loosen the oils and/or grease from the surface and use clean towels to prevent "new" contaminates coming from the cloth.
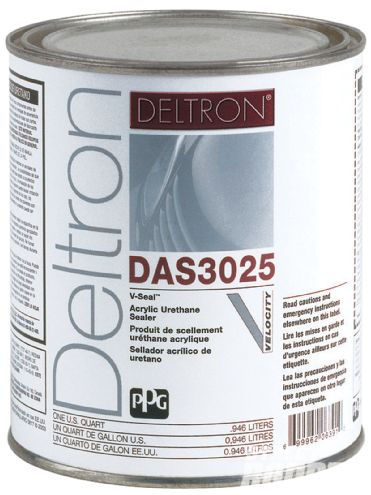 The purpose of a sealer is to provide a uniform surface and optimize topcoat hiding.
Next, use a clean, dry cloth to wipe contaminates from the surface after the DX330 is applied. So far we have been talking about metal, but should your project be with fiberglass use a water- or alcohol-based cleaner. For 'glass, DX103 will remove mold release as well as dissipate static.
Surface Prep Don'ts
Don't allow the DX330 to dry on the surface, the contaminates you just loosened will be reintroduced. If you wipe over an area where the cleaner has dried, any contaminates that were in that area will be spread around to the areas that are wiped. DX330 shouldn't be used on fiberglass as any solvent cleaner will penetrate too far into the porous surface of the gel.
Surface Abrasion
Gelcoated fiberglass requires only to be sanded with 280- or 320-grit paper prior to the application of a surface. If filling is required, sand or grind areas where filler will be applied with 80-grit paper.
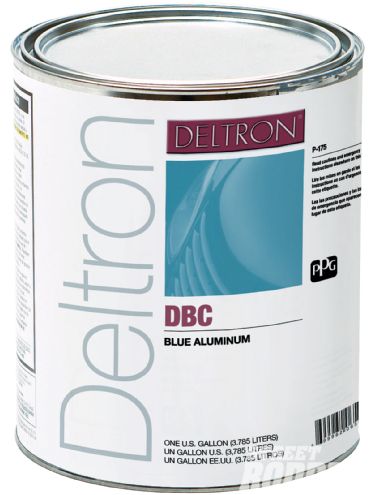 DBC comes in many colors (here Blue Aluminum).
Heavy steel, such as a frame, will need to be sanded with 80- to 180-grit paper depending on the amount of rust or damage that needs to be removed or smoothed. If there's a considerable amount of rust, it may be more effective to blast.
Sheetmetal may also need to be sanded with 80- to 180-grit paper depending on the condition of the surface.
Surface Abrasion Don'ts
Don't blast sheetmetal with sand or other "heavy" material as it may cause the panel to warp. The use of plastic media, walnut shells, or soda may be a better solution to see what's underneath the old finish. Remember to clean a surface before blasting (yes before) as the blasting process can drive the contamination into the surface.
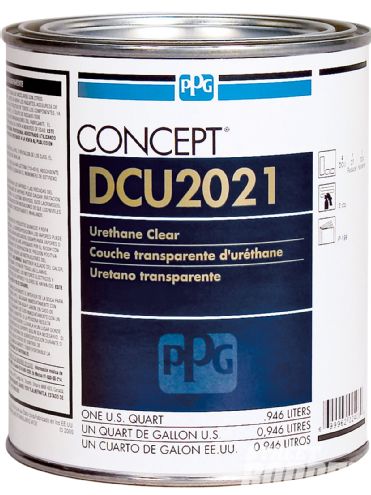 Once you have applied your color basecoat it's ready for clear. Apply DCU2021 evenly with medium wet coats.
Plastic Filler
After working the metal and repairing the fiberglass, apply plastic filler to smooth any dents or imperfections in the surface; DF700 is a good fill material and sands easily. Use 80-grit paper to rough out the filler and finish sand with 180-grit sandpaper.
After roughing out the plastic filler, the final wipe should be with a fine filling glaze. The glaze will fill any heavy scratches or minor imperfections in the plastic. The glaze should be sanded with 180-grit and finished with 280- or 320-grit sandpaper.
Plastic Filler Dos
Clean the substrate prior to the application of the plastic filler to ensure adhesion. Before applying, make sure to stir the plastic filler in the can as separation can occur, and make sure to knead the catalyst prior to use. Make sure the "board" you mix on will not absorb the resins of the filler. An excellent medium is a plastic mix board or glass; you can also use a piece of clean sheetmetal.
Plastic Filler Don'ts
Follow mixing directions carefully and remember that too much catalyst isn't better. The general rule is to add 1 inch of catalyst to a golf ball size portion of filler. Adding more than this can cause pinholes in the filler that will be exposed as it is sanded.
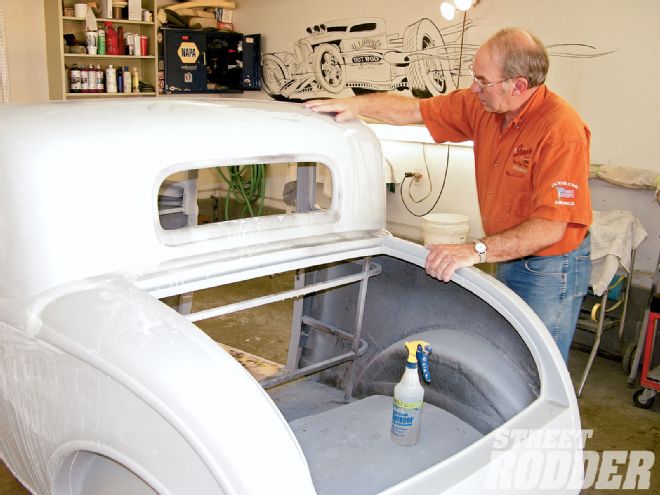
 Note the use of primer, a guidecoat to find the highs and lows, and the final application of primer/sealer.
Primer
This is an area where many make the mistake of applying a surfacer (high build, sandable primer) directly to bare metal. Have you ever had primer surfacer peel from bare metal? They are not designed to provide the adhesion to bare metal that many think.
Primer surfacers are made to fill and level as well as sand easily. Epoxys and etch primers are not made to provide fill or to be sanded. They're designed simply for protection and adhesion. Much better results can be had by applying an epoxy primer or an etch primer prior to the primer surfacer.
 All of us marvel at the "foot" deep look of a good paintjob. This is achieved by sanding the clear using 1,000-grit paper wet, using a hard block, or 800-grit on a DA sander and reapplying.
For restorations and long-term builds an ideal product is an epoxy, such as PPG's DPLF. DPLF provides excellent corrosion protection for steel and aluminum as well as the adhesion to bare metal and fiberglass. DPLF epoxy primers will provide excellent adhesion to aluminum, steel, and fiberglass. DPLF primers also provide corrosion protection for aluminum and steel.
DPLF comes in six colors and is excellent for a body or frame that has been stripped, be it by sanding or blasting. This is not a surfacer. It's not intended to be used for blocking and straightening, it provides adhesion and long-term corrosion protection.
The use of the DPLF epoxy under the surfacer not only provides the adhesion and corrosion protection, but also provides an indicator for finding high and low spots.
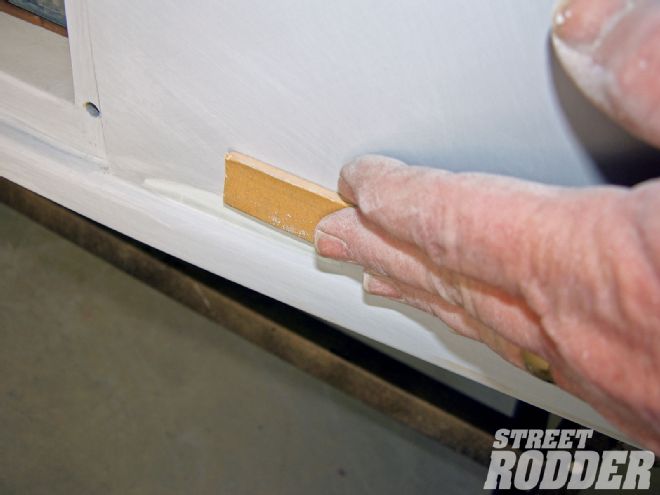
 Start with a heavy-grit sand paper, such as 220-grit. The heavier grit will cut the top off of the high areas more readily rather than follow their contour. Re-prime with K36 and sand with a finer grit to smooth it out.
Using a block sander, sand the surfacer in long diagonal strokes to straighten. The high spots will expose themselves as the surfacer is sanded through to the DPLF. As soon as the DP shows through, stop sanding and re-prime.
DPLF Epoxy Dos
Clean the surface to be primed like was mentioned in the surface preparation section prior to priming. Allow the proper induction time (time allotted after the hardener is added to the primer to allow the two to begin the process of catalyzation). It's important for adhesion and corrosion protection that the product is given the proper time to blend together prior to application. This is necessary when using the DP401LF Activator.
Allow the proper amount of time between coats. Neglecting to do so may cause a lack of adhesion between coats.
When applying over a blasted metal it will be necessary to apply two coats of DPLF in order to fill the profile of the blast. Over metal that has been sanded with 80-180 grit, one coat will suffice.
The epoxy needs to "vent" solvents prior to the application of the primer surfacer. Wait no less than one hour to apply surface over the DPLF with DP401LF catalyst.
K36 Primer Surfacer
A good urethane surfacer is best for smoothing minor imperfections in preparation for topcoat. K36 provides a good build, fast dry, and sands well, making it ideally suited for blocking and straightening. Once the K36 surfacer is applied and allowed to dry, sanding will be required to smooth out any imperfections.
The condition of the surface will determine the grit of paper to use. A very rough surface may require the use of 220-grit paper. In such a case re-priming will be necessary. If the surface is in good shape, and the intention is to use sealer, the surface can be sanded with 320- or 400-grit. If sealer is not going to be used, the surface can be finish sanded with 500- or 600-grit paper and top-coated directly as long as there's no bare metal showing.
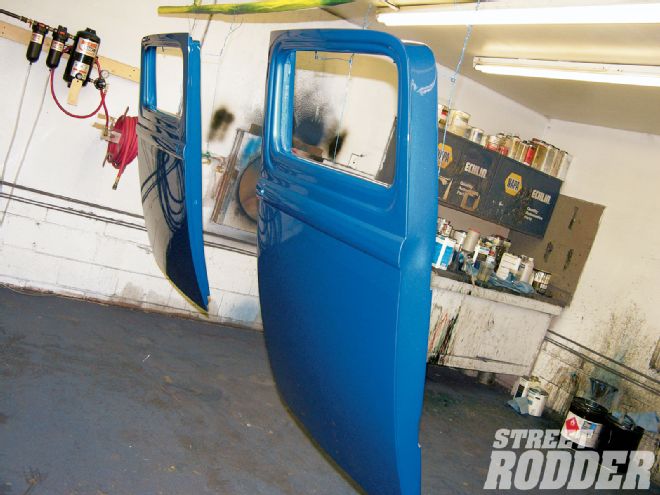 Hot rods are typically painted piecemeal-meaning the doors, decklid, hood, grille shell, etc. are all treated separately. This works but you have to pay special attention to make sure the final color you apply comes from the same parent batch and it is mixed and applied identically to all components involved.
Surfacer Dos
Use a slow reducer to allow the K36 to flow into the imperfections you are looking to fill rather than bridge over only to show later. Allow proper flash time between coats to allow the solvent to escape and avoid shrinkage.
K36 Surfacer Don'ts
Don't attempt to fill too course of a scratch. The purpose of the surfacer is to fill minor imperfections. Don't apply too much too fast as thick coats trap solvent and can cause shrinkage.
Sanding Dos
To achieve that flat, mirror-like finish, utilize a sanding block to remove minor high and low areas. Make sure to use long diagonal strokes when sanding to cut uniformly and level high and low areas. Start with a heavy-grit sand paper, such as 220-grit. The heavier grit will cut the top off of the high areas more readily rather than follow their contour. Re-prime with K36 and sand with a finer grit to smooth it out.
 Apply plastic filler to smooth low spots or imperfections in the surface. DF700 is a good fill material and sands easily; use 80-grit paper to rough out the filler and finish sand with 180-grit paper.
Sanding Don'ts
Don't sand with the tips of your fingers. This will cut grooves that will be seen in the final finish. (There are exceptions, such as sanding between louvers, but these are exceptions and not the norm.)
If you use a sander don't tip it on edge as this will cut grooves into the finish that will be seen in the final finish as well as waste sandpaper. Utilize the whole pad. Proper technique says that no less than half of the pad should come into contact with the surface.
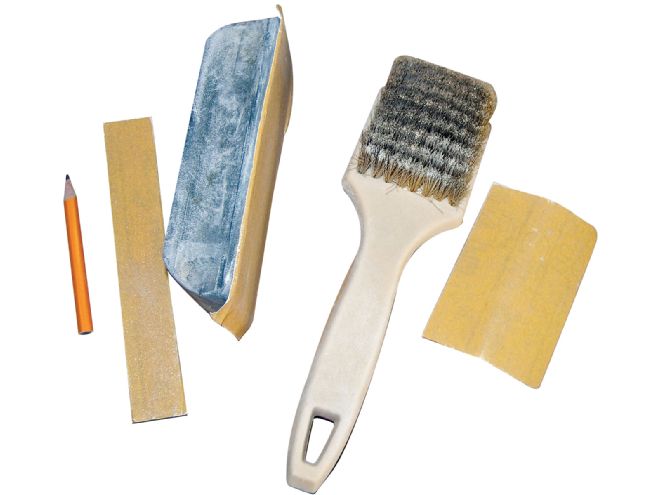 Tools of the trade; a pencil for marking the high and low spots in the primer, sanding blocks of various sizes, a stiff bristle brush, and, sandpaper-lots of it in varied grit.
V-Seal Sealer
The purpose of a sealer is to provide a uniform surface and optimize topcoat hiding.
Sealer is not required over the K36 primer surfacer. If there are no areas where bare metal is exposed, sealer can be skipped. But, consider the fact that sealer is less expensive than topcoat. Faster coverage can be achieved using a sealer verses the application of more color.
V-Seal Dos
Use the sealer to save money on the basecoat. Utilize the shades of gray to provide a uniform color that allows the basecoat to cover faster, saving on basecoat usage.
 Sand in long diagonal strokes as the high spots will expose themselves. As soon as the DP shows through, stop sanding and re-prime.
Deltron 2000 Basecoat/Topcoat
Deltron is an easy-to-use premium quality basecoat that PPG offers in thousands of colors as well as custom blends.
After the basecoat has been applied and a 15-minute flash time has passed, it's ready for clear. Apply DCU2021 evenly with medium wet coats.
Even application is the key to success. A lot of material can be applied if it's applied evenly. It's the areas that are overlapped several times that tend to run. Take special care in these areas to avoid more than one application of clear at a time.
Concept Clearcoat
For an extra-deep look, sand the clear flat using 1,000-grit paper wet using a hard block, or 800-grit on a DA sander and reapply. Take care not to sand through the clear. This will give that flat, deep look that gives the appearance of being able to reach into the paint down to your elbow.
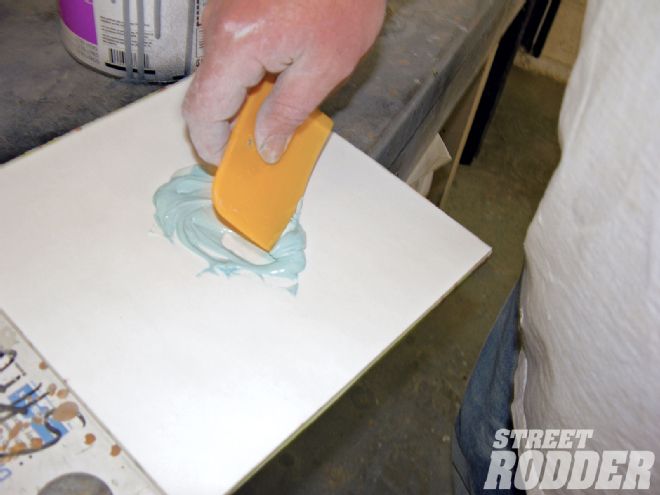 Approximately 1-inch of catalyst to a golf ball size portion of filler is a good ratio. A plastic mix board or glass is ideal but you can use a piece of clean sheetmetal.
Deltron Dos
Like the K36 surfacer, use the slower solvent, apply medium coats, and allow proper flash time between coats, which generally means at least 5-10 minutes between coats.
The use of slower solvents, like DT885 and DT895, will allow for easier application and metallic control; again allow 5-10 minutes between coats.
DCU2021 Clearcoat Dos
If your plan is to flat sand and buff the clear, allow extra flash time between coats and apply another coat.
Well, there you have it, a handful of Dos and Don'ts from the paint pros at PPG. Painting is a learned skill and by putting in the homework and garage time you should be able to paint your own ride.