If you're a customized classic truck aficionado there probably aren't too many challenges related to building one that you find intimidating. And while we like to put ourselves in that "willing to try anything once category" the truth is one thing we've always been hesitant to attempt is installing a windshield. Let's face it, glass is weird stuff-how can it be tough and fragile at the same time? And how do you deal with something that is both?
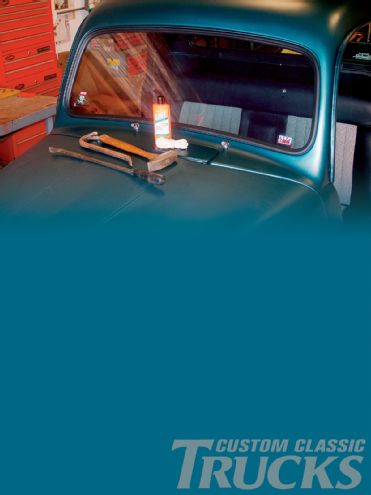 Here's a Custom Classic Trucks quiz. Which of the tools shown are used to install a windshield? If you picked the hand cleaner and cord you're ready to proceed. If you picked the hammer, crow bar, or pry bar, put the rubber down and back away from the glass.
When we decided to update the interior of our F-1 it was obvious the windshield and back glass rubbers would have to be replaced. As happens on most vintage trucks, the rubber seals around both had deteriorated and as a result each leaked in several spots. Driving in the rain or hosing down the half-ton created several little mini waterfalls running off the dash and down the back of the seat-with the old trashed interior it didn't matter much so it was simply a matter of mopping up, but with the all the updates planned, the cab had to be made watertight.
No Pain in the Glass
As the windshield and back glass were to be reused we figured taking them out was best done with an extra set of hands to prevent disaster. Removing the glass is simply a matter of using a razor blade to cut away the lip on the rubber gasket that fits over the opening in the body. One lip is thinner than the other (the inside of the windshield gasket and the outside of the rear window gasket in this case) consequently it will be easier to cut. However, even with the gasket's lip sliced away the glass may still be stuck in the opening. It's not unusual for some sort of sealer to be slathered on to cure a leak and they tend to glue the glass in place. Resist the temptation to stick something under the edge of the glass and pry-that's a sure way to crack the glass. Instead, use the palm of your hand and slap the glass around the edges until it comes loose. Once the glass has been removed inspect the area where the rubber fits carefully. At the very least a thorough cleaning will be required and chances are good some repair will be required-and now's the time to take care of it.
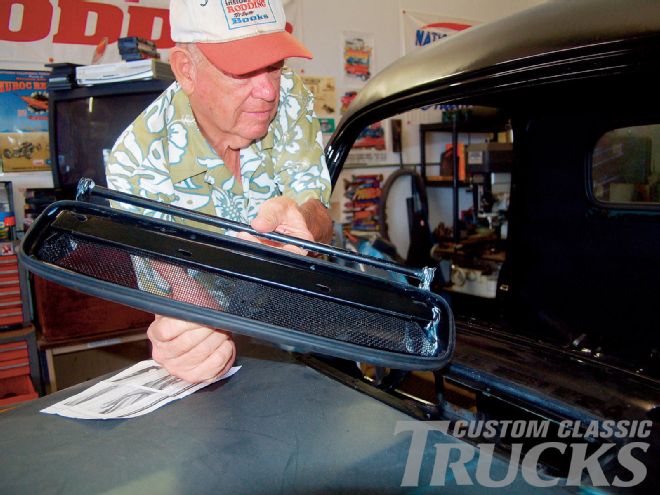
Installing the windshield and back glass is surprisingly easy. We ordered new rubber from Sacramento Vintage Ford and an installation kit that consisted of a length of cord, hand cleaner to be used as a lubricant, and last but not least, instructions that are worth the $5 the kit goes for.
With the new seal on the glass, the cord is placed in the groove in the rubber that fits around the lip of the body. Then the glass is placed in the opening (the windshield goes in from the outside, the rear window from the inside) the cord is pulled out and away from the glass, rolling the rubber over the lip of the opening.
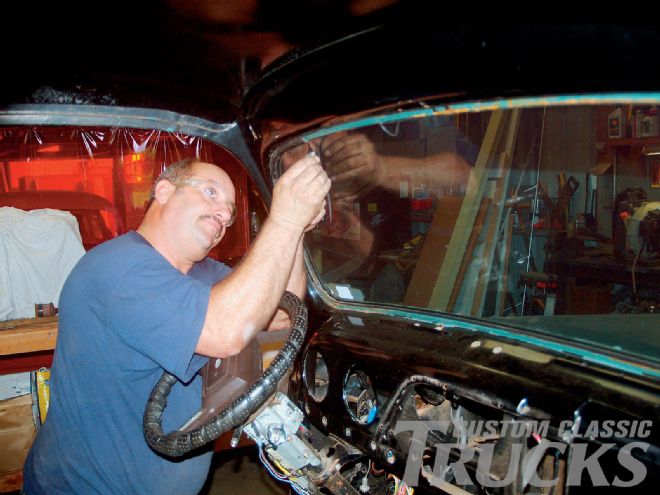 The easiest way to remove the old glass is to cut the original gasket. Manny Lawrence used a utility knife to slice away the inner lip. Once cut, a few slaps to the glass and it came out.
Venting Frustrations
Plugging all the Ford's water leaks meant we also had to deal with the F-1's cowl vent. In the past we've filled these in, but we discovered having one that was operational had some advantages-when cruising with the windows down, opening the cowl vent actually cuts down on the wind buffeting inside the cab. Replacing the cowl vent seal requires removing the entire assembly, which is a process that makes one appreciate the engineers who designed the apparatus. With the knob removed from the handle there's just enough room to work the assembly up and out of the cowl-1/16 inch added to any dimension and it would take a cutting torch to get it out. Like replacing rubber seals on the glass, cleaning the mating surfaces is the most time-consuming part of replacing the cowl gasket.
Making a Clean Sweep
While we were making the truck's cabin watertight we opted to continue preparations for foul weather and installed a new windshield wiper system from Bob Galbraith's New Port Engineering. Frankly, there's not much to say about New Port's offerings, they make kits for over 150 applications and every one we've ever used fit perfectly and functioned just as it should. Every aftermarket part should be this simple to install and work as well.
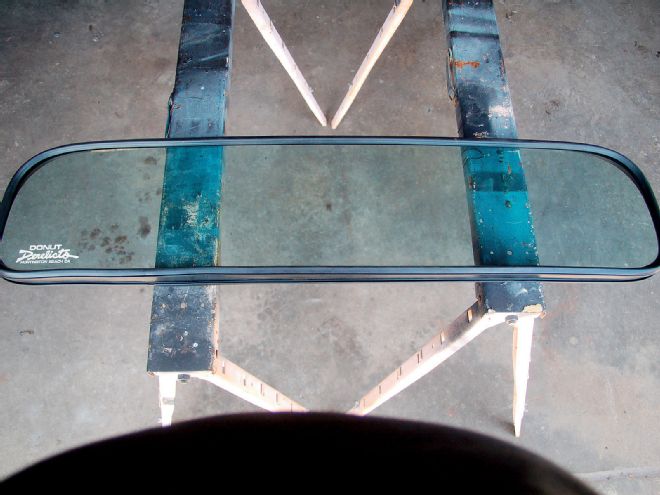
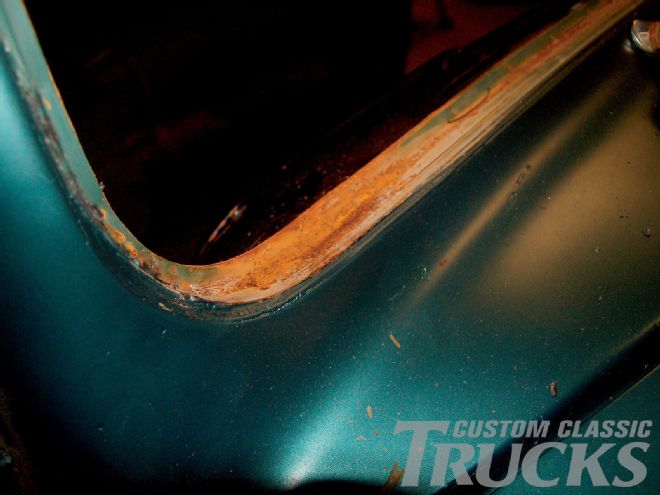 Typical of most early trucks, the windshield of our F-1 began leaking in the corners and rust was developing where moisture had been trapped under the rubber. This had to be addressed before reinstalling the glass.