DA Sanding Basics
DA (Dual Action) sanders come in a variety of types, but the key here is to find a quality sander that will cut through the paint surface in a controlled manner. The dual action name comes from the fact that the sander head moves in two different directions.
Old paint can be helpful as a primer/filler on which to apply your secondary primer coating. In addition, the DA process will help reveal the history of your vehicle's body, divulging previous bodywork and primer. With our Chevelle, we were happy with most of what we found. But noting the red oxide primer (a primer used a lot in the '80s) that rose to the surface, we realized that the current paint job was older than we originally thought.
The DA process was done to the entire car using 220-grit sandpaper prior to the first primer coat. As we moved closer to the final primer prep, we used 400-grit paper, hand-blocked prior to applying paint. Remember, the sole purpose of this step is to provide a clean, proper surface for the paint to adhere to . -Cam Benty
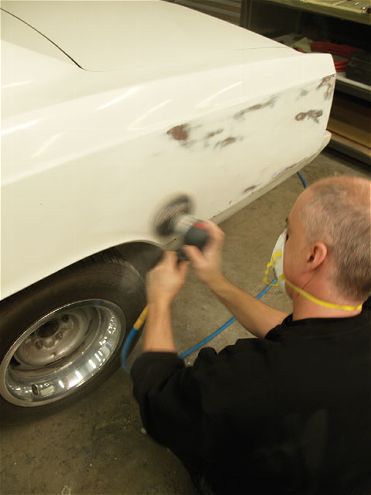
Wearing a respirator (or at least a mask) is a key part of protecting yourself from the paint and primer debris. DA sanding is best completed in a well-ventilated area.
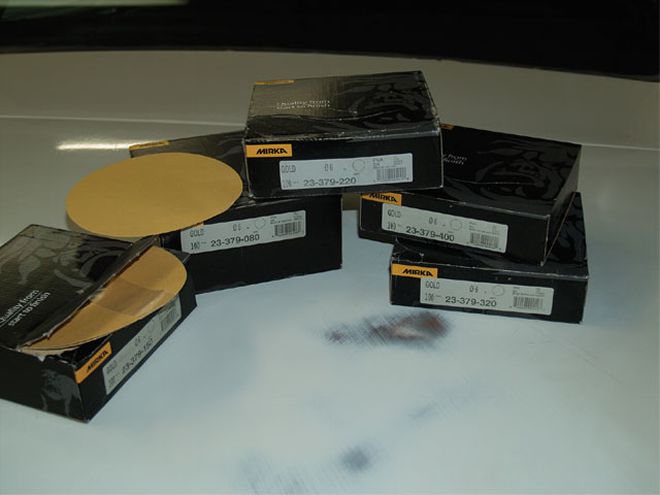
A wide variety of sanding discs are available for DA sanders. Make sure you use the right grit to cut through the paint surface. Mark Oja used 220 grit, which was prefect for cutting through the paint yet did not leave scratch marks. The grit number is noted on the back of the sanding disc and on the box from which it came (the last number in the code).
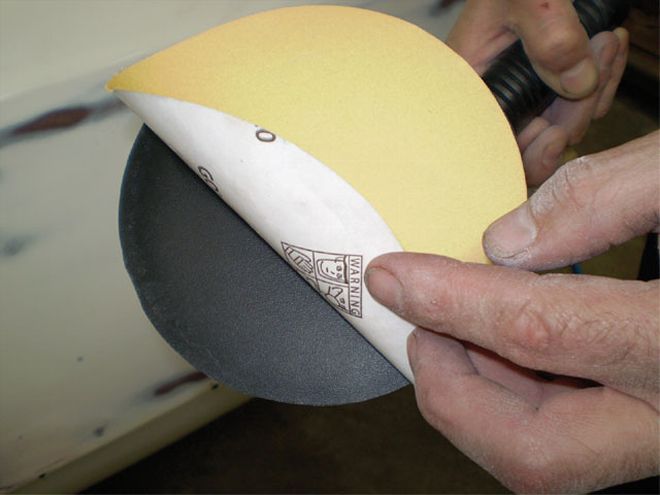
The sanding discs have a self-stick adhesive on the back, which makes them easy to apply and remove. Never use one disc on top of another, and make sure the rubber head of the DA sander is in good condition or uneven sanding will occur.

As with any prep process, cleaning the surface is important. Using a DA sander over a dirty surface will create damaging scratches and unwanted wear to the sandpaper.
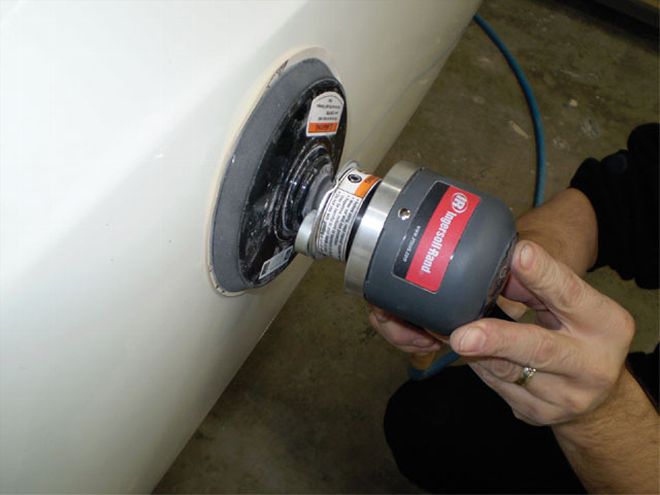
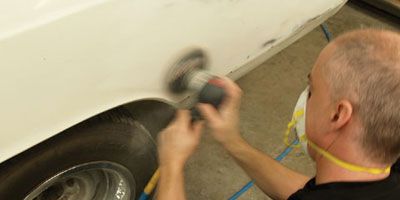
Keep the DA sander flat on the surface of the car. This will avoid gouging the surface.
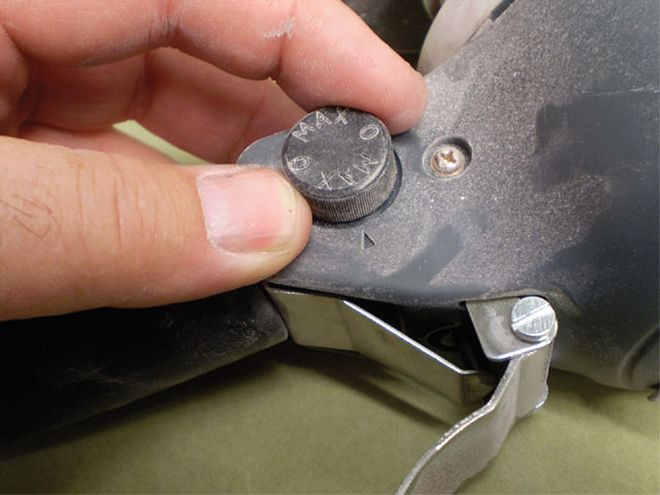
DA sanders have adjustments for the speed of the dual-action sander head. The head should be spinning at a decent rate but not so slowly that it cuts poorly or too fast that it burns through to the metal. If you are concerned about this potential problem, laying down a strip of masking tape over the corner or peak in the fender line will help. The same technique is helpful when buffing out paint as well.
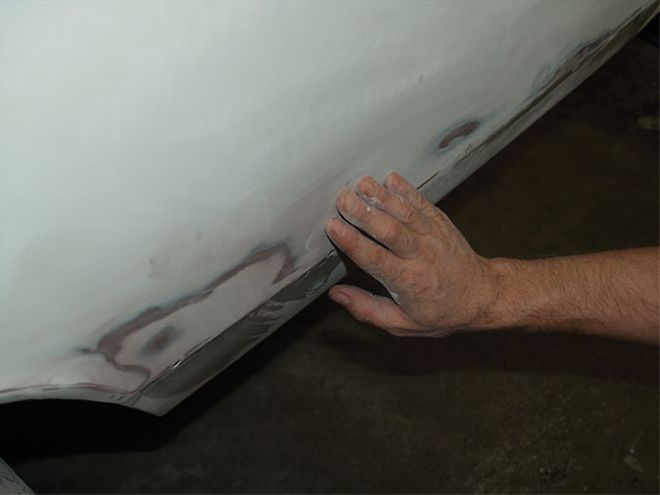
The best tool for telling how well you are doing is your own sense of touch. After cutting through the surface, check your work to see if the surface is smooth. In addition, the area should be wiped down from time to time to make sure there are not raised areas or rough edges.
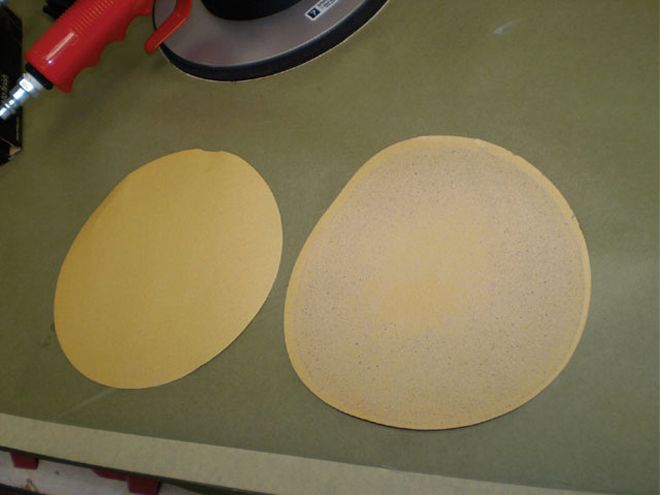
Change sanding discs often-don't be cheap. When a disc fills with sanding debris, it will start to scratch the surface with the gunk lodged in the paper. Discs will only last a few minutes before they need to be changed. Note the difference between the new disc on the left and the ready-for-the-trash disc on the right.
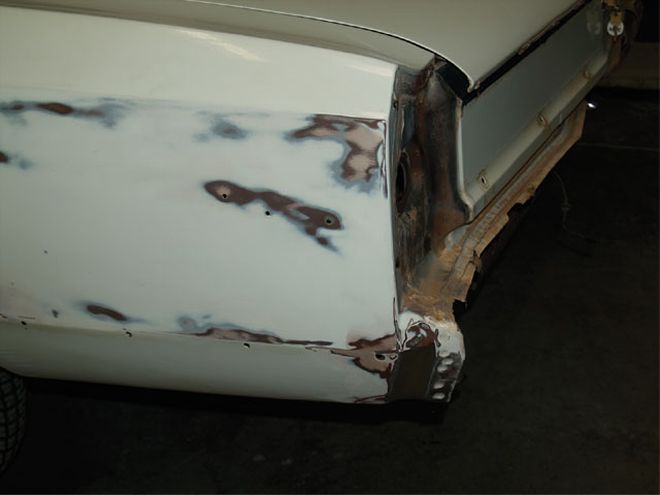
This panel is ready for its first coat of primer after a thorough cleaning. Note the high spots (red in color) that are to be found. The upper right corner of the car has a touch of plastic body filler that can either be removed or simply sanded smooth. If the body filler shows any sign of cracking or age, it should be removed, the area hammered out, and new filler applied.