No-Filler Dent Fix
Ken Sakamoto is a metal maestro who's been banging steel for more than 36 years and has owned his own shop since 1978. Though he lost interest in restoring and modifying cars for a living a couple of decades back, Ken never lost the metal-shaping bug and has operated Sunchaser Tools in Pasadena, California, to supply quality equipment to other bodymen since 1989, and he recently opened the Sunchaser School of Metal Work to share his knowledge. Sure, Ken makes dent removal look easy, but the catch is that it actually is-provided you know the secrets. Ken swears this is a technique anyone can master and that his students get exactly the same results using the techniques he teaches in the three-day Sunchaser Metal shaping workshop or on the 3.5-hour step-by-step training videos that come with the metal-shrinking kit he developed, called the Friction System Method.
-Christopher Campbell
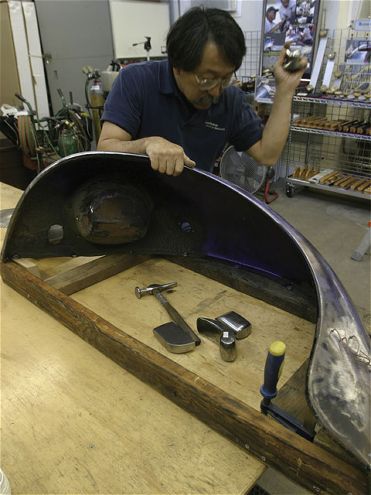
Sakamoto keeps an assortment of vintage fenders hanging around for demonstration and class practice. We needed a dent to fix, so Ken takes a few swings with a universal dolly at this Vee-dub fender. Note the 2x4 framework; Ken always recommends taking a few extra minutes to build one when working on a panel not still attached to the car to help maintain shape and provide a secure way to mount the panel to a workbench with C-clamps.
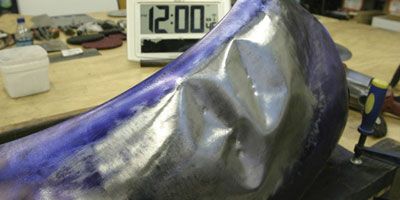
Here's where we start, with three big impact dents that have severely stretched and deformed the steel. Note the clock in the background that shows it's high noon.
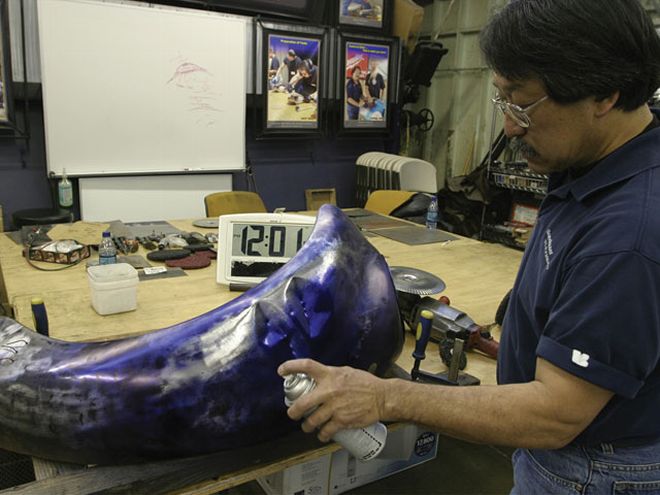
Since we had bare steel, Ken sprayed some metal ink over the dents and then quickly ran a sanding block across it to help highlight the low spots once we began working.

Any metal marking ink will do, but this is the stuff Ken provides in his Friction System kit, which includes the shrinking disc and instructional videos.
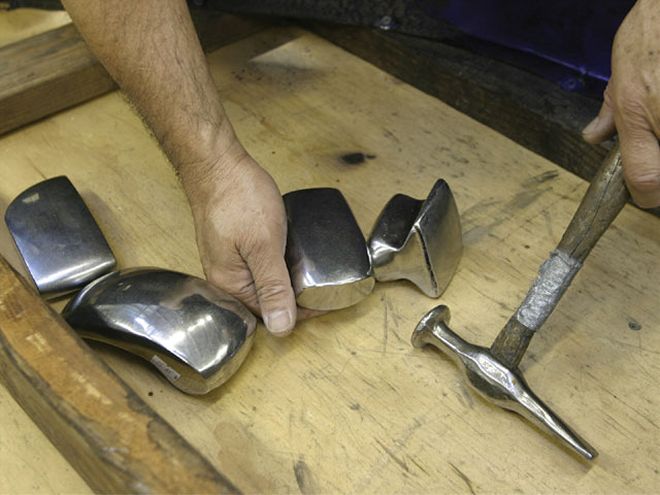
Despite the wide array of tools he has available, Ken used these four basic dollies that he recommends for all beginners and his favorite 30-year-old body hammer.
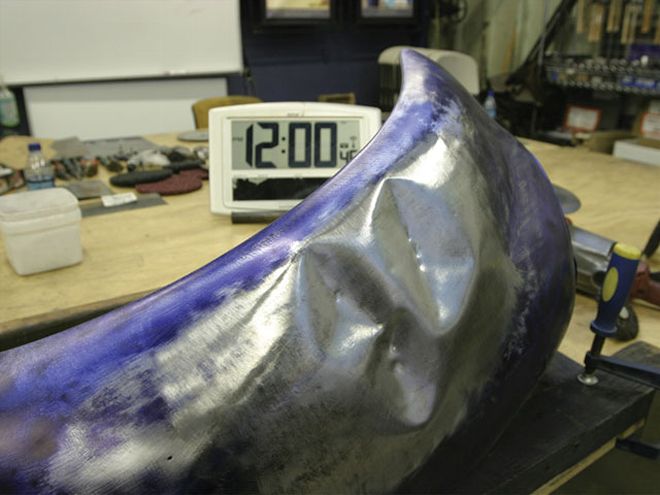
To begin, Ken took the same universal dolly he made the dents with and pounded from the inside to push out as much of the dent as possible. This is where the ink really helps to highlight the low spots. After a quick rub with one of Sunchaser's 17-inch flexible sanding blocks to reveal the low spots, it was hammer and dolly time.
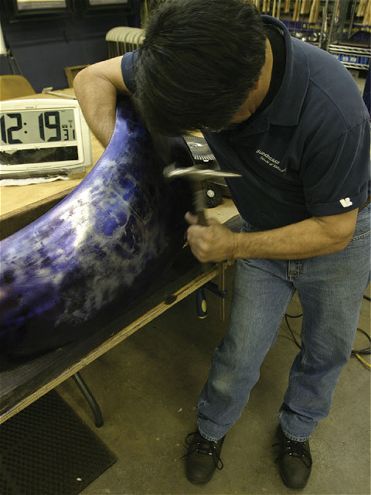
This is the part that takes time and finesse and is the longest to learn. Judging by the feel of the arc of the fender, Ken alternated between the four dollies and, putting pressure on the dolly, lightly tapped the low spots with the hammer to try and bring up as much metal as he could. After each round, the fender was quickly sanded again to reveal the changes. The finish will still be wavy after this step, since the metal is still stretched. Most people would simply Bondo at this point, but not Ken.

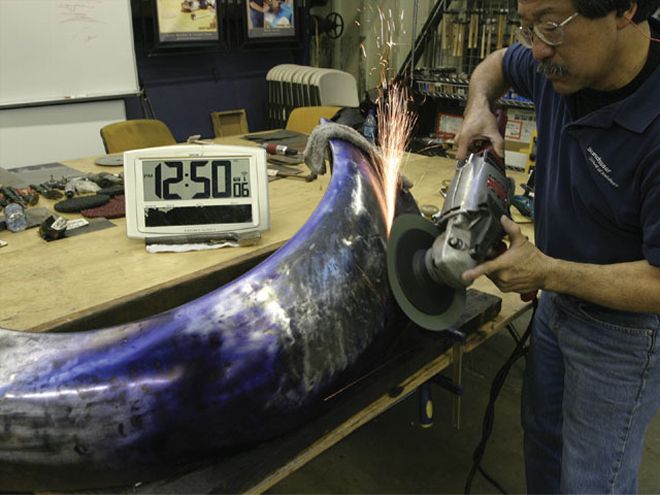
This is the tool that will make our fender as smooth as new again. The Sunchaser disc is Ken's own design and works by putting friction and heat in the right spots to shrink the stretched metal back into shape. It doesn't create nearly as much heat as a torch, so the changes are much smaller and more controlled. The disc requires a 15-amp angle grinder that operates between 5,000 and 6,000 rpm, like this Milwaukee unit.
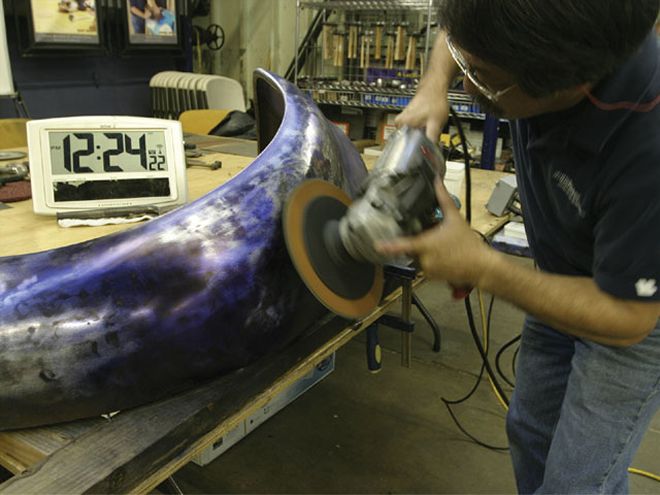
The shrinking disc is easy to use but takes a little finesse. The important part is to keep it moving and only focus on the areas you want to shrink. This will be done in several sessions, usually no more than 10 to 15 seconds long. The point is to relax the metal and allow it to go back into its stamped shape. How to control the movement and work the metal accurately and in a controlled manner is the focus of Ken's classes and video.
The area needed to cool before we could continue. It can be left to air cool, but Ken recommends a quick swipe with a cool, damp rag to speed the process along. Don't soak or quench the area, since that will stop the shrinking process too quickly.
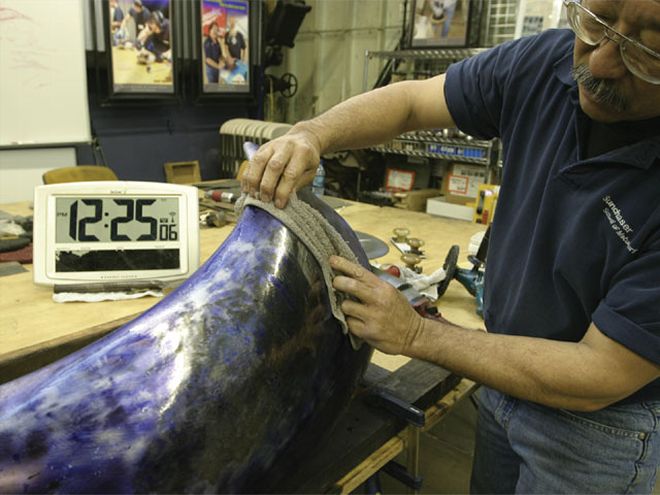
After several sessions with the shrinking disc interspersed with a little more light hammer-and-dolly work, it was time to switch to a 100-grit sanding disc. Ken removed the stiff backing usually used with this type of disc and worked it around the dented area in the same fashion he does the shrinking disc.
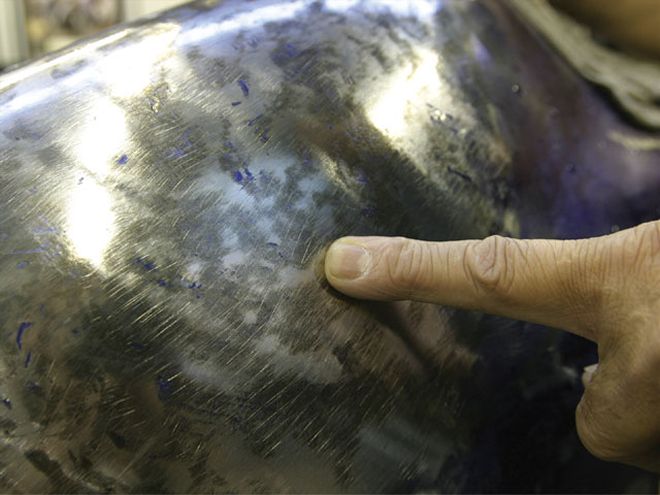
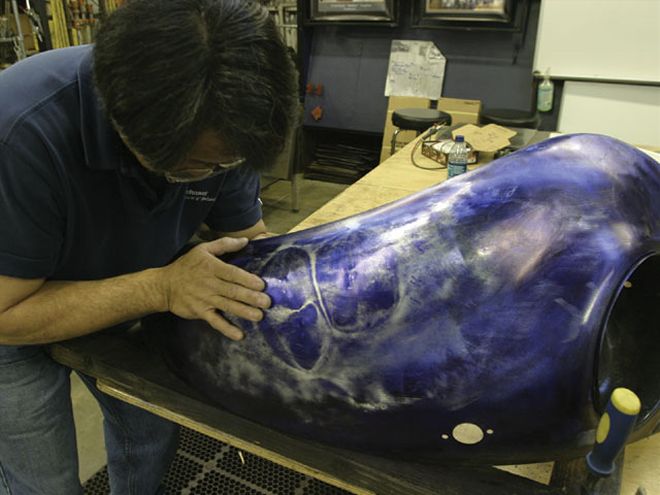
At this point, roughly 60 minutes after he hit the fender with the dolly, we were left with a nearly perfectly smooth surface. The color change in the metal Ken points at represents thousandths of an inch difference that will easily be equalized after a couple of coats of primer and normal block sanding.
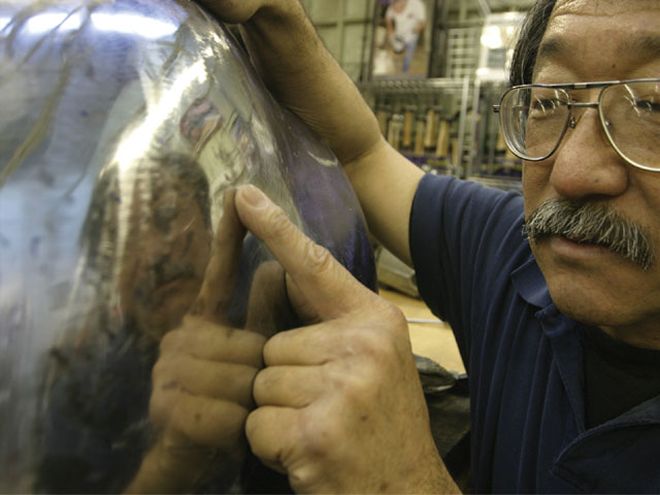
The true straightness test of a panel is the reflection test. Ken's finger points to the center of where one of the dents was located.
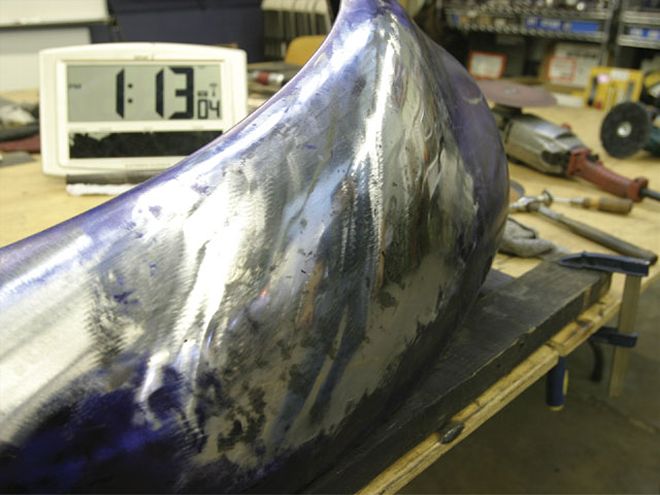
Note the time: 1:13. We could have easily spent double the time if we'd chosen the lazy route with body filler.
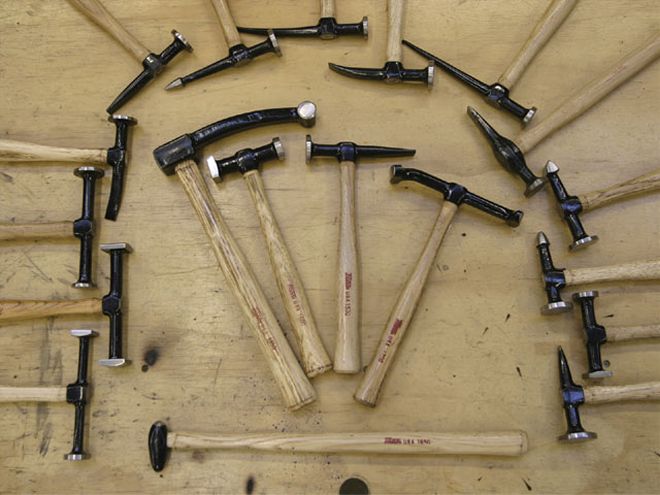
Sunchaser carries the full line of Martin body hammers, each made with a specific use in mind, but it's the four in the center that Ken says are the minimum must-haves for hobbyists.
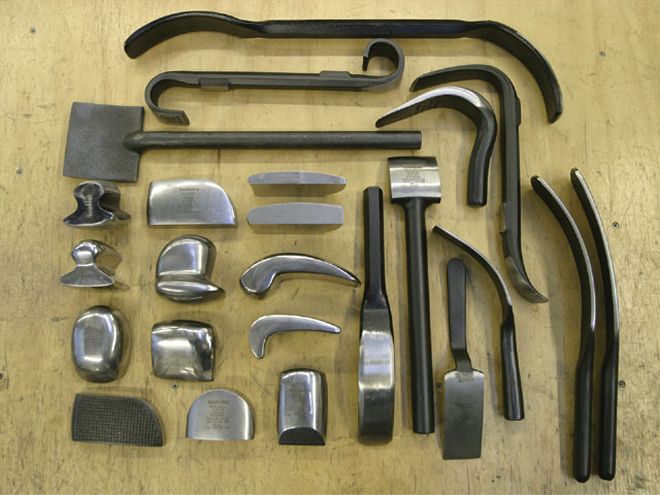
There are just as many dollies and spoons (dollies with handles for reaching tight spots) as there are hammers to assist advanced shapers and bodymen, but Ken usually finds himself sticking to the four basic shapes he used on the bug fender.