
In our June '07 issue, we detailed what went into replacing the wheelhousings on Ed Blankenship's 383 Road Runner. Tracy Hicks and Mark Scott of Wise Guyz Rod & Custom in Jonesborough, Tennessee, had already replaced the trunk pan when we arrived on the scene to document the remaining metalwork on this classic Mopar musclecar. As mentioned in the previous installment, the trunk was done first to help create a platform to support people and tools, which will come in handy on this next step.
This month, we are going to document the process of replacing the rotted-out areas at the lower corners of the rear window opening. Puddles of wet, rotting leaves had eaten far into the metal in these critical areas, and it is imperative when making repairs to make sure the weather seal will fit completely and properly into the rebuilt channel. The car also had some unique outer-edge damage that needed to be rebuilt. The corner replacements are available as stampings commercially, but each car is different, so some "massaging" will be part of this effort. The most important part of the job is to make sure the measurements are as close as possible because that rear window needs to fit into the replacement snuggly.
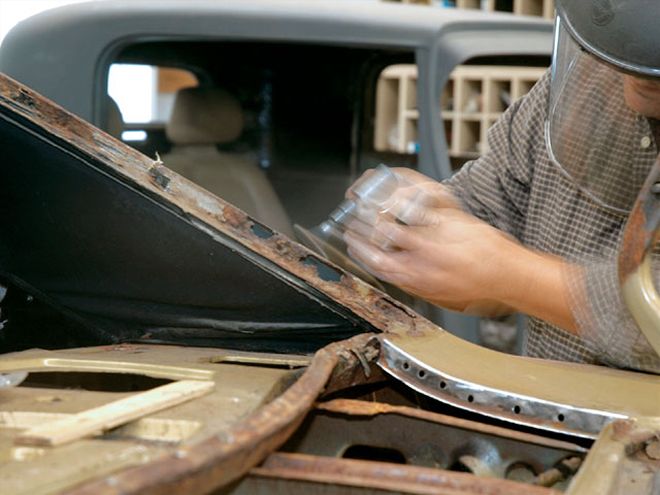
1 After taking the trim, rubber, and window out of the car, we found some nasty surprises. Here is the window channel. You can choose to burn that rubber out (warning: this stuff stinks bad), or use a little elbow grease and dig it out. Either way, it all has to come out.">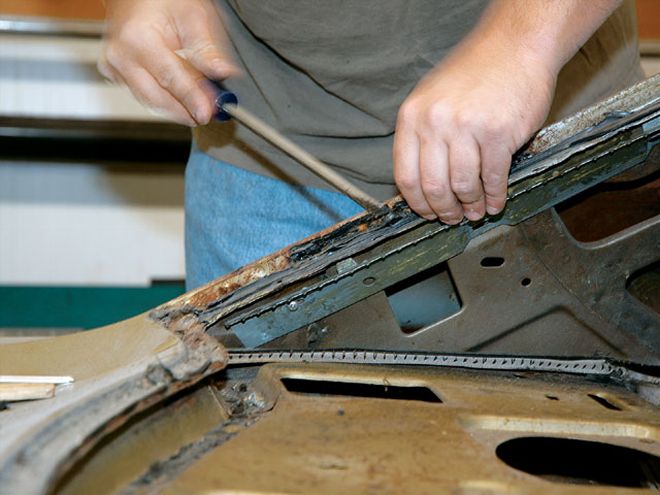 <strong>1</strong> After taking the trim, rubber, and window out of the car, we found some nasty surprises. Here is the window channel. You can choose to burn that rubber out (warning: this stuff stinks bad), or use a little elbow grease and dig it out. Either way, it all has to come out.
Many home garage craftsmen may not have access to the larger metal brakes and tools that helped moved this process along at the Wise Guyz shop. The art of fabricating and fine-tuning the replacement pieces that are not available commercially will likely require the use of some specialized equipment to be done properly, though a good craftsman can fabricate some of it with care and patience. Regardless, the work shown here can help you determine what you might need to do to get your own Mopar repairs done.
Tools