 | Upgrading the Cooling System on your SR20DET - Garage Car Specific Tech
Tools Needed: Jack, jackstands, ratchet, metric sockets and wrenches, rubber mallet, Phillips and flat-head screwdrivers, Scotch-Brite pad, silicone RTV gasket maker.
Install Time: 4 hours
Just in time for summer, we bring you the steps for doing a complete coolant system overhaul. With increased ambient temperatures, you’ve got to keep your motor chillin’ especially if you plan to hit the track or do some back-road drifting. Don’t let overheating reduce your seat time or even worse, blow your head gasket.
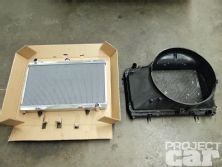
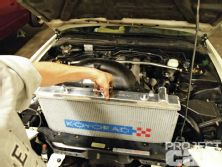
With everyone and their mama rockin’ SR20s in their 240SX, many of which now need a little TLC, we decided to get into a little cooling maintenance and upgrades. Choosing the right parts for the job is just as important as the job itself. There are many companies selling upgraded radiators but none as well recognized in the import community as Koyo. Choosing Koyo was an easy decision because of the build quality and performance of their products. The radiator for our application is a direct replacement for the S13 ('89-'93 240SX) with the SR20DET motor swap. When bumping the SR20DET power output or even running a stock engine on the track, it’s obvious the stock radiator isn’t up to the task. Koyo’s racing radiator is twice as thick as the stock unit for increased coolant capacity and has a 100% aluminum construction. This high performance radiator is not only great at dissipating heat, but it also eliminates the stock plastic end tanks which can get brittle and explode under harsh driving conditions. For icing on the cake, the Koyo unit features a high-polished finish so it looks as good as it is functional.
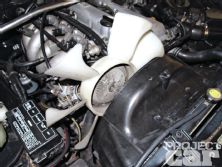
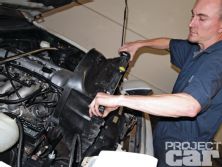
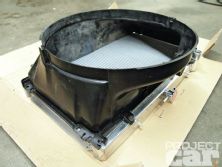
Next up is the fan. While it’s nearly impossible to get a CFM (cubic feet per min) rating on any stock Nissan mechanical fan assembly, it doesn’t take an engineer to tell you that a larger fan will flow more volume. Electric fans are an option but we insisted on sticking with a factory fan and shroud combination which has proven itself as reliable and effective for cooling this boost-happy powerplant. While stock is good, our research led us to upgrade to the larger RB25DET clutch fan assembly. Best of all, this is a low-buck direct replacement for the SR20DET. As you will see in this article, the RB25DET fan is not only larger in diameter but it also features nine blades versus the stock seven. Another benefit to the RB25DET fan is the more robust fan clutch which operates the fan more effectively. The only drawback to this conversion is that the RB25DET fan can be tricky to find. We got ours from the SR20 Store in Gardena, CA, but it was a used part that they happened to have sitting around. Perhaps a trip to the junkyard with an SR20DET fan for comparison could lead to some more abundant alternatives.
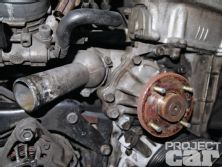
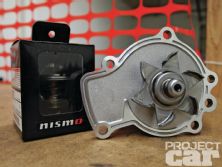
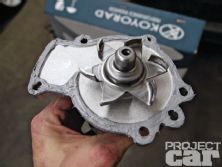
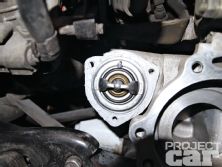
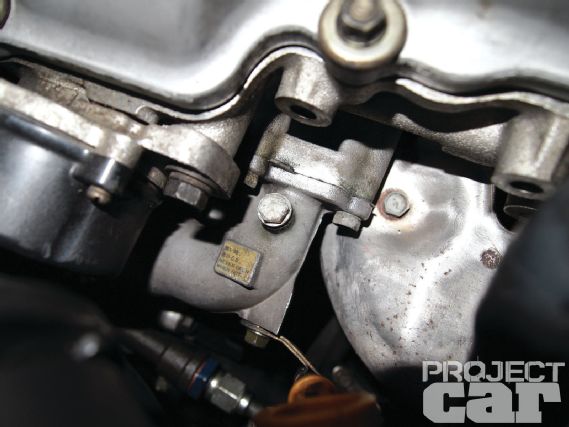
Finally, we will also be replacing the water pump and thermostat to complete our coolant system overhaul. We will be using an OEM JDM water pump and a NISMO thermostat, both available from Phase 2 Motortrend. The NISMO unit is designed to open at 160 degrees versus the stock 195 degree thermostat which allows the coolant to flow at lower temperatures. There is no physical difference in size. Simply opening at a lower temperature provides added cooling system efficiency. Combine the sum of our parts working in unison and we’ll have a cooling system ready for battle.
If you ever felt intimidated replacing any of these components, fear not, for this can be done by someone with little mechanical experience if you follow our step-by-step guide. Let’s get to work.
Parts List
Street Price
Koyorad SR20DET racing radiator $295
JDM OEM SR20DET water Pump $55
Used JDM RB25DET cooling fan and clutch assembly $65
Total $415
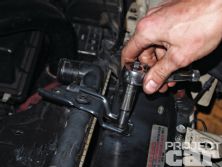
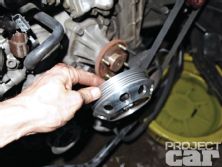
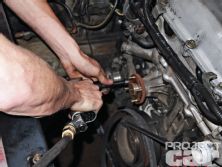
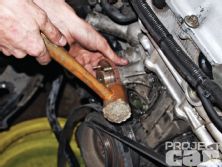
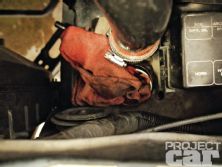
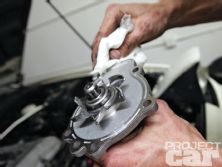
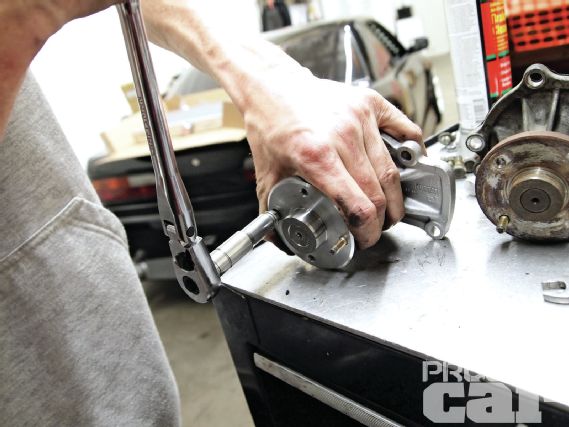 | 14a Simply tighten two nuts together on the stud; this will allow you to use a wrench on the inner nut to remove the studs from the flange. If the nuts become loose tighten again and repeat. Tighten the studs into new pump and remove the nuts from the stud.
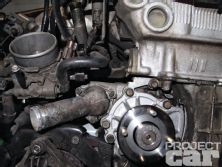
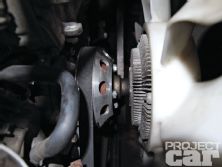
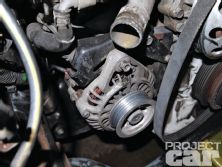
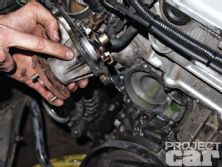
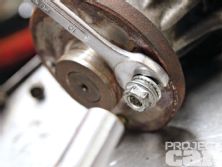
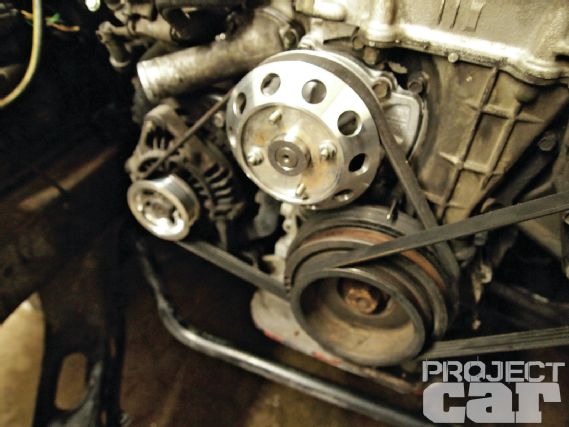 | 18 Install the water pump pulley next. We temporarily used two of the four retainer nuts (finger tight) to keep the pulley in place. Reinstall and align the accessory belt (replace if needed). Put a slight tension in the belt with the alternator adjuster but do not fully tighten. This is done to keep the belt/water pump pulley in place while installing the radiator.

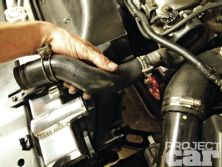

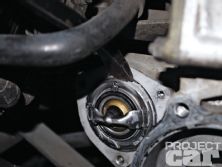
 | 25 To finish the install, open the bleed screw and fill the radiator with a coolant/water ratio that matches your climate needs. For reference, see the coolant manufacturer’s recommendations. Once the coolant is topped off, close the bleed screw and allow the engine to run until the thermostat opens and the flows coolant through the entire engine. Refill as needed and install the radiator cap. Now let the engine reach full operating temperature, observing for any leaks. Be sure to fill the overflow tank to the full mark.