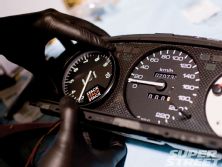
Aftermarket tachometers have been around for decades but in our market segment we've seen a paradigm shift away from the monster-tachs of days gone by to newer, lighter, more precise units. The aim is to have an extremely accurate reading of your engine's RPM to ensure you're shifting right when you should be. When it comes to tachometers, STACK is in a realm all by itself; their units are simply the Rolexes of tachometers.
 |
ST200 Clubman Tachometer - Tech
|
ST200 Clubman Tachometer - Tech
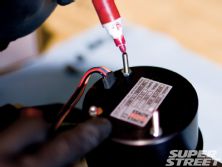
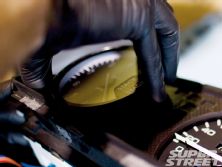
Operating on a digital quartz movement, the ST200 Clubman Tachometer has zero needle waver and is maintenance free with guaranteed accuracy for life. The casing is sealed aluminum with shatter resistant glass. With supplied manual, hardware and optional shift light you're getting a hell of a lot of technology for your money. I could go on and on about how great this unit is but since I'm limited on space, I can't cover everything here - be sure to checkout STACK's website for more info!
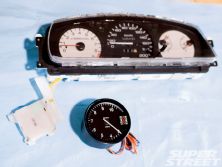
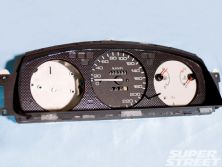
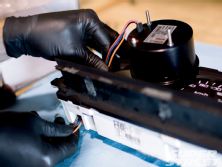
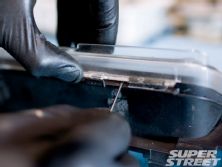
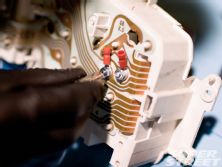
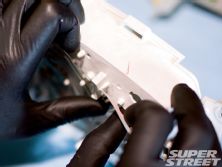
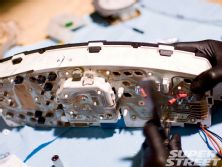
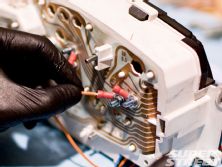
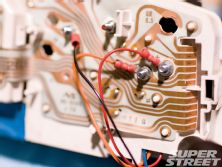
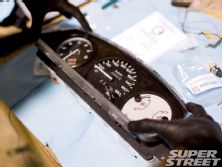
One feature I can elaborate a little more on is how the unit's small profile and 80mm diameter allow for some pretty sick custom mounting-like fitting it inside your stock gauge cluster for a sleeper look. Every time we've featured a car with a custom mounted tach you guys blast us with emails asking how or where you can get one - well I'm about to show you exactly how to do it yourself. I'm even going to take it one step further and show you how to make the unit fully plug and play with no wires to run and fish out later.
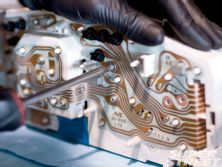
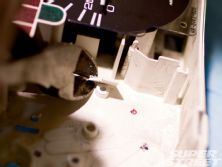
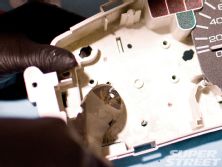
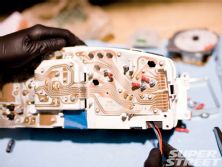
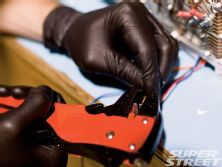
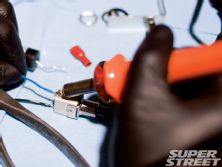
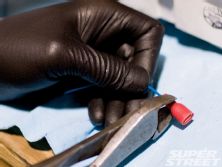
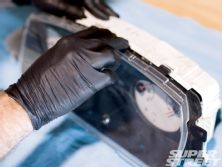
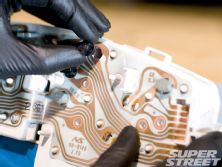
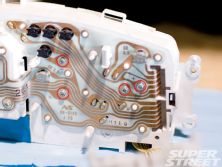
I'm a firm believer in doing things the right way and not cutting corners; you could say I'm a bit anal about it. The good thing is I've already done the legwork for you so now all you have to do is copy it and make some slight alterations, depending on your application. To save space I'm going to skip gauge cluster removal - if you can't figure out how to take your cluster out this install is probably too complex for you and you're probably better off paying a shop to do it for you. But don't be afraid to try it yourself; it's actually not as complex as you might think and it's quite rewarding knowing you did it yourself!
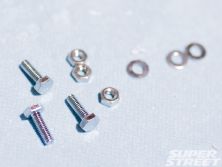
Tools Needed
Phillips head screw driver
Flat-blade screwdriver
7mm sockets
1/4'' Ratchet
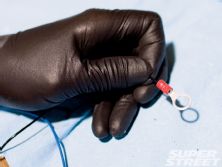
Super glue
Side cutters
Wire stripper (or equivalent)
Soldering iron (optional)
Drill
Drillbits
Paint pen