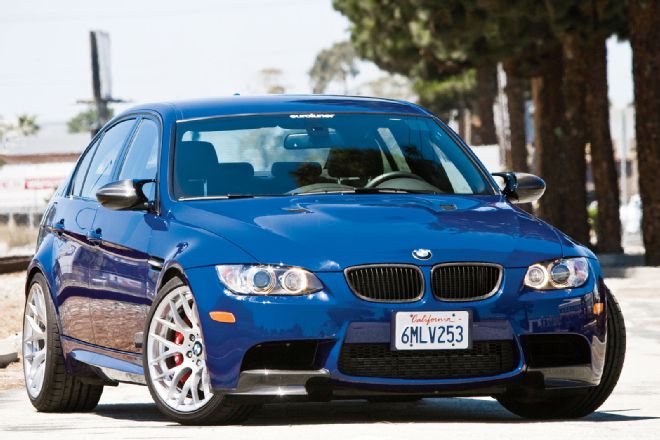
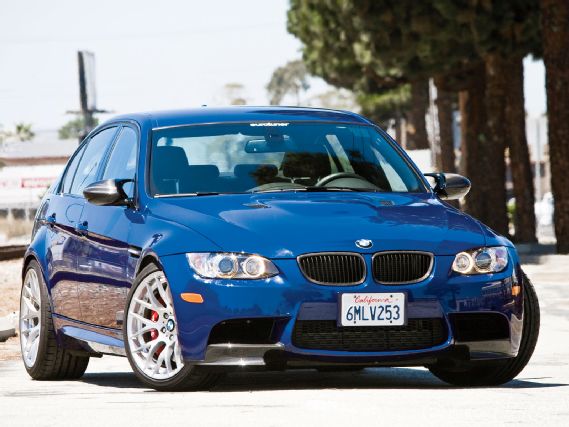
Back in et 10/10, when we started work on our 2011 BMW M3 Competition Package, we began by installing several cosmetic pieces from BMW Performance and Turner Motorsport. These included carbon dash trim, mirror shells, hood and fender vents, kidney grilles and some TMS wheel spacers. We had intended to complete the installation with the pieces fitted here in et 11/10, but a six-piston Brembo installation got in the way!
 |
2011 BMW M3 - Project M3 Makeover Part 3 - Tech
|
2011 BMW M3 - Project M3 Makeover Part 3 - Tech
Well now we're back on schedule, and this month we'll be installing more new parts recently released by BMW Performance. Obviously we're using the BMW parts because the fit and finish is the same exquisite OE quality, and they're covered by the BMW warranty.
As before, you can see the parts and read the installation instructions here, while there's also a basic installation video online at eurotuner.com and youtube.com/eurotuner
Most of the parts fitted here are straightforward and require no special tools. They should apply to E90, E92 and E91 M3 models, as well as regular 3-Series. However, we discovered there were some surprising differences between the models, so check online before ordering.
Always take care when fitting new parts. Protect your paint, ensure bolts are torqued to the correct spec. If you're unsure about any step, consult an expert or have it fitted by a specialist or your BMW dealer.
All BMW Performance (BMWP) parts are available from your local dealer or via the web address on the next page.
If you're looking to save the pennies, you can special order the M3 without a rear spoiler, meaning the carbon replacement is the only one you'll need. You can also order all the BMWP parts on a new car. They're fitted at the port of entry before the car reaches the dealership, so you know the installation will be top notch. But since we're cheapskates, we chose to install everything ourselves.
Also note, since the M3 is a loaner from BMW and has to be returned to stock, we're not gluing the spoilers permanently in place as recommended. We've come up with secure but reversible techniques that you can use, or simply bond them to the car as advised.
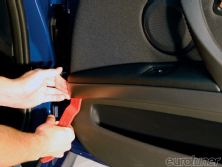
Carbon door trims
Because our car was ordered with the Competition Package (see et 9/10), the specification was reduced in other areas to lower the overall cost. Therefore, it has basic cloth seats and black plastic interior trim.
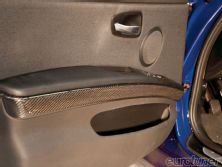
Fortunately, BMW Performance has interior parts for the car, especially if you drive the E92 Coupe version. Sadly, there's less choice for our four-door E90, but we previously fitted the two-piece carbon fiber dashboard trim kit, which made a significant difference. This time, we're fitting the BMWP carbon door trims.
As before, the carbon fiber quality is exceptional, with the weave visually flawless. And since fitting is identical to the OE parts, we again enlisted the help of experienced BMW Technician, Derek Vieira, who installed the parts on our previous BMW 135i project (et 3/10). He works at a local BMW dealership, wrenching on the cars daily, so has an expert knowledge of them.
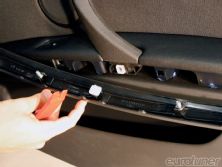
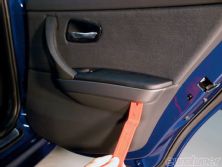
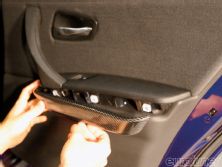
The door trims only take a few minutes to install: you simply pry off the stock parts, making sure to start at the correct end, as shown here. Then firmly press the new BMWP carbon fiber replacements into place, and you're finished.
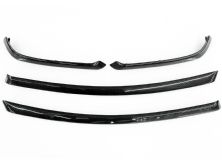
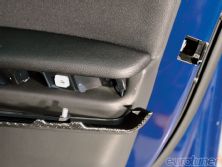
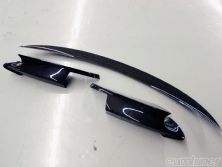
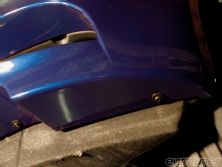
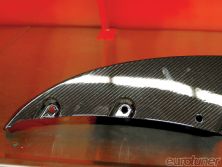
Carbon splitters
To emphasize the M3's distinctive front spoiler, BMW Performance has produced a two-piece carbon fiber splitter set that fits over the stock bumper. The quality of carbon weave added more overt sportiness to the front-end, and nicely matches the Turner Motorsport carbon kidney grille we previously fitted.
For some reason, BMW recommend different fitting procedures for the E90 and E92, even though both bumpers are apparently identical. With the Coupe, the splitters are bonded to the bumper with the supplied adhesive. However, the sedan uses a combination of adhesive and a single bolt.
Since our car has to return to stock, we ignored the glue and used double-sided automotive tape in combination with an additional fixing bolt, as described below. The solution appears to be solid and remains in place today. The task took about an hour to complete.
Carbon spoiler
We fitted a similar BMW Performance rear spoiler to our Project 135i and it looked very good, so we were confident the M3 would benefit just the same. And since we'd again have to remove it at the end of the project, we weren't going to glue it, as recommended. Instead, we copied the technique used by the bodyshop to attach the 135i spoiler.
This involved removing the stock spoiler with a spatula, the thinner the better. Then we removed the excess glue with a rubber wheel. When the bodyshop did this it took seconds and was a perfect job. We were less practiced but it still worked well.
Finally, we used more double-sided automotive tape to fix it to the trunk, marking the original position to ensure it was correctly aligned. Once again, it took little time to complete the job.
Next Month
In part four of our M3 makeover, we'll lower the ride height with a set of H&R Sport springs from Turner Motorsport (as promised for the last two months) and we'll also have our new Forgestar wheels and Continental tire package.