See the video at eurotuner.com and youtube.com/eurotuner
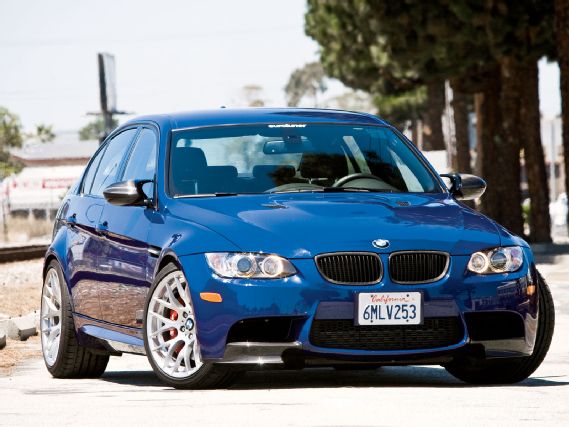
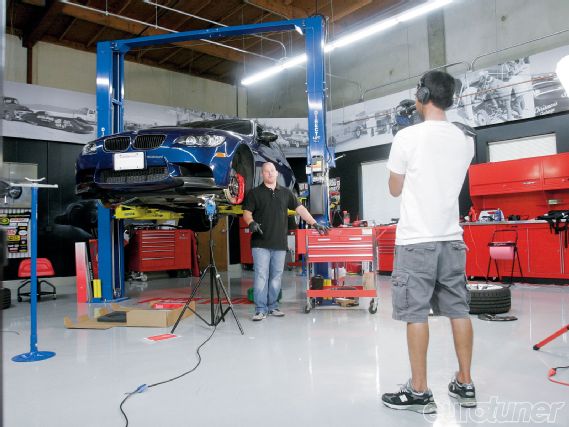
Last month we began modifying our 2011 E90 M3 project car by installing a few carbon pieces from BMW Performance and Turner Motorsport. We had intended to install the last items this month until a friend at Race Technologies - Brembo's North American distributor - told us they were looking for a car for an installation video... The trap was laid, the bait taken; we have six-piston Brembo brakes on our M3. Sometimes this stuff is too easy!
 |
2011 BMW E90 M3 Project Car - Project M3 Makeover Part 2: Brakes
|
2011 BMW E90 M3 Project Car - Project M3 Makeover Part 2: Brakes
As a result, you can see our footage at eurotuner.com and youtube.com/eurotuner or a more indepth instructional video will be available from Race Technologies.
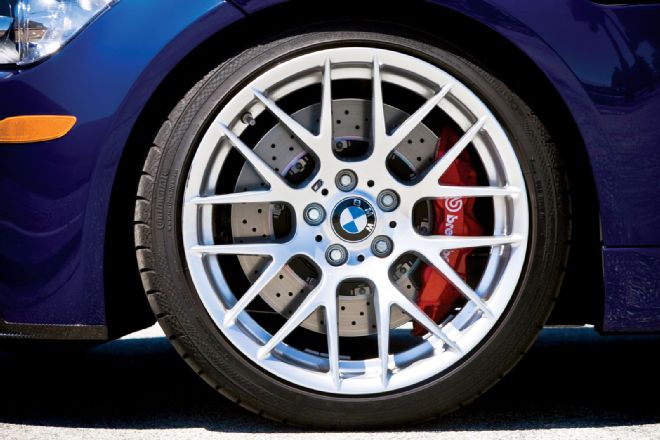
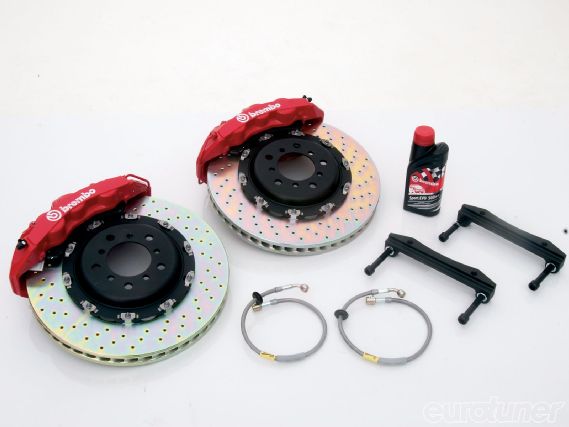
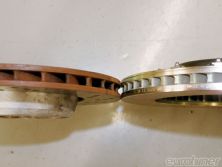
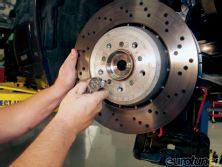
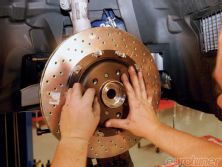
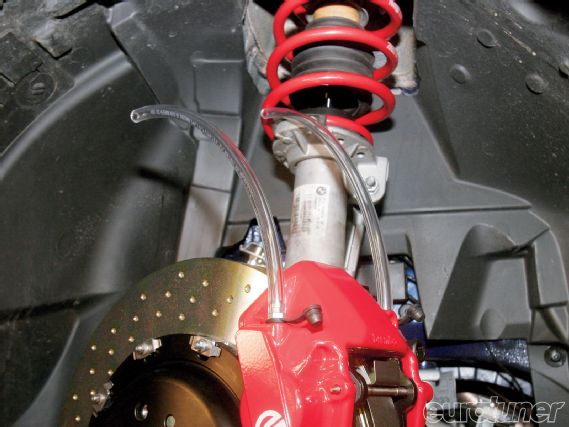
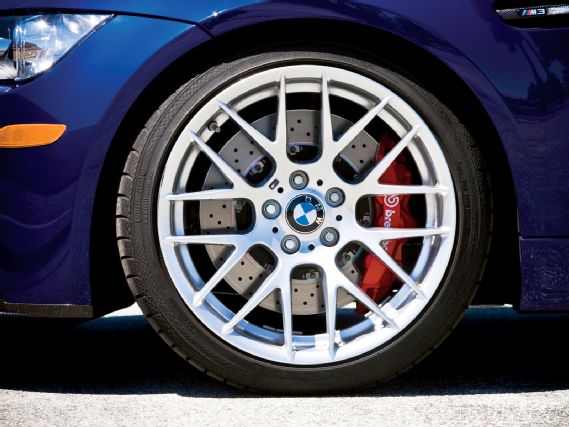
Brembo has several options for the latest M3, and while we were obviously tempted by the more expensive 380mm kit, we chose the 365mm Brembo Gran Turismo Six-Piston Monobloc GT Kit.Admittedly, the 365x34mm rotors aren't significantly bigger than the stock 360x32mm rotors, but they're 2mm thicker and have 72 internal directional ventilation vanes rather than 48 on the stockers. These rotors were designed to fit inside stock 18'' M3 wheels while delivering incredible stopping power.
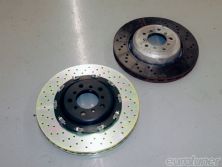
Interestingly, the aluminum hats on the OE floating rotors meant they were considerably lighter than previous E46 M3 parts, tipping the scales at just 10.17kg (22.48 lb), whereas the bigger Brembo rotors were 10.88kg. Although heavier, the advantage is we'll have a noticeable increase in thermal capacity, leading to lower operating temps and fade-free performance.
Fortunately, we saved some weight with the calipers. The stock part with pads and line attached weighed in at 6.6kg, whereas the six-piston Brembo part with pads and line is only 5.34kg (11.8 lb) despite its massive size.
With the heavier rotors equalized by the lighter calipers, there's no weight penalty fitting the Brembo parts.
 |
2011 BMW E90 M3 Project Car - Project M3 Makeover Part 2: Brakes
|
2011 BMW E90 M3 Project Car - Project M3 Makeover Part 2: Brakes
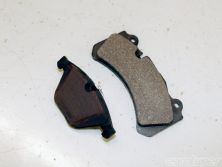
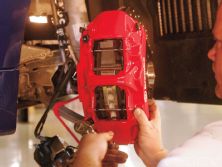
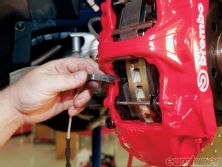
Apart from dissipating heat more effectively, the main advantage of the caliper's six pistons is to distribute the braking force across the pads more evenly while improving pedal feel and modulation. The pads themselves are approximately 60% bigger than stock, providing greater pad and rotor longevity. The extra force this allows you to exert, and the heat it can absorb should be reflected in significantly better high-speed braking power.
We had a choice of red, yellow, black or silver calipers but opted for the trademark red, although black would have worked too, considering the stock rear calipers are still black.
With the front brakes contributing up to 80% of a car's stopping force at speed, the stock rear brakes on the M3 are capable of matching the Brembo fronts. And with it being a new car, the components are performing at their best. So we weren't too worried about neglecting the rear.
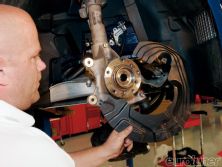
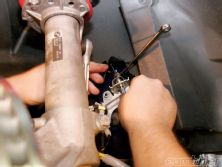
Physically installing the brakes is relatively straightforward, but bleeding the fluid to ensure there are no air pockets is difficult. Failure to remove all the air could result in unresponsive brakes. If you're unsure of the procedure, consult an expert or have the brakes fitted by a specialty shop.
Part Supplier Price Gran Turismo brake kit Brembo $3995
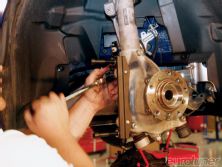
Installation

Bleeding
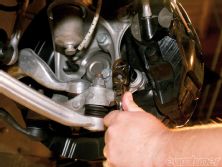
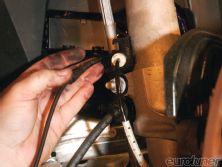
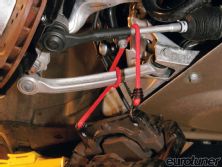
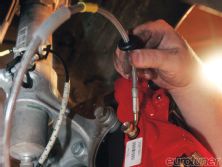
Because these are brand-new brakes with no fluid, gravity is the most effective way to bleed the fluid through. Place clear brake hose over the two bleed nipples on one of the Brembo calipers and open the nipples a quarter turn. Gravity will pull fluid down the new line and into the caliper. When fluid appears in each hose, close the nipples. Now repeat this process on the other caliper.
 |
2011 BMW E90 M3 Project Car - Project M3 Makeover Part 2: Brakes
|
2011 BMW E90 M3 Project Car - Project M3 Makeover Part 2: Brakes
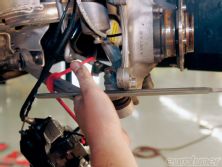
Before doing this, it's often a good idea to top up the brake fluid reservoir. Once the gravity bleed process has filled the new line and caliper with fluid, you can proceed with the standard bleeding process of your choice. We opted for the traditional technique of one person sitting in the car manually pumping the pedal, while another is at the caliper bleeding fluid. Always begin with the caliper furthest from the master cylinder. Once the brakes have been thoroughly bled, top up the reservoir again.
Wash away any fluid spills around the calipers, wheel well or reservoir with soapy water because it can damage paint. Avoid acidic wheel cleaning solutions since it can affect the finish on the calipers and mounting bells.
Bedding-in
Ignored at your peril, bedding-in the brakes is a vital element of any brake upgrade, whether it's just pads or a BBK like ours. If done incorrectly, your brakes will never perform properly and judder is likely to occur.
 |
2011 BMW E90 M3 Project Car - Project M3 Makeover Part 2: Brakes
|
2011 BMW E90 M3 Project Car - Project M3 Makeover Part 2: Brakes
With a new kit, start the process by braking gently at under 30mph to remove the anti-rust zinc coating on the rotors. Building up heat too quickly can deposit zinc on the pads or leave it unevenly on the rotor, leading to judder.
The bed-in process recommended by Brembo is to perform at least 30 light/medium brake applications, each of 3sec duration and half a mile apart. The idea is to gradually increase component temperature without inducing thermal shock, to bed the pads into the rotors.
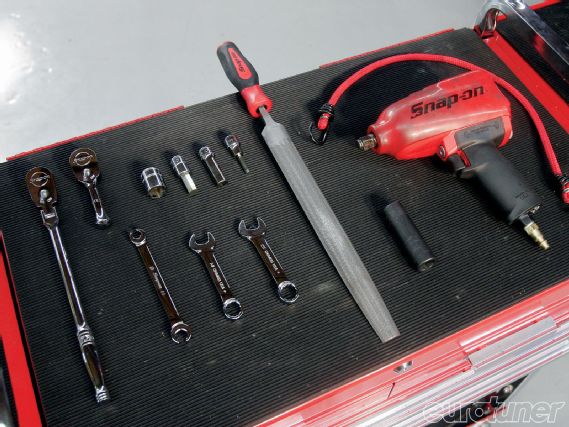 |
Tools
|
Tools0.5'' driver for 18mm socket, 10mm allen bit
0.5'' stubby driver for 10mm socket, 5mm allen bit
11mm hose wrench
11mm, 14mm, 15mm wrench
17mm socket for wheel bolts
torque wrench, bungee cord, fil
It's best to do this away from traffic, as proved by the upset Prius driver during our attempt! Don't brake to a stop during this initial phase, and drive for several miles once completed in order to cool the components. They should now be good to go, the pedal should be firm, the stopping consistent. If not, consult a technician. Don't cut corners or take chances with your brakes.
Impressions
One thing we noticed off the bat was that BMW provided a top-notch OE braking system off the showroom floor, one that will be more than sufficient for 80% of drivers. Realizing we're in the 20th percentile who demand more from our brakes in canyons and at track days, it's good to know Brembo's engineers identified the areas for improvement. Our brakes will outperform the OE system on the street, in the mountains, or at the track, and give us greater margins in the event of an emergency. Furthermore, pedal feel is better and there's the benefit of not needing to replace brake pads and rotors as frequently.
Next Month
In part three of our M3 makeover we'll be fitting the parts we promised this month - BMW Performance carbon front splitters and rear wing, plus H&R lowering springs from Turner Motorsport. The latter should improve roadholding and appearance without having to sacrifice the stock Electronic Damper Control.
 |
2011 BMW E90 M3 Project Car - Project M3 Makeover Part 2: Brakes
|
2011 BMW E90 M3 Project Car - Project M3 Makeover Part 2: Brakes