In the last installment of project yellow jacket we highlighted the installation of a new cooling system along with a vented hood and a few kevlar heat shields to keep the under hood temps down. This month I'm finally getting a few bolt-on performance parts to uncork the factory exhaust system. It's no secret that the F20 and F22 motors don't generally see big improvements from exhaust upgrades. In fact, it's not uncommon to see absolutely no gain from a cat-back install. However, making naturally aspirated power is a puzzle that requires more than just a few pieces to complete. As future mods make their way to the AP1, the supporting exhaust system is a crucial part of power development. I also got my hands on a new intake system, a slightly used header, a high flow cat, and the ultimate must-have for S2000 owners, a hard top.
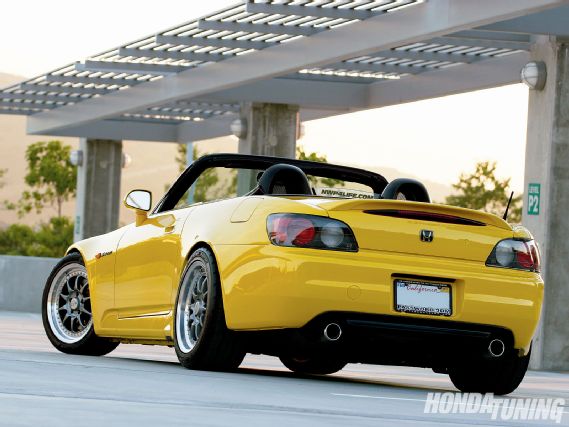 |
Project AP1 2001 Honda S2000 - Yellow Jacket
|
Project AP1 2001 Honda S2000 - Yellow Jacket
Password:JDM: Intake
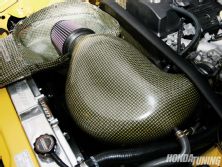
As with any Honda, intake systems are offered in all shapes and sizes. The great thing about the S2000 engine bay is that you can pull fresh air right from the front grill opening without having to run an extremely long intake tube to the throttle body. Once the factory air box is out of the way, there's plenty of room to place a filter in the huge gap between the motor and the core support. I chose Password:JDM's carbon kevlar intake system. It utilizes a K&N cone filter placed in a kevlar "air bath" with a lid to keep out under-hood heat, and a kevlar snorkel that runs from the grill opening to the air filter, bringing in fresh air. As with any Password:JDM carbon kevlar product, it weighs next to nothing. The construction, though feather-light, is very solid. Installation will take a little longer than most intakes due to the multiple pieces that interconnect with one another. Every screw, hose, and washer that you'll need for the installation is included, as well as detailed instructions. Although I did this at home on my own, I would recommend having a second set of hands to help complete the install.
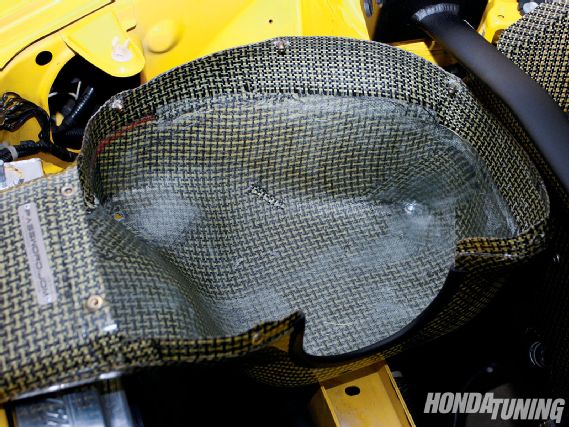 |
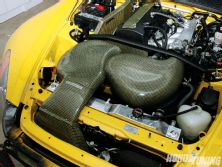
With the factory air box and front bumper removed, the main "bath" is placed into position, utilizing the factory mount points.
|
With the factory air box and front bumper removed, the main "bath" is placed into position, utilizing the factory mount points.
Impression
The intake took a while to install on my own, but it was well worth it. The fit and finish was very impressive for such a complex piece, and I didn't need to cut or trim anything for a proper fit. A jump in midrange power could be felt immediately and the sound was noticeably deeper as a result. Popping the hood reveals Password:JDM kevlar parts everywhere, but the intake is definitely the center of attention.
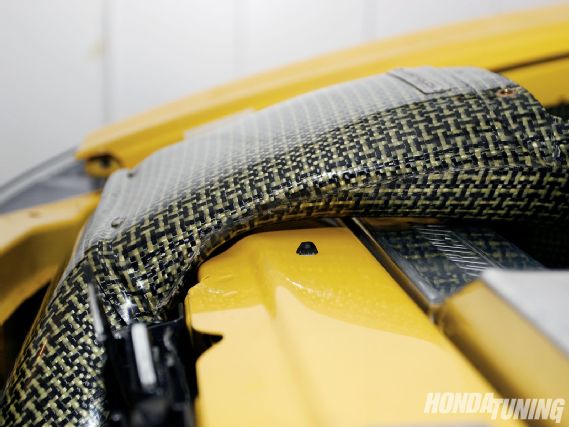 |
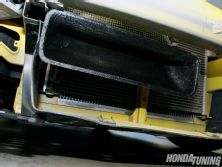
The snorkel snakes just above the radiator and core support, with the bottom half flaring into a massive inlet that sits just behind the bumper grill.
|
The snorkel snakes just above the radiator and core support, with the bottom half flaring into a massive inlet that sits just behind the bumper grill.
HKS: Exhaust
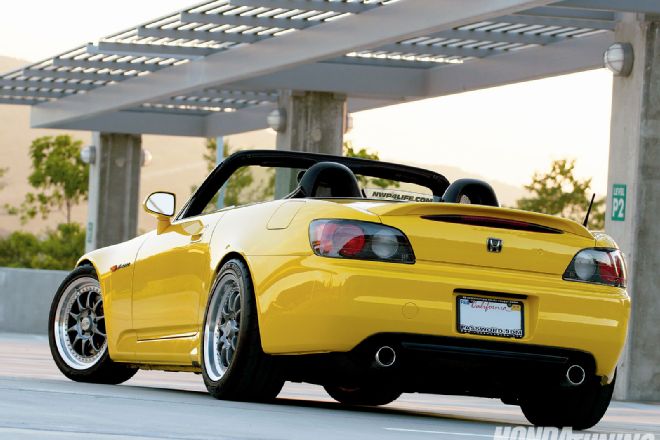
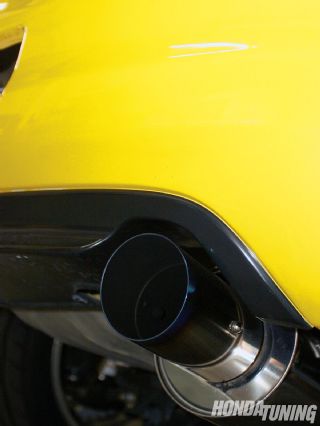
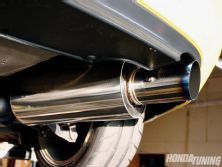
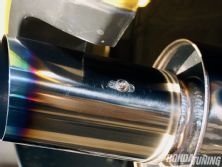
HKS is a company that's managed to hold its position at the forefront of import performance. For over 20 years, they've taken supercars to their absolute limit and beyond with high-end electronics and monster turbos, while still offering street-level performance products that are renowned for their quality and performance. Recently HKS has been working on a new cat-back exhaust system for the S2000. In recent years, most exhaust systems on the market were in the 60-65mm region. A little later on, the standard seemed to be 70mm for both naturally aspirated and forced induction setups. This year, a few manufactures have come up with 72mm systems, but HKS felt there was still some room for improvement. Through real world testing, they found that they could create a 75mm system that would gain power, but more importantly, not lose any power on a stock S2000. My initial thought was that the 75mm piping would mean a bazooka-sized muffler and decibels well over 100. But when I arrived at HKS and they showed me the muffler, my negative thoughts quickly disappeared. The muffler size they chose was perfect for the S2K's rear bumper; not too big, not too small. Though the piping looks massive, HKS utilizes a sub muffler under the car to help tame the bark to the tune of just 96dbs. A remarkable number when you consider that some 60mm systems on the market are in the 100-104 range. As you're reading this, the new exhaust system should be nearing its official release. Though I have the prototype installed, the production model should look exactly the same, and use SUH409 stainless piping with a dark grey protective coating, and a titanium burnt exhaust finisher.
 |
Project AP1 2001 Honda S2000 - Yellow Jacket
|
Project AP1 2001 Honda S2000 - Yellow Jacket
AP1 vs AP2
Depending on what year S2000 you drive, purchasing most exhaust systems means you might end up with an awkward fit. The AP1 rear bumper is much different than the AP2, but because everything else is almost identical, some companies just offer one part to fit both cars. That means that if they designed it for an AP1, you AP2 guys are going to have an exhaust tip that hides behind the edge of the exhaust opening on the bumper, and over time it will mean a burnt bumper. If the company designed their cat-back for the AP2, then the AP1 owners will have an exhaust tip that sticks out too far. To rectify the problem, HKS designed an adjustable exhaust tip. That's right, just loosen the retaining screws, slide the titanium exhaust tip backward or forward, depending on your needs, and tighten it back down. This is good news for anyone who runs an aftermarket rear bumper or diffuser, or for those of us who want to decide for ourselves how far the exhaust tip should exit.

A Better Header and More Elevation:
Fujitsubo, Berk Technology, and Race Ramps
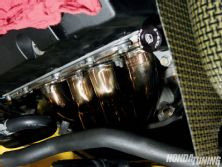
While searching the web for a decent used header, a co-worker (Elliott Moran) suggested I try out the Fujitsubo piece that he had installed on his AP2. The header had only been on his car for a few days to verify fitment. Since then, the header had been stored in Tein's warehouse since they're the official North American distributor of Fujitsubo products. After bribing Elliott with a California burrito, he brought the header to the office for me to install. The quality appeared top notch, from the material used to the brilliant welds.
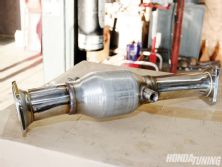
Using a lift to install the header saves you a lot of headaches. But one of the major problems I've had with putting my AP1 on a lift is that the car sits too low to push the arms under the sides to get to the lift points. Usually this means that I have to drive up on a block of wood, and jack up the rear of the car using whatever looks solid enough as an anchor point. I picked up a set of Race Ramps which claim to bring the vehicle high enough to place the arms under the lift points. Instead of having a friend step on the wood so that I could drive up without launching them forward, I simply placed the ramps on the garage floor, and prayed they wouldn't slide out. Remarkably, the car rolled up without any slippage whatsoever. No more ghetto wood blocks for me. Even halfway up the ramp, there was already more than enough room to swing the lift arms into place. The ramps themselves weigh next to nothing, yet they're rugged enough to take on 1,500lbs per ramp! Race Ramps also offers a track and trailer version, and a model that will get your car high enough for you to slide underneath. Race Ramps took all the hassle out of getting my car in the air, and even with the tiny trunk space of the S2000; I can still fit all four ramps, along with my camera bag and a case of Royal Purple. Once in the air, we installed the header and added a Berk Technology 63.5mm high flow cat to the exhaust system.
Impression
With the new HKS exhaust, Fujitsubo header, Berk high flow cat, and Password:JDM intake, the car took on a completely different feel. The throttle response was much improved and it wasn't unbearably loud, even while driving with the top down on the freeway. Though the car feels smoother and quicker on the top end, I didn't lose any grunt on the bottom end; a major concern for F20 owners who don't want to give up any precious low-end torque.
Hard Hat: Chaser Aerodynamics
If there's one item in common on just about every S2000 owner's wish list, it's got to be the hardtop. Some like the OEM Honda top, others, like me, prefer an aftermarket version. I contacted Chaser Aerodynamics after drooling over their website for about an hour, looking through pages of exterior options. They offer everything you could possibly imagine for your S2000 (as well as a ton of other makes and models), from small items like carbon fiber gauge surrounds and door panel inserts, to big ticket items like fenders and hard tops. If you log onto their site, you'll notice new products popping up almost daily; these guys are dead serious about being a one-stop shop for all of your aero needs, and they have the ability to produce just about any part you can possibly conjure up-in carbon fiber.
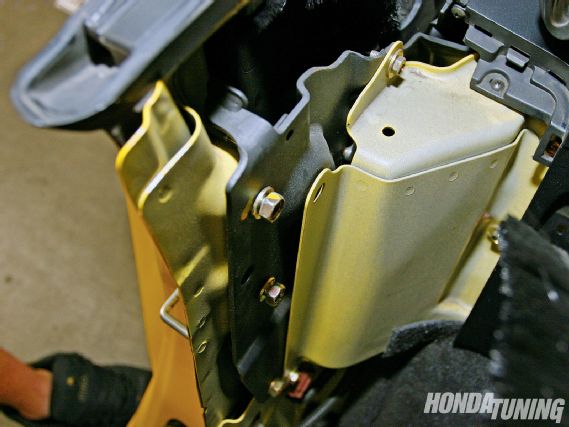 |
The three bolts you see here are used to bolt down the supplied "L" bracket. Slightly longer hardware is needed, and Chaser supplies it.
|
The three bolts you see here are used to bolt down the supplied "L" bracket. Slightly longer hardware is needed, and Chaser supplies it.
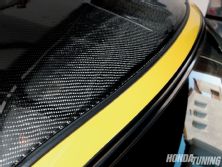
My sights were set on the Mugen-style carbon fiber hardtop that, unlike many others, included the installation kit and rear window. When the package arrived, the top was wrapped in armor. You could probably toss it off of a rooftop and the carbon piece would come through unscathed. It was that safe. After cutting through the protective wrap, we took a look at the product. The quality was top notch, and the carbon fiber finish actually continued all the way to the interior portion of the top. Installation was a breeze, and because the top is so incredibly light, I didn't need a second set of hands to help me out. Here's how simple it is...
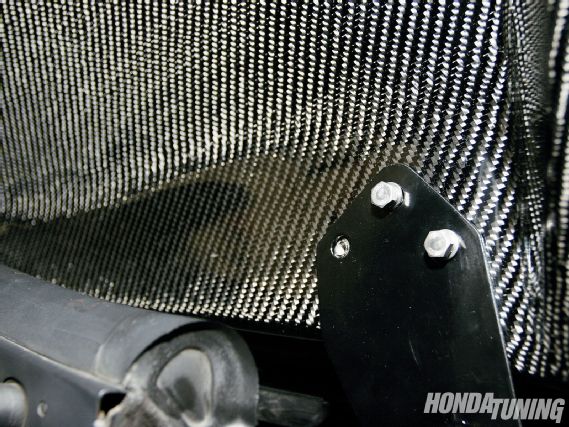 |
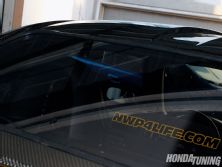
The first two bolts that hold the hardtop down on the driver side are in place. Adding the third bolt and then repeating the process on the passenger side completes the rear mount install.
|
The first two bolts that hold the hardtop down on the driver side are in place. Adding the third bolt and then repeating the process on the passenger side completes the rear mount install.
Impression
The Chaser hardtop blew me away. I've seen a number of hardtops that don't even look like they were made for an S2000, and fortunately Chaser took their time and got the mold right. No unsightly gaps, no wind blowing through the cabin, and no "rigging" needed to safely mount the top. After having the top installed for a few weeks, I wanted to pull it off to enjoy a little sunshine over the weekend. The process took less than 10 minutes. By just removing the rear bolts and releasing the front factory latches, I picked it up off the car and was ready to roll.
 |
Project AP1 2001 Honda S2000 - Yellow Jacket
|
Project AP1 2001 Honda S2000 - Yellow Jacket
What's next?
The AP1 has progressed rapidly in just three months. The next plan of attack will revolve around a certain Honda guru who may be building one of his signature headers for the S2000. If that does in fact happen, expect a dyno comparison, and eventually some ECU tweaking. Till next time....
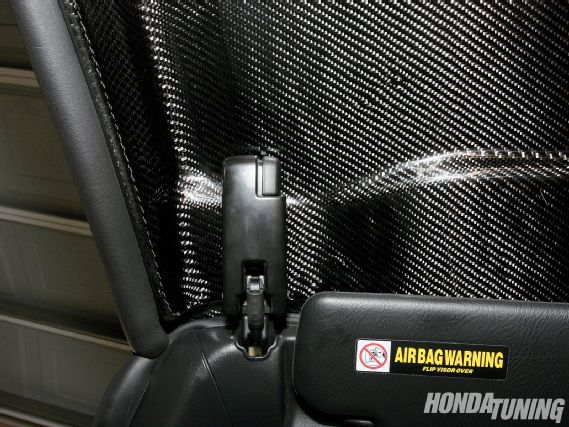 |
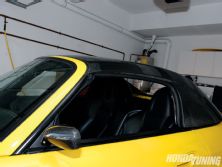
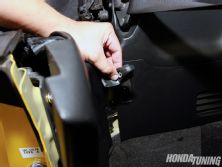
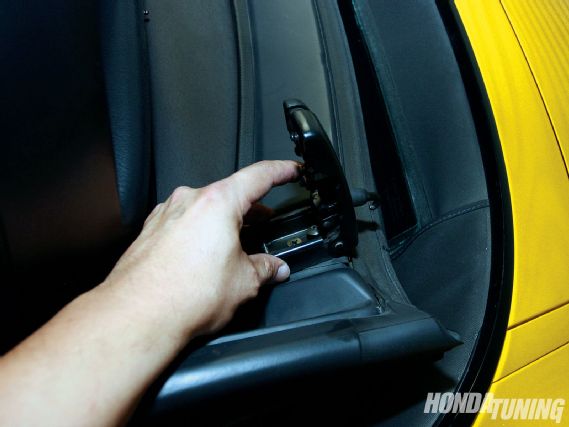
For the front, Chaser's top uses the factory Honda latches. With the soft top retracted, you just flip the latch open, and unscrew the two bolts. Then transfer the latches to the carbon hard top-they work just as they did on the soft top.
|
For the front, Chaser's top uses the factory Honda latches. With the soft top retracted, you just flip the latch open, and unscrew the two bolts. Then transfer the latches to the carbon hard top-they work just as they did on the soft top.