 | Project Honda S2000 Suspension - Out With The Old, In With The New!
It’s all around us; from the cars we drive, to the offices we’re slave to, even in the homes we live in. Polyurethane is, in one form or another, heavily used in our day-to-day lives. Refrigerators, footwear, even protective coatings make use of the complex polymer. The use of polyurethane dates all the way back to the 1940s, and Energy Suspension of San Clemente, California, has spent the last 25 years at the forefront of performance automotive applications. Its Hyper-Flex Master kits are made of multiple high-quality polyurethane bushings that serve as direct replacements for the factory rubber bushings, and offer crisp, superior handling and improved steering response. Because every vehicle is different, Energy Suspension researches each application individually en route to selecting the proper durometer for maximum performance.
So what’s the big deal about polyurethane?
The most important factor, beyond its potential for improved handling, is that it contains a very high resistance to contaminants like oil, engine chemicals, and road grime. It doesn’t break down and deteriorate the same way that traditional automotive suspension rubber does. Older vehicles can benefit from the rejuvenation factor, replacing old, worn bushings that deliver lackluster performance, or may even cause metal-to-metal contact in some cases. Our Project AP1 is about 11 years old now, and with Energy Suspension looking for a vehicle to prototype its new S2000 Hyper-Flex Master kit, we were more than willing to hand over the keys. Fortunately, Billy Harrill of New Product Development and Bo Richie of Research and Development allowed our camera to follow along as they tackled the process.
Not everyone has access to a monster press, and even fewer own or have experience with a torch, which is why it’s recommended you consult a professional in regards to removing the old bushings and installing some of the Energy Suspension poly bushings. One way to save quite a bit of money and avoid excessive labor charges is to simply remove all of the suspension components at home and drop them off. The process begins like any basic suspension installation, the main difference being that instead of working around the “arms,” you’re going to actually remove them.
Most of the bolts should come off fairly easily, especially if you’ve previously installed suspension, and worked through the stubborn factory-torqued bolts. Of course, with any car I’ve owned, I’ve been jinxed with hardheaded bolts and a number of “I hate this car” moments. Having a ton of suspension experience between them, Billy and Bo made quick work of the removal process.
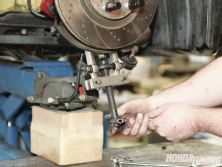
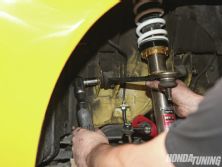
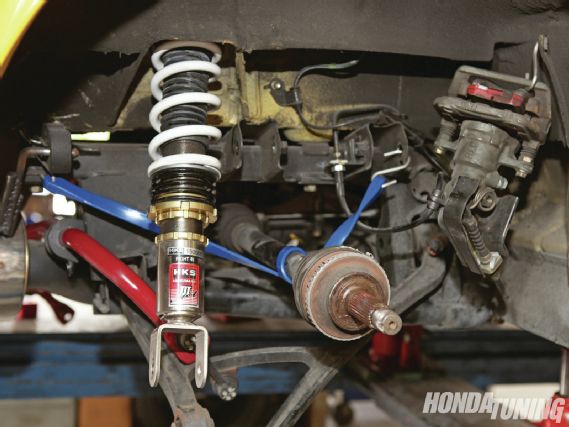
In the front, with bolts loosened, a joint spreader tool relies on tension to help separate the often-stubborn ball joints.
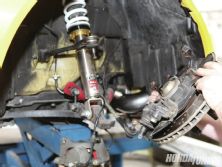
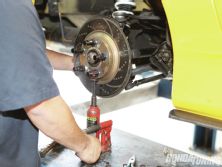
The upper arms, now held in with just a few bolts, are quickly removed. Bo Richie uses a small jack to support the assembly; while up top, a metal block and a few well-placed blows from a hammer are usually more than enough to finish the job.
 | Project Honda S2000 Suspension - Out With The Old, In With The New!
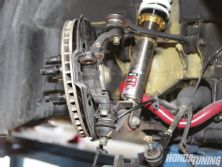
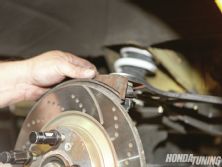
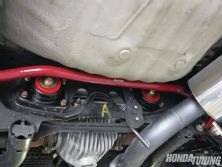
To avoid damaging the axle or having the brake caliper swing in the way, straps and hooks are strategically placed, and the rest of the arms are removed.
 |
Project Honda S2000 Suspension - Out With The Old, In With The New!
|
Project Honda S2000 Suspension - Out With The Old, In With The New!
 | Project Honda S2000 Suspension - Out With The Old, In With The New!
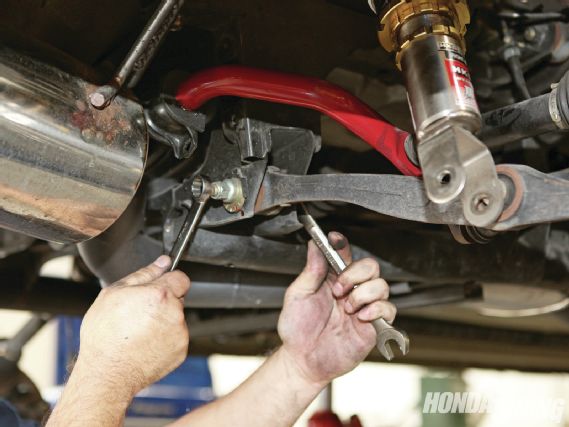
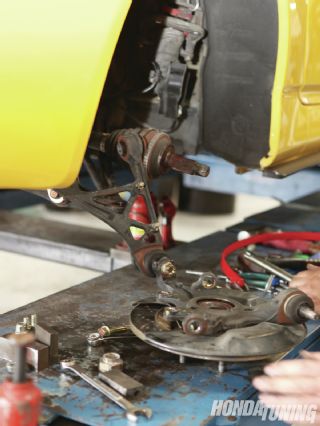
In this case, however, the passenger rear put up a fight. To get a solid grip with the spreader, the axle needed to be freed, and the components laid flat.
 |
Project Honda S2000 Suspension - Out With The Old, In With The New!
|
Project Honda S2000 Suspension - Out With The Old, In With The New!
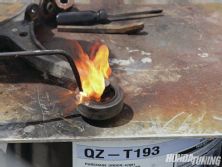
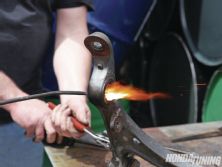
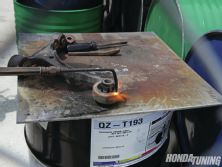
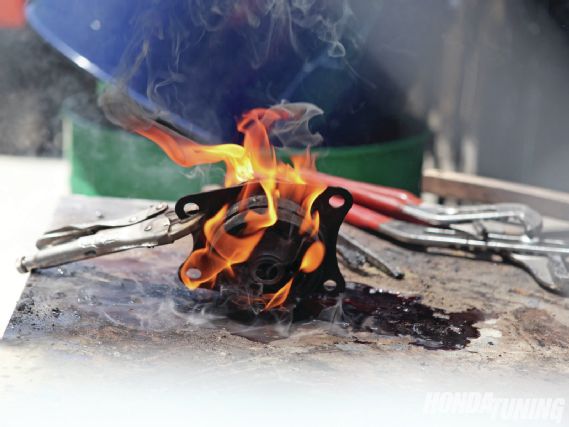
In order to break the seal with some of the tougher parts, a torch is carefully used to heat the metal around the bushing. Caution is used to avoid overheating the metal. This is how hot things get during the process!
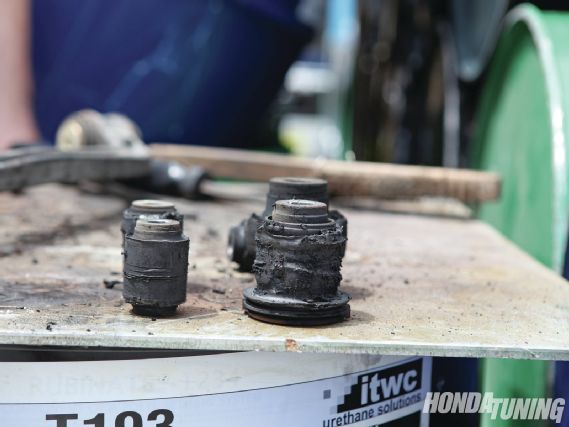
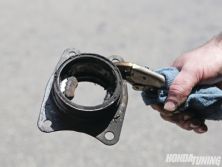
The factory bushings after being burned out.
 |
Project Honda S2000 Suspension - Out With The Old, In With The New!
|
Project Honda S2000 Suspension - Out With The Old, In With The New!
 | Project Honda S2000 Suspension - Out With The Old, In With The New!
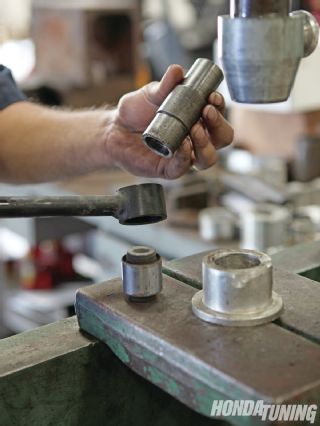
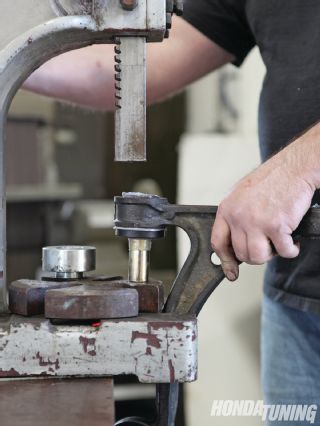
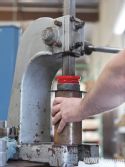
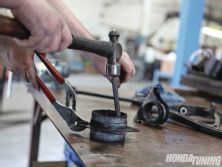
The OEM bushings that don’t require high heat can be removed with a press. Here Bo takes only a few seconds to remove the bushing from this arm.
 |
Project Honda S2000 Suspension - Out With The Old, In With The New!
|
Project Honda S2000 Suspension - Out With The Old, In With The New!
 | Project Honda S2000 Suspension - Out With The Old, In With The New!
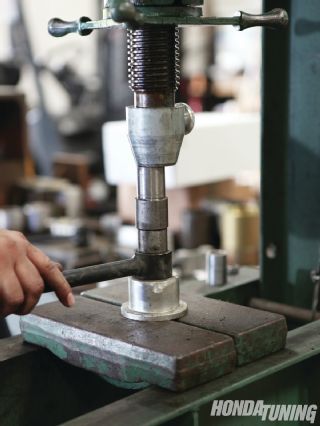
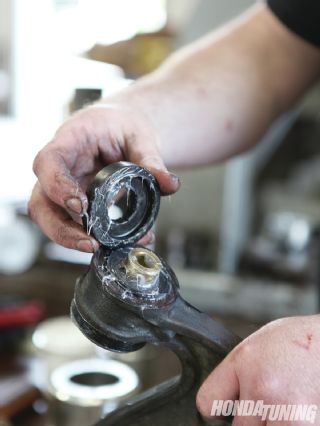
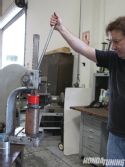
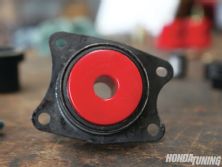
Here Billy Harrill first presses in the bushing and core, then adds the bushing cap after a healthy slathering of more grease.
 |
Project Honda S2000 Suspension - Out With The Old, In With The New!
|
Project Honda S2000 Suspension - Out With The Old, In With The New!
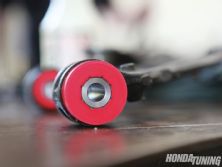
For the installation of the Energy Suspension poly bushings, Billy uses a healthy amount of grease (included with all ES kits) to ease into each suspension piece, and it will ultimately help quiet the new bushings once you’re back on the road.
 |
Project Honda S2000 Suspension - Out With The Old, In With The New!
|
Project Honda S2000 Suspension - Out With The Old, In With The New!
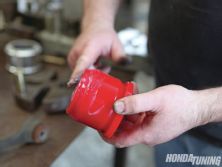
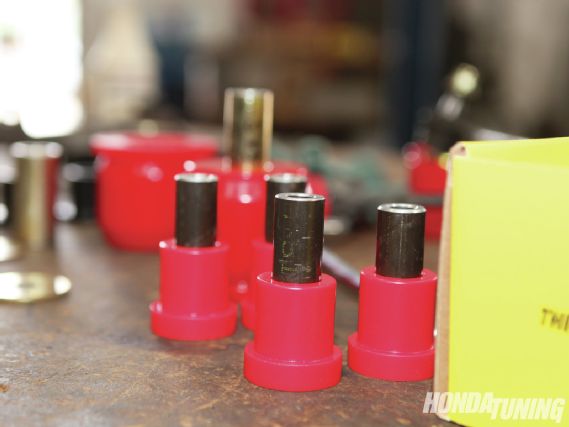
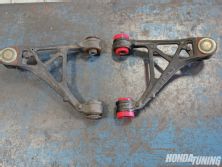
Various components with the Energy Suspension polyurethane bushings installed.
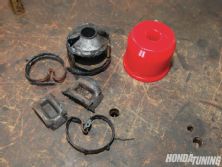
Differential Dilemma
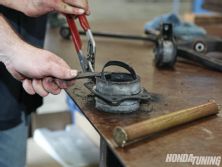
During the process, the first differential mount was tough. Real tough. Comprised of a set of rings, and curiously shaped metal spacers that sit within the confines of the original rubber bushing. It required the torch process, as well as using a wedge and hammer to bend and pry out the rings and spacers. While burning the second differential mount, as the heat began to rise, a loud “pop” was heard, followed by a spray of boiling hot fluid. It turns out that the differential mounts on the S2K are fluid filled. Although it wasn’t obvious, the first mount was torn somewhere and the fluid had most likely leaked out over the years. Part of the R&D process involves situations like this that Billy and Bo will point out when they complete the installation instructions for the S2000 kit for the utmost safety for the end user.
 |
Project Honda S2000 Suspension - Out With The Old, In With The New!
|
Project Honda S2000 Suspension - Out With The Old, In With The New!

On The Road
The first thing you notice behind the wheel is how crisp the steering response is. Even cruising through surface streets, jumping on and off of the freeway, the already stout suspension of the roadster feels energized (no pun intended) and eager. Absolutely no noise was heard from the new bushings, and though I’d read about aftermarket differential mounts causing unwanted vibration and noise, I haven’t experienced either. Rejuvenation complete!