The excitement of buying a truck and modifying it is what drives most of us truck guys (or girls). Sure, some trucks are bought with the sole purpose of being left stock and driving daily. But others, like this ’14 Chevrolet Silverado Crew Cab, were bought with the intent of building a full show vehicle while also being driven daily. We knew that something like a small 6-inch lift would never satisfy the desire for a big head turner. That’s when we contacted Mike Mashburn down at Rimz One in Mooresville, North Carolina, to help us pull together something that would make this truck big enough to catch everyone’s attention, reliable enough to drive across the county and could handle daily wear and tear. After researching big lift kits available for our truck, we found that 3rd Coast Suspension (B&C Offroad) had a front 14-inch lift kit that would retain all the factory geometry on our truck and look good doing it. This kit drops the factory upper and lower control arms, the front differential as well as the electronic steering down 14 inches and keeps all the factory steering and angles the same as stock height. This kit, ($6,500 retail in raw steel) is set up to still use the factory front struts by utilizing strut spacers to also drop them down the 14 inches. Going this route keeps the initial cost down and gives you the option of adding coilovers later. We contacted Fox Racing Shox and ordered a set of Fox 2.5 Factory Series IFP reservoir coilovers to not only smooth out the ride a little and give the front end a better response, but to give the front of the truck a little more presence when people see it coming down the road. These coilovers come in a pair, PN 880-02-525 ($1,595 retail), and are right at an inch taller than the factory struts out of the box and give you up to three more inches of height adjustment if you desire. We left them the height they came so we have a total of 15 inches of lift in the front. To beef up the front end and make it withstand any driving situation we threw at it, we ordered a set of Fabtech uniball upper arms, PN FTS21082 ($499 retail).
For the rear we contacted Atlas Spring Company and ordered a set of their progressive rear leaf springs, PN 22-16R-10P ($1,110 retail with shipping). These springs are 10 inches taller than the factory leaves and provide a much better ride. We also used a set of 3rd Coast Suspension 4-inch angled blocks to get a total of 13 inches of rear lift. We know what you’re thinking, 10 plus 4 doesn’t equal 13, but for this truck, it comes with a 1-inch block from the factory, so by removing that, it gives us the 13 inches of total lift needed to make it level with the 15-inch lift we installed in the front. For the rear shocks, we ordered a pair of Fox 2.0 reservoir shocks, PN 980-24-035 ($256 retail each).
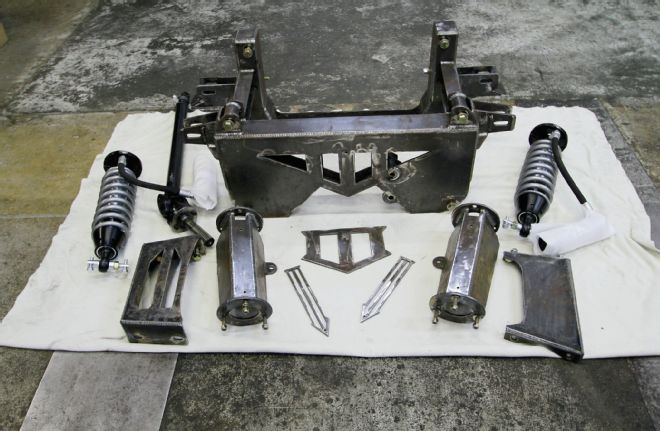
| The 3rd Coast Suspension 14-inch front kit includes the drop cage, strut spacers, front differential drop brackets, extended front driveshaft, separate metal logos and all the nuts and bolts needed for assembly. The Fox coilovers complete this kit.
With all the parts ordered and delivered, it was time to take the truck back to Rimz One to let Mike’s crew tear it apart and install everything. We ordered the front kit and rear leaves all in raw steel so we could customize them. We even requested that the rear leaves be shipped unassembled to make the final product cleaner. The entire factory front suspension and rear axle assembly was removed and the new parts were bolted up for the essential test fitment. By doing this, you can make sure you don’t have any weird issues before you paint or powdercoat everything. For some, this may seem like way too much work, but when you want the final product to not only fit and function properly, but look just as good, making sure every component bolts up with ease is a must. Once the shop was happy with how it all fit, it was time to disassemble everything one last time and send all of the front suspension, rear leaves, and a few other odds and ends off to the powdercoater to get a semigloss gray metallic finish.
For wheels and tires, we ordered a set of 22x12 TIS 535 wheels with a -44 offset and let the creative minds at Rimz One lay out a cool three-color paint pattern to really set them apart in the crowd. After the paint was dry, they wrapped them in massive 40x15.50/22 Nitto Mud Grapplers for a really aggressive look. In order to make sure we could stop that much rolling mass, we added a set of drilled logo rotors from R1 Concepts as well as their performance brake pads. This not only looked good but provided a better bite when we stood on the brake pedal. To complete the custom look we were going for, a set of custom brake caliper covers from MGP Caliper covers were bolted on which cleaned up the area behind the wheel and added another custom touch.
Once the truck was fully assembled and given a once over, the truck was taken for a full alignment to ensure proper tire wear. After the first 1,000 miles, it was taken back to Rimz One for them to do an inspection and re-torque every component. Shortly after, the truck was driven 2,337 miles across the country without any issues while the cruise was set (slightly) above posted speed limits, with one hand on the steering wheel. With the type of kit used and the parts chosen, the truck handled better than expected for such a tall vehicle. It drives almost as it did at stock height.
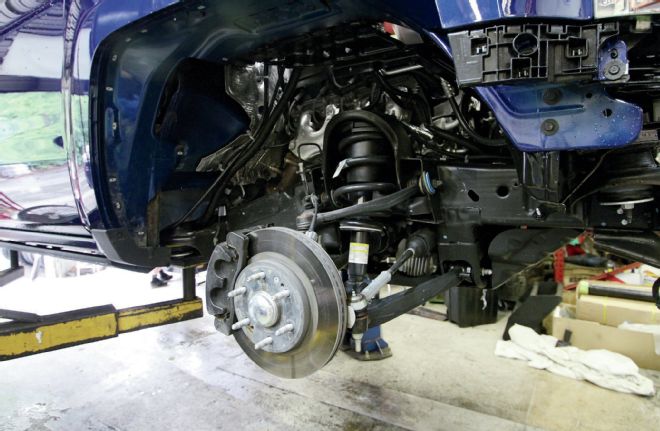
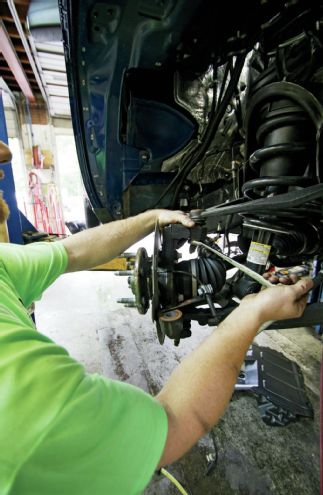
| Stock 2014 Chevy Silverado Suspension
The factory front suspension is a straightforward and stout setup, but looks nowhere near as cool as the kit we are installing.
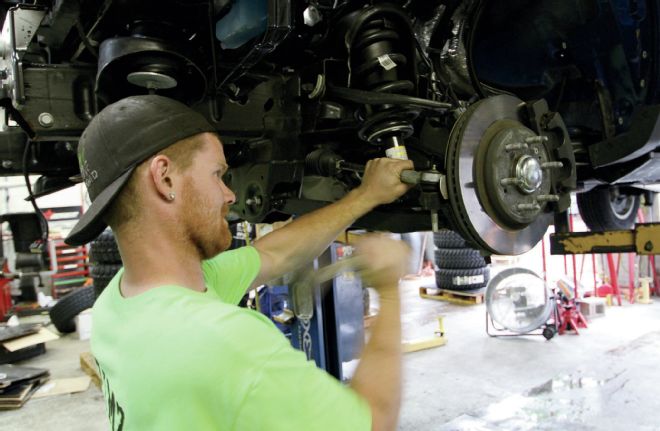
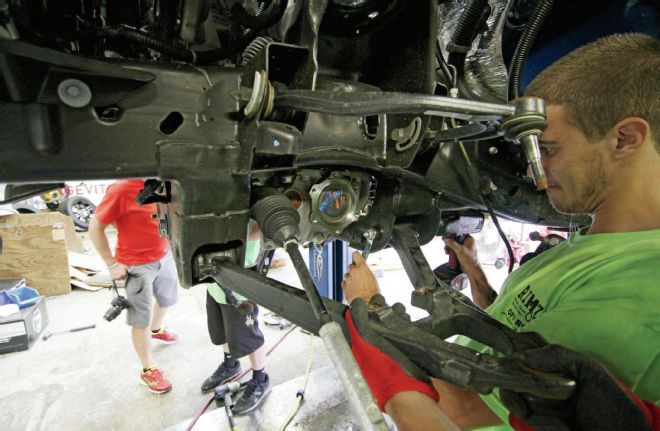
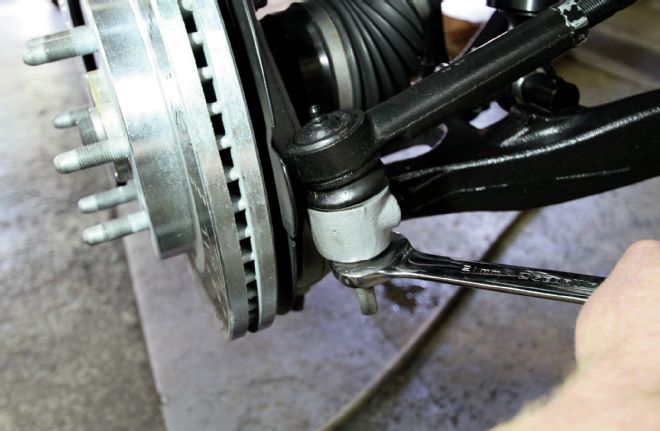
| Front Sway Bar Removal
The front sway bar was the first piece of the puzzle to be removed, followed by the tie rods, which had to be gently persuaded to come apart on both sides.
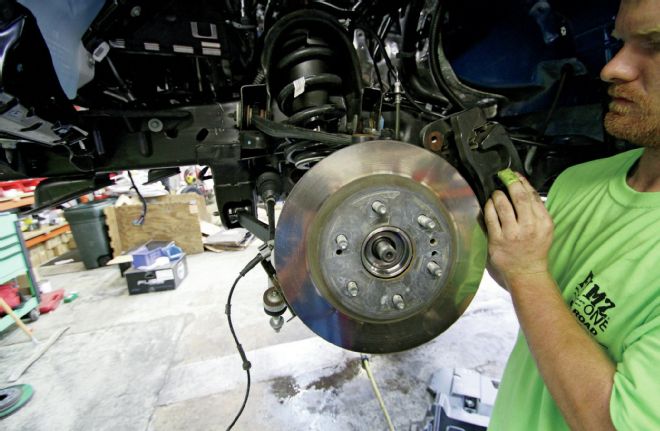
| Front Caliper Removed
The front calipers were removed and tied out of the way before the rotors were pulled off. Then, all brake line brackets and ABS plugs were unbolted and removed.
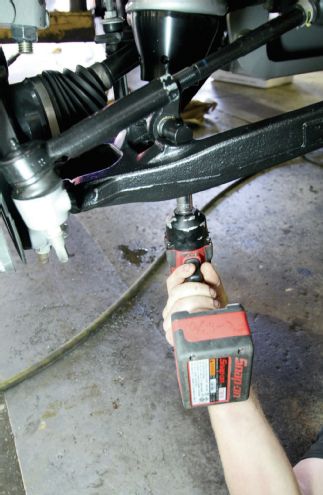
| Spindle Removal
The spindles were unbolted from the upper and lower control arms and removed.
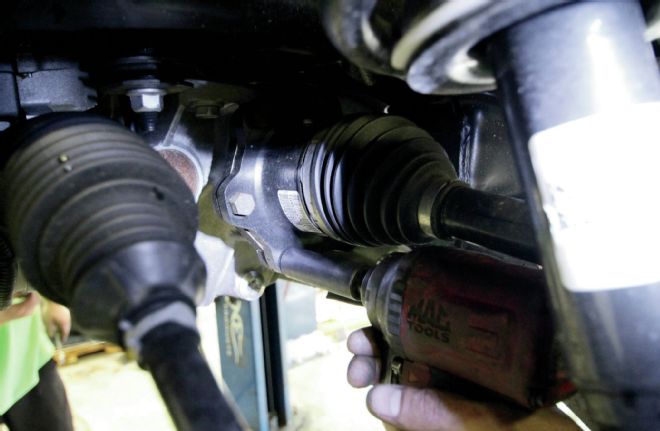
| Front Axle Removal
The front CV axles were unbolted from the front differential and removed.
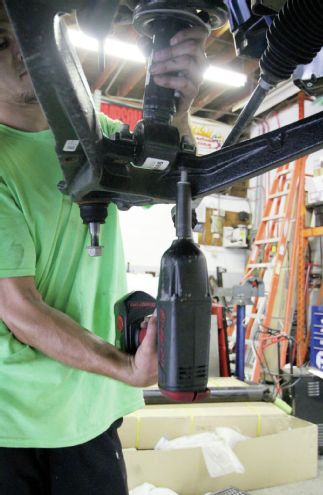
| Front Strut Removal
The front struts were unbolted from the lower control arms and the upper strut tower and removed.
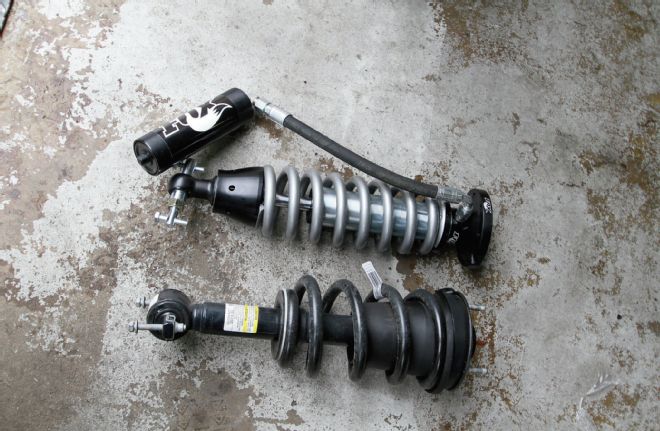
| Fox Coilover And Stock Strut
Here is a side-by-side comparison of the stock strut and the new Fox coilover. You can see how much beefier and better looking the Fox unit is.
| Upper And Lower Control Arm Removal
Next, both the upper and lower control arms were removed.
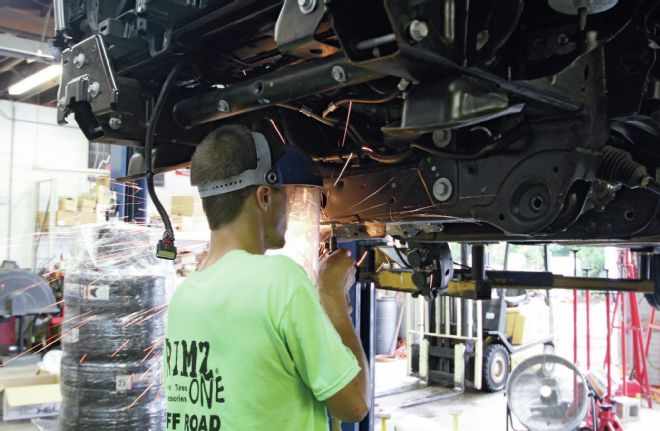
| Cutting Control Arm Pockets
With all of the stock suspension removed, it can now start the test fitment. The bottom of the lower control arm pockets were cut off flat with the bottom of the factory front crossmember to allow the drop cage to sit flush.
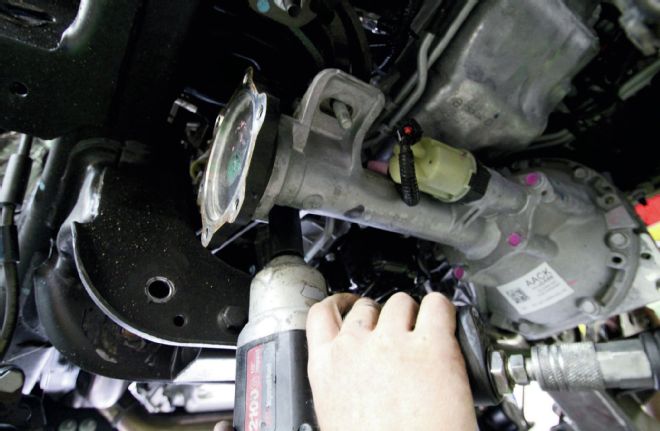
| Front Differantial Removed
The front differential was unbolted and removed.
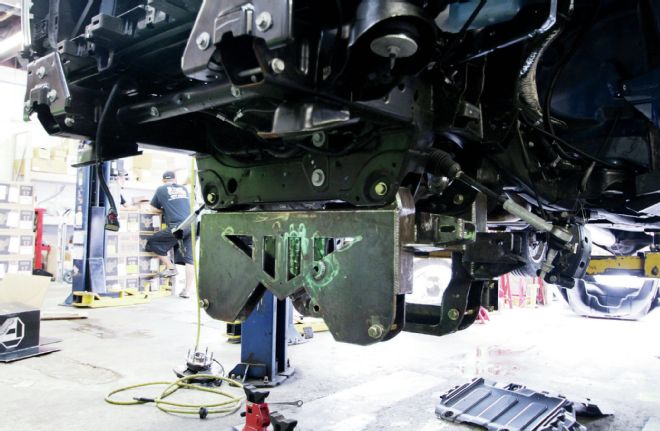
| Drop Cage Install
The drop cage was set in place and the truck was lowered onto it. This method is much easier due to the weight of the cage. The cage then bolts to all four factory lower control arm pockets.
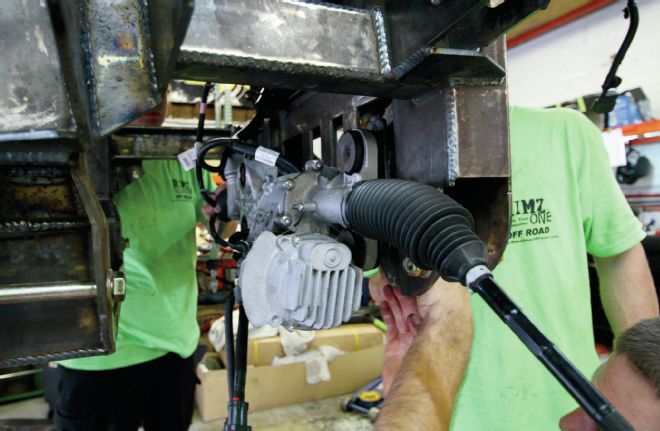
| Factory Steering Relocated To Cage
The factory electronic steering system was unbolted and relocated to the drop cage. The front differential drop down brackets were installed on both driver and passenger sides and the diff was installed.
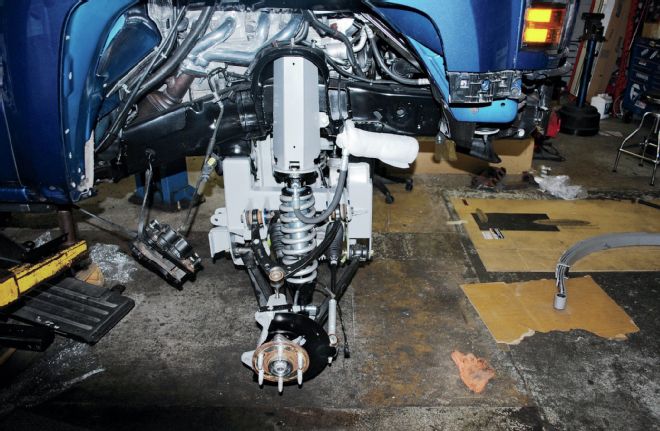
| Powdercoated Front Suspension Installed
The front suspension was removed at this point and taken to the powdercoater. Upon return, the parts were reinstalled and torqued to spec.
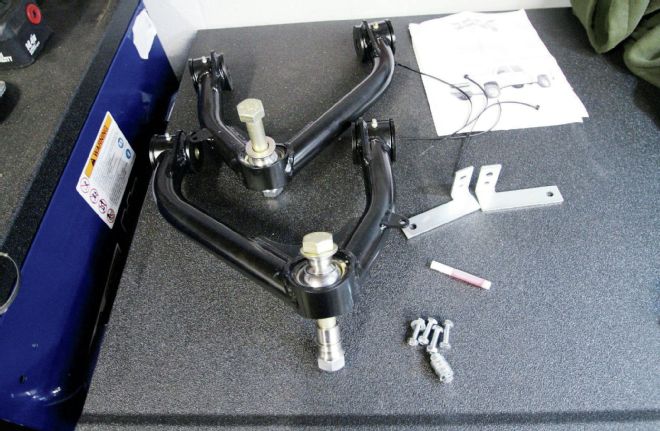
| Upper Control Arms
After the initial assembly, we decided to go ahead and install the Fabtech uniball upper arms to make the suspension as beefy as possible. They allowed for less stress on the stock ball joints by utilizing a thicker, stronger non-tapered ball joint.
| Fabtech Arms Installed
The Fabtech arms were bolted in the upper arm mounts in the drop cage the way the stock arms were.
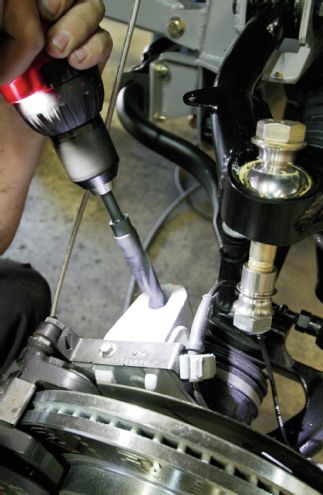
| Ball Joint Hole Enlargement
A ¾-inch drill bit was used to enlarge the ball joint hole in the top of both spindles to allow for the larger uniball.
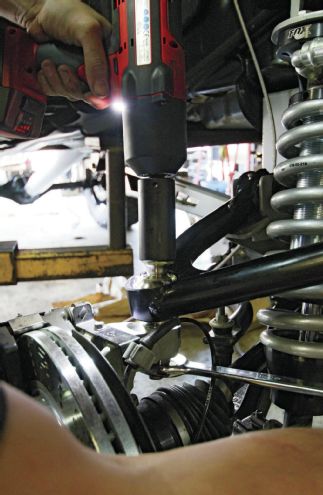
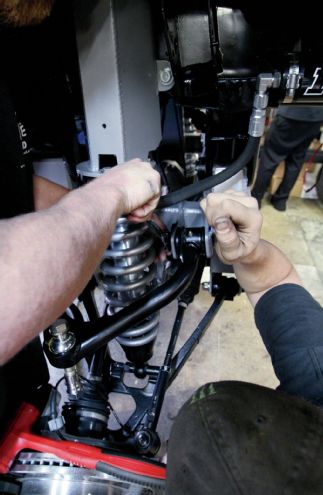
| Uniball Install
The new uniball is bolted in the now larger hole in the top of the spindles. The brake lines and ABS wires and brackets were bolted onto the new arms to keep them out of the way.
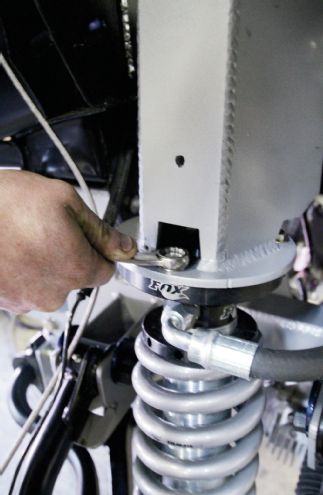
| Strut Spacer Installed
The strut spacer was bolted to the factory upper strut mount and the new coilovers were bolted to the bottom of the spacer.
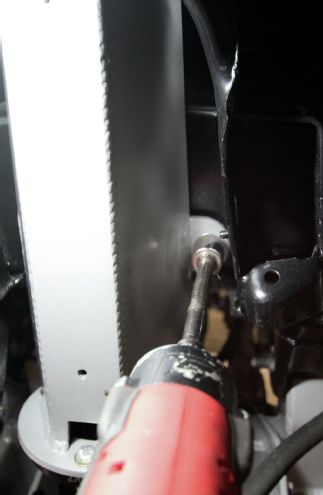
| Strut Spacer Tied To Frame
A hole had to be drilled through the front frame to bolt the stabilizing mount on the spacer to keep it from flexing under a load.
| Steering Tie Rod Install
The steering tie-rod ends were reconnected to the factory spot on the front spindles.
| Bottom Of Coilover Installed
The bottom of the coilover was bolted to the factory lower strut location on the lower arms.
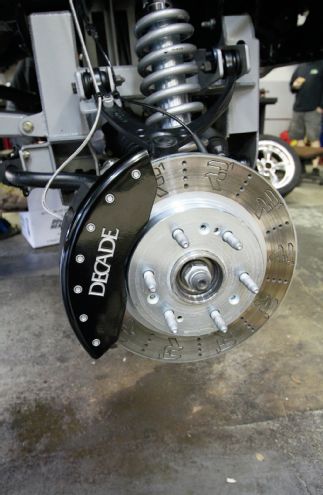
| Front Brakes
We wrapped up the front end with R1 Concepts drilled logo rotors and high-performance pads along with custom MGP caliper covers.
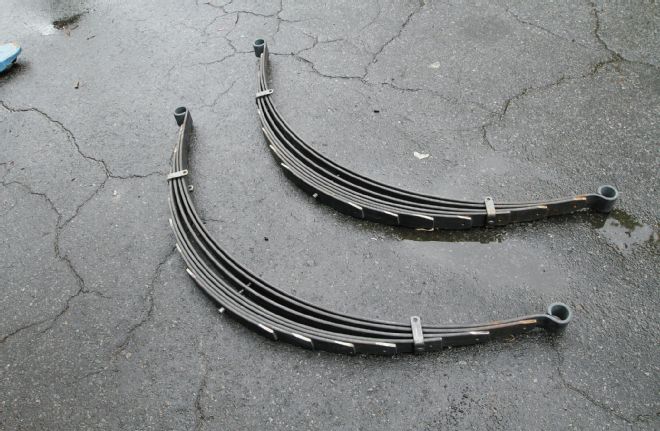
| 10 Inch Lift Atlas Leaf Springs
The 10-inch over factory Atlas Suspension progressive leaf packs were shipped unassembled and in raw metal. This way they could be powdercoated then assembled to give the outcome a cleaner finish.

| 10 Inch Lift Atlas Leaf Springs Powdercoated
Once the leaf packs were powder coated and assembled, they were ready to install.
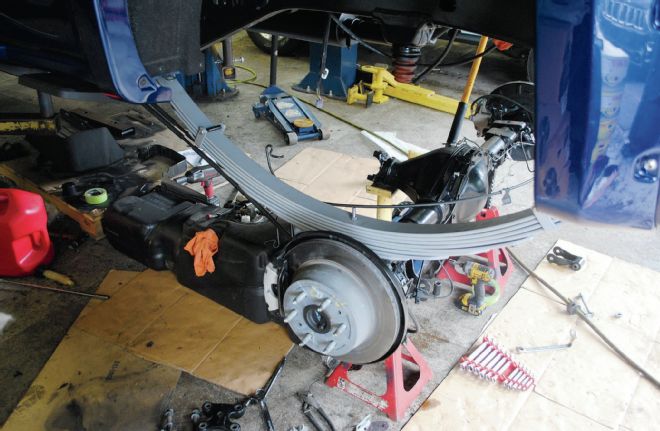
| 10 Inch Lift Atlas Leaf Springs Installed
The fuel tank had to be dropped in order to get access to the driver-side spring bolts.
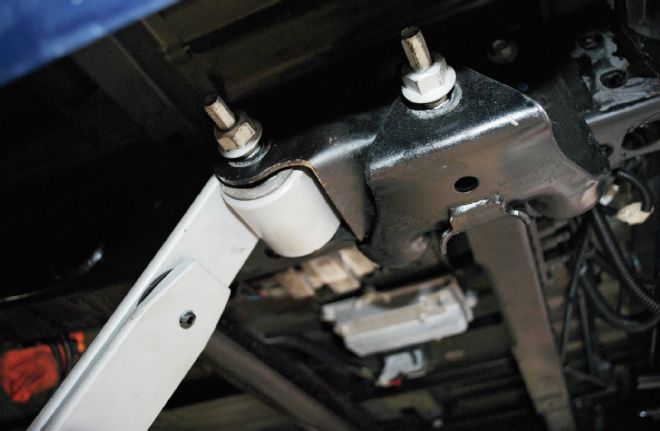
| Leaf Spring Mount
The new leaf springs were bolted back into the factory holes.
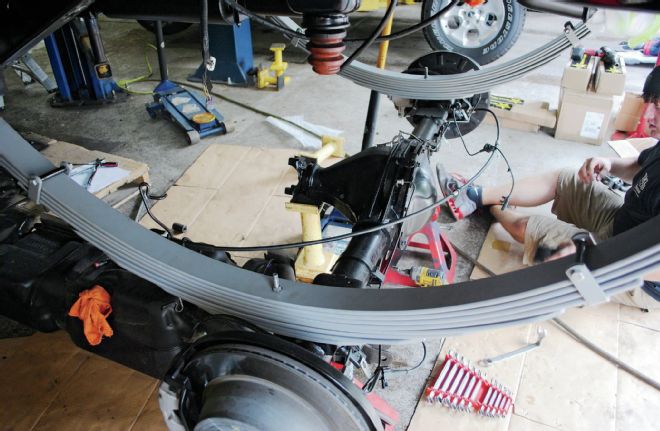
| Leaf Springs Attached To Axle
The rear axle was lined back up and bolted back in place with the new rear leafs and 4-inch blocks.
| Custom Front Suspension
After the initial install, we added a lot of extra touches for both looks and strength. All of the powdercoating and painting new parts make for a really clean yet mean-looking front suspension.
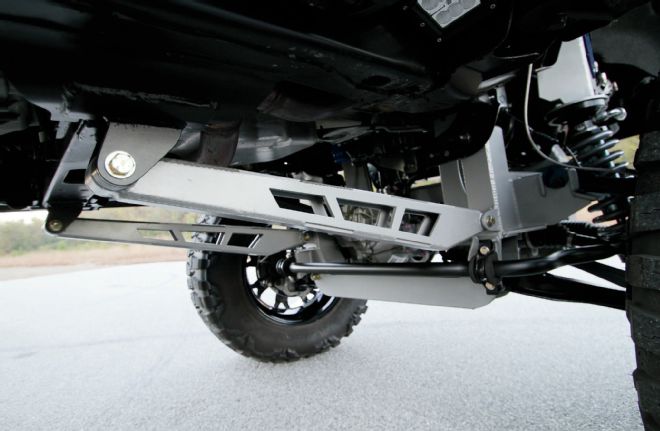
| Front Compression Struts Added
Plates were welded onto both framerails and the transmission crossmember to allow the front compression struts to bolt up and add extra support for such a huge drop cage.
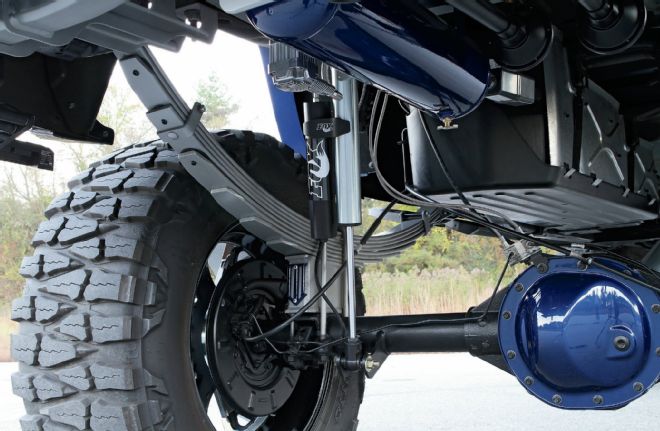
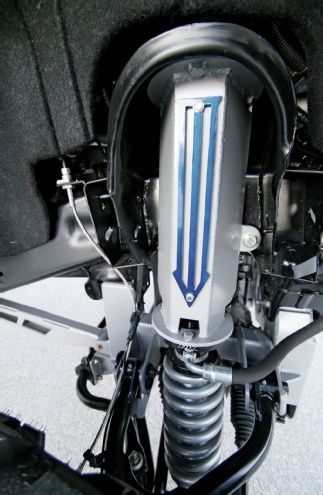
| Completed Rear Suspension
Details such as the painted “3” logos on the blocks and the addition of the Fox 2.0 Reservoir shocks with custom mounts tie together the rear suspension.
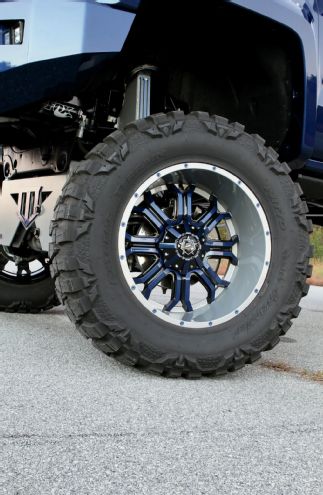
| Tis Wheel
The 22x12 TIS Wheels 535 wheels with a -44 offset were custom painted and wrapped in 40x15.50-22 Nitto Mud Grapplers. This was an aggressive yet stylish solution that really accented the rest of the build.
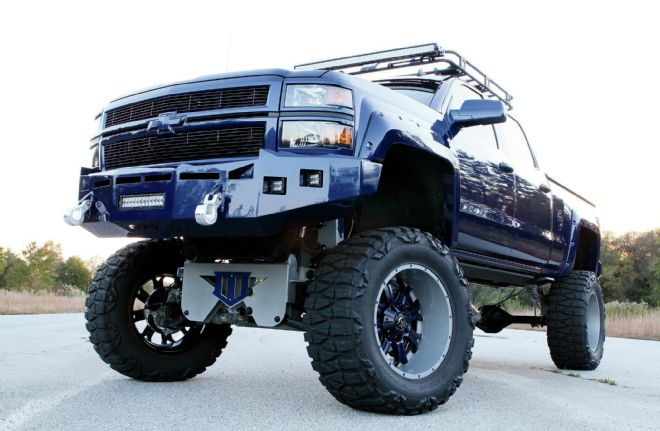
| Lifted 2014 Chevy Silverado
It takes a decent amount of extra time, money, and patience to go the extra mile like we did on this suspension, but the results are almost always worth it. We plan to get many, many miles out of this one!