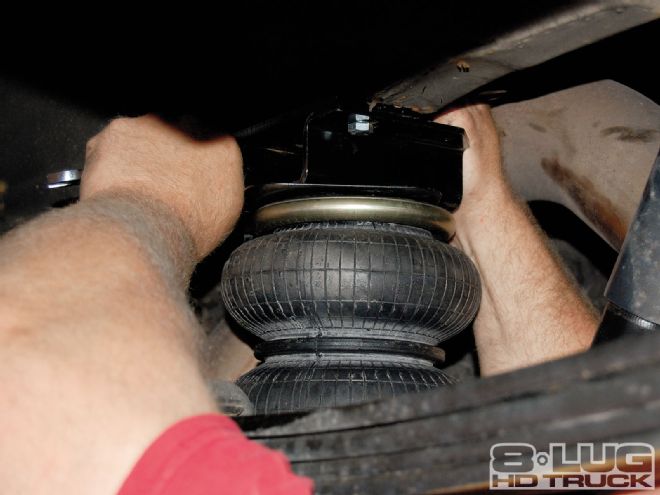
One of our test vehicles, an '08 Chevy Silverado 2500HD tows a lot. Recently, we towed a 30-foot Weekend Warrior toy hauler and were a bit disappointed to see the rear end sag more than a little. We contacted our friends at Hellwig Products and told them our problem. Their solution was to send a set of their rear air springs along with an auto-leveling kit. The beauty of this setup is there is no need for interior gauges or finding an air source to fill the bags. This is completely automatic, thanks to an onboard compressor and accompanying tank. There is a semitruck-type leveling switch that automatically raises (or lowers) the truck to a preset level.
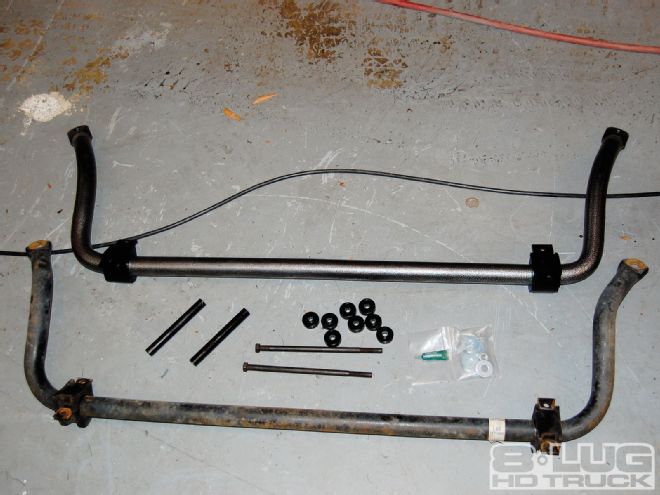
When the folks at Hellwig learned we were building the ultimate tow vehicle, they really stepped up to the plate by adding front and rear sway bars. A rear sway bar was conspicuously absent on our truck from the factory.
When the Big Brown truck showed up at Freestate Services, it looked like it could use a set of airbags. It was noticeably lighter after it left. Four boxes were schlepped in and we eagerly tore into them.
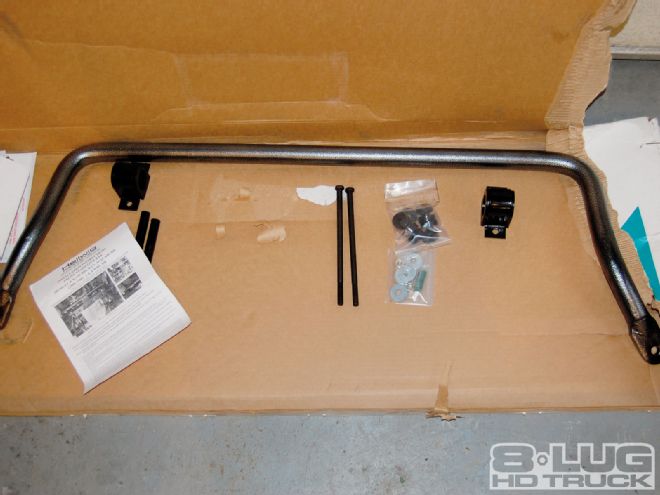
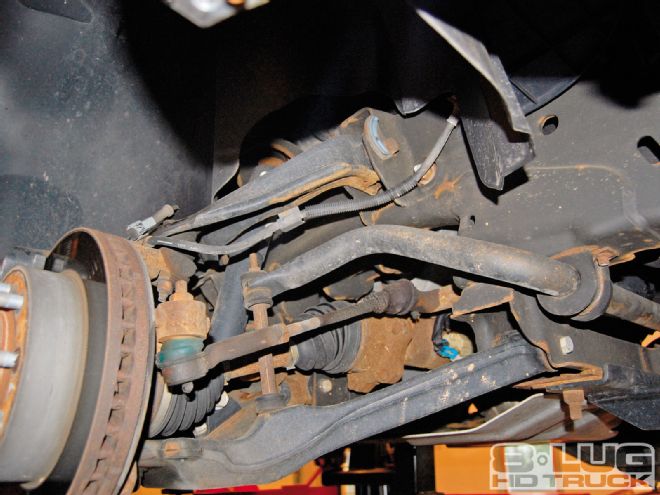
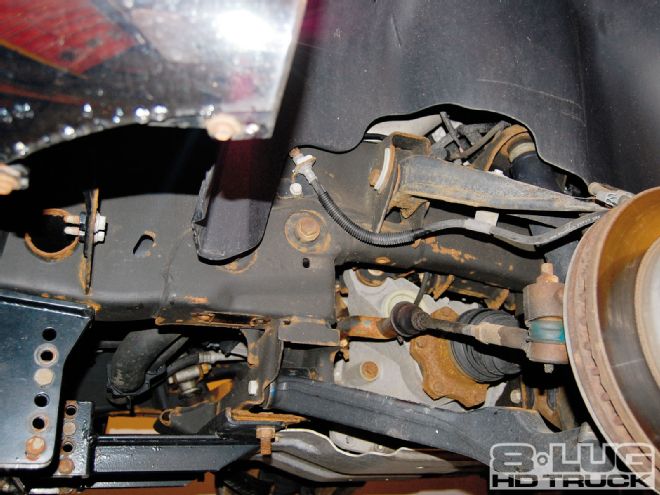
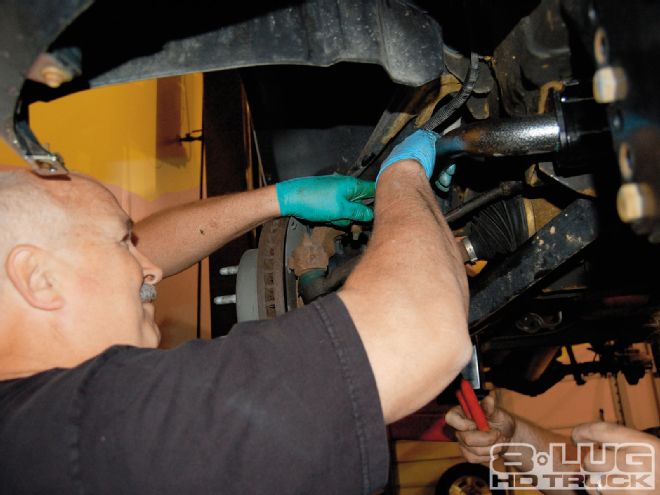
Installation was a fairly straightforward affair. The stock front sway bar was removed by unbolting the ends and the U-brackets (with rubber bushings). One might wonder why a front sway bar is even necessary, as our Chevy came with one from the factory. Upon unpacking the Hellwig unit and removing it from the box, it was immediately apparent that it was much heavier and a bit larger in circumference. Pat muscled it into position, smeared some of the included lubricant on the bushings, and bolted it into place. He made sure nothing was tightened up until all the bolts were in place so minor adjustments could be made.
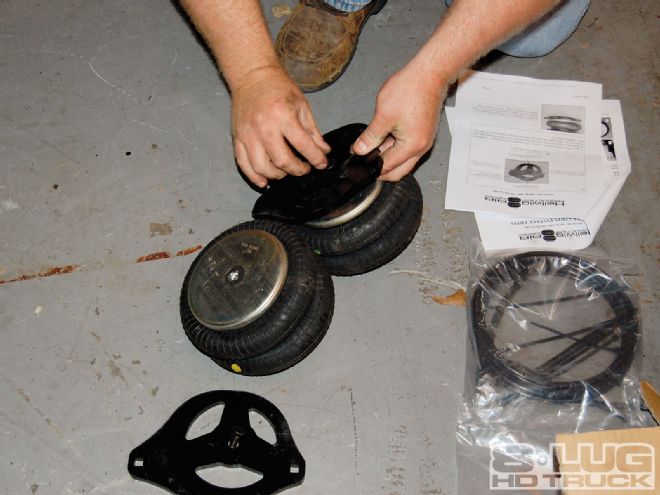
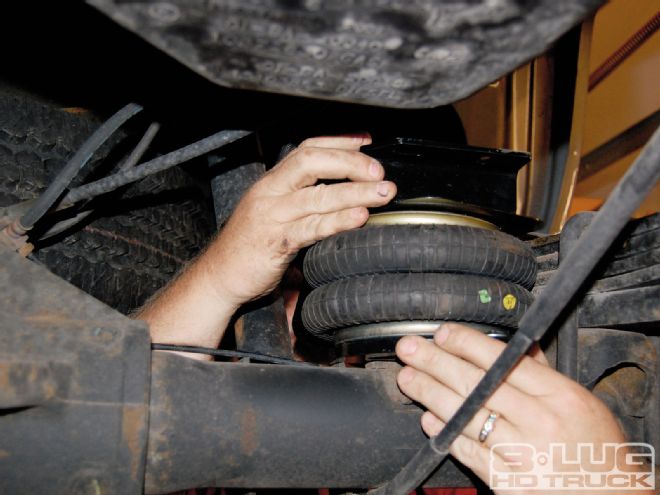
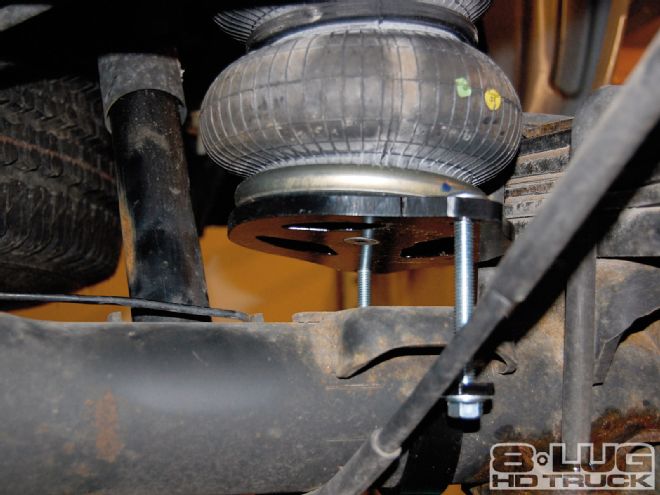
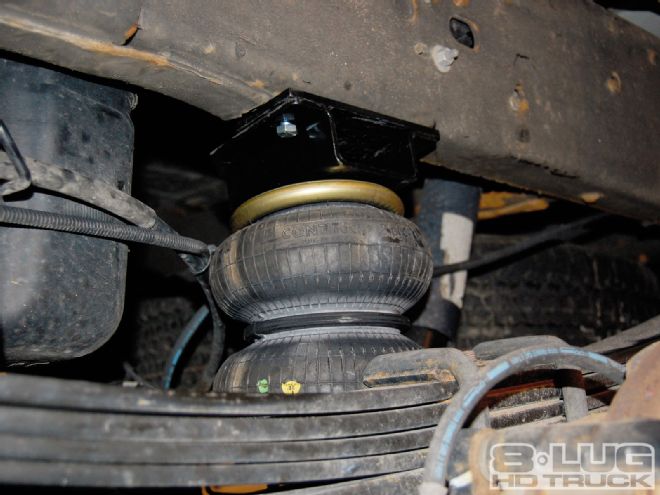
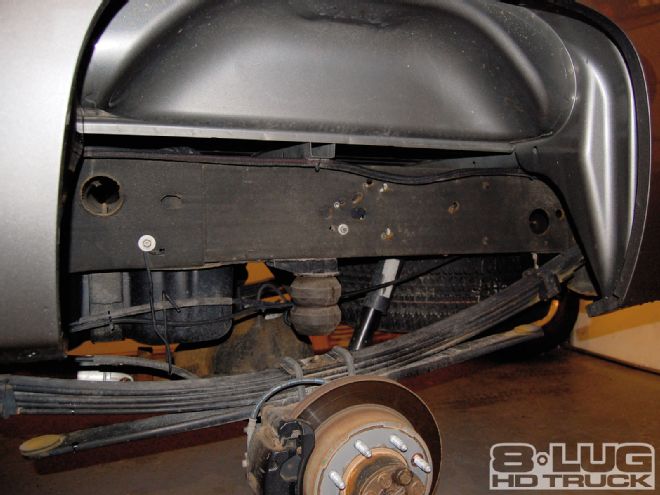
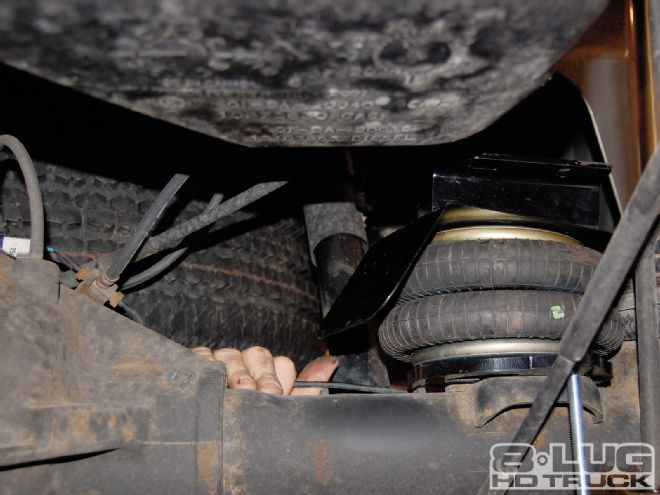
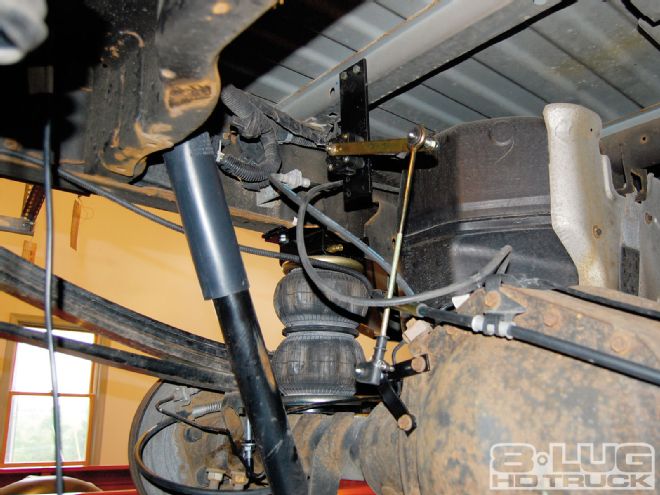
We decided to tackle the airbags on the south end of the truck first. Airbags are vehicle-specific, and our truck took the 6006 kit, which consisted of two air springs, mounting plates, air line, and fittings. It also came with directions, but we found them to be a bit lacking. The truck already had Timbrens installed in place of the factory bumpstops. These were unbolted and removed. Next, Jay pre-assembled the driver-side mounting plate bag and air fitting. The U-bolts were slipped under the axle tube and everything was bolted up, but left loose. It should be noted that since we did this on a lift, the bags had to be stretched from the axle tube perch to the frame bracket. Everything was then snugged up.
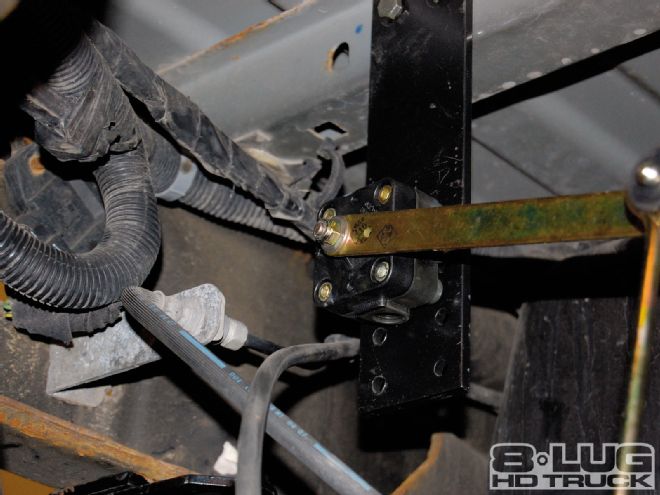
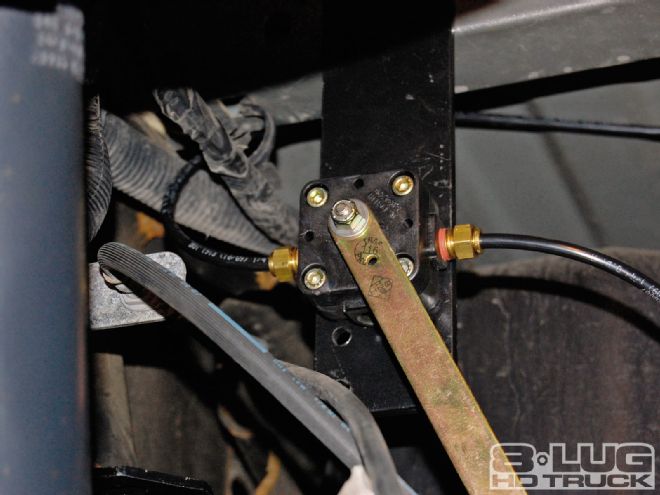
The same procedure was repeated on the passenger side. The only thing different on the starboard side was the addition of a heat shield for the exhaust, which is close by. Next, air lines were run from the top of each bag to a T fitting. The lines were simply inserted onto the fittings and held fast. The leveling switch was mounted next. An adjustment rod was attached via a bracket to two bolts on the pumpkin cover. On the other end is a valve attached to a bracket that goes to the underside of the body. This allows the system to know there is a load on the vehicle. When the distance between the body and axle diminishes, the rod is pushed up (opening the valve), letting air fill the bags. Once the vehicle levels out, the valve closes and the ride height is maintained.
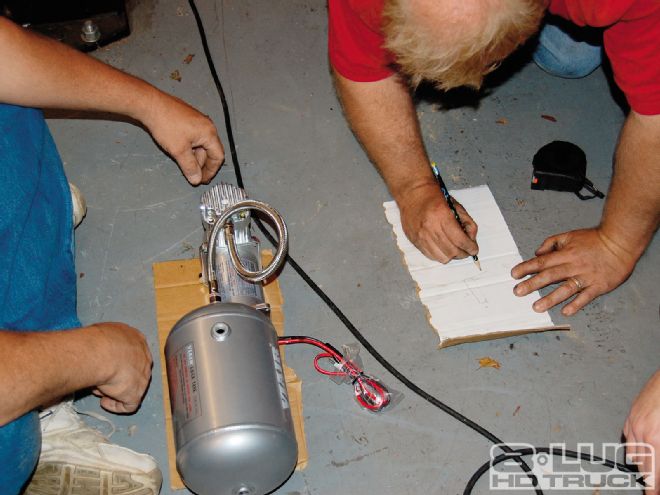
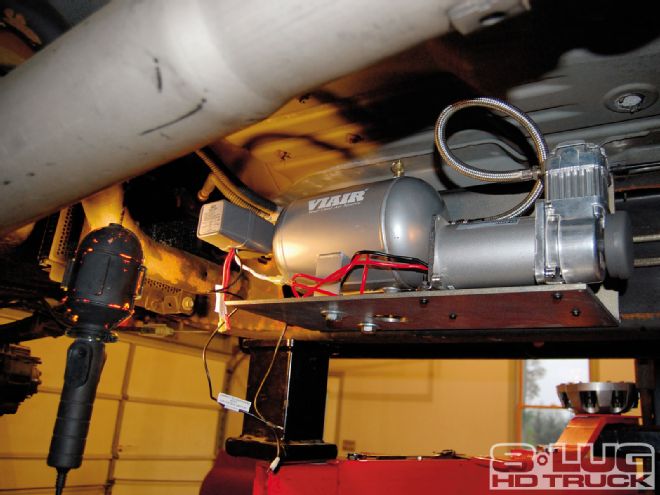
Finding a home for the compressor and air tank was the next, and most challenging, step. It is desirable to keep the tank and compressor close to each other so there is only a short run of the braided hose in between. This proved to be a bit of work, as the tank/compressor kit is not vehicle-specific. The instructions say to "find a suitable mounting place." This is easier said than done, as the compressor is water-resistant, not waterproof. We wanted to keep it away from the tires as much as possible since they tend to kick up debris, road grime, salt, and anything else you can imagine. Ultimately, we wound up having a steel bracket fabricated that was fastened under the driver-side rear door along the framerail using two holes in the frame that already existed. It fit like socks on a rooster, but everything was bolted up. The final air lines were run and the positive and negative electrical connections were made under the hood. Two are required: one always hot and the other to the ignition. It is important to not run both to a constant hot in case you spring an air leak when the vehicle is parked unattended, so the compressor won't run continuously. The level rod was eyeball-adjusted and all fasteners were double-checked for tightness.
Next, we turned our attention to the final component: the rear sway bar. Since there were none from the factory, we needed our own brackets. The Hellwig kit was very complete. U-bolts were slipped over the framerail on top and on the axle tube on the bottom. Care should be taken when sliding the U-bolt over the frame on the driver side if the truck has the optional trailer wiring package (there will be a black box in the way). Do not unplug it. Simply remove the three small bolts securing it to the framerail, slide your U-bolt in, and reattach. Now add your axle tube brackets (careful, they orient only one way), upper brackets, and brake line relocation bracket. Don't let that scare you-it's a simple matter of moving it out of the way of the new lower bracket on the passenger side. Now, grab the sway bar. Use both hands and get a friend, because it's heavy. While your buddy holds the sway bar up, you can slide the bolts in. We had a moment of apprehension when it appeared the right side bracket would not clear our aftermarket exhaust, but our fears proved to be unfounded once everything was tightened up. The upper brackets get 40 ft-lb of torque, while the lowers get 60.
Moment Of Truth
We put the wheels on, lowered the truck, and turned the key. The compressor hummed to life and the tank filled. We dropped the tailgate and put three big guys on it to sink the rear end a bit. Almost immediately, air could be heard hissing from the tank into the bags, and the rear of the truck rose, bringing the bumper level. The three guys jumped off and the air released, bringing the bumper height back down to normal. This is a very slick setup that functioned perfectly the first time. We took the truck down the road through a few twisties and were amazed how firm it rode. The new sway bars eliminated the body roll we had become accustomed to.
