Leather interior in trucks has come a long way. It used to be that leather and trucks did not go together as most interiors were destined to be dirtied up by work boots and being driven to work sites. As more and more trucks came on the road as daily drivers, OEMs started to think about the comfort of the driver being as important as the functionality of the rig itself. Truck owners now wanted to have all the appointments in their cabin that make their trucks as enjoyable to drive as they are useful to have. Ever since the truck market expanded into everyday life and has become as accessible as cars, the idea of having leather in a truck has become a normal factory option right there alongside a locking differential and trailer brake control.
| Coverking Banner
After driving that luxury-equipped interior for several years the leather can take a beating from sun damage, beverage spills, and everyday wear and tear, making it look a little tired. Interior makers have also caught onto this and began to offer replacement kits to upgrade the look of the inside of the cabin. Being more than just a slip on that gets bought at a local auto parts store, these kits began to evolve into full replacements for the original leather.
When buying a used truck, the condition of the interior can play just as much a factor as any other mechanical issue and the same goes for keeping a truck when it creeps into higher mileage territory. Any DIYer can do a few mechanical upgrades to keep an aging truck on the road, and now has the option to update the interior to make the driving experience that much more enjoyable. Aftermarket kits make it easy and affordable to spruce up the interior of your truck and can be done in a little over a few hours if you know what you are doing.
| Having been in the truck for a number of years now and been subject to everyday use, we noticed that the factory leather was getting a little long in the tooth and wanted to swap it out with a high-quality kit from Coverking/Pecca. Providing exact-fit kits that only get better with age, Coverking/Pecca is known for materials that are strong yet supple and will wear better than the factory-supplied covers.
We wanted to update the tired interior of a ’06 Dodge Ram that was getting the full custom treatment at Devious Customs in Riverside, California. We found this kit from Coverking/Pecca Leather. A direct replacement kit that was designed to fit our Ram, Coverking/Pecca had done their homework by digitally scanning the interior using 3-D imaging equipment to get the fit just right, and due to the natural wear characteristics and high-quality materials that are used, these kits are designed to last a good long time as well as age better than the factory set. We did this install with the help of O.C. Autostyle in Anaheim, California, to take advantage of their facilities and their trained upholstery experts. These are the guys who do the leather upgrades for many of the dealerships around town. Follow along as we guide you through this easy-to-install kit, and check out the Coverking/Pecca website to see what’s available for your truck’s worn-out interior.

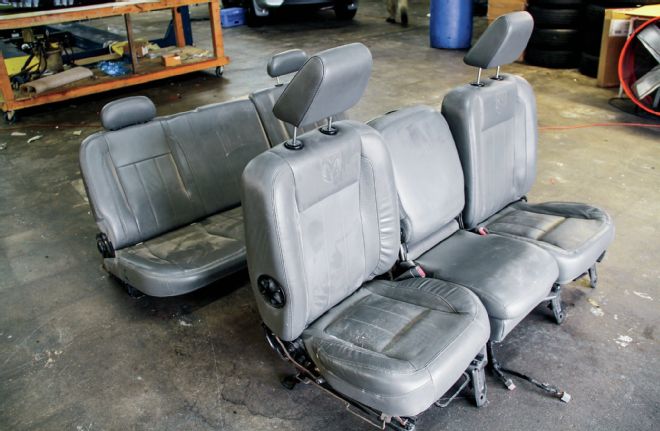
| Coverking Leather Seat Covers
The kit comes complete with everything that we needed to swap out the covers on all the seats and we laid out the complete set to give the installer a visual road map on what he needed to do. The kit comes totally complete with headrests and a center console cover so our swap is nice and uniform.
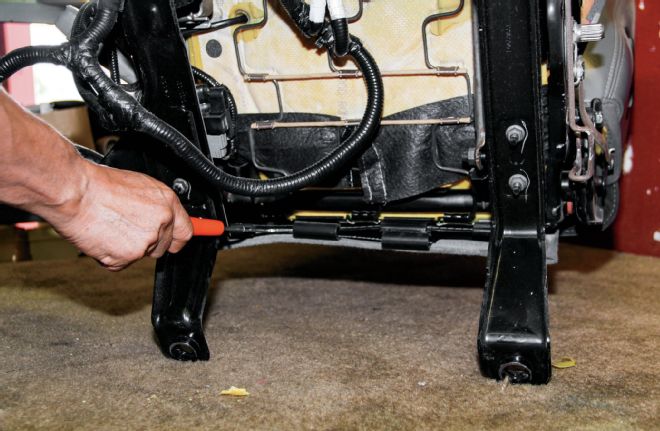
| Cover Clips Removed
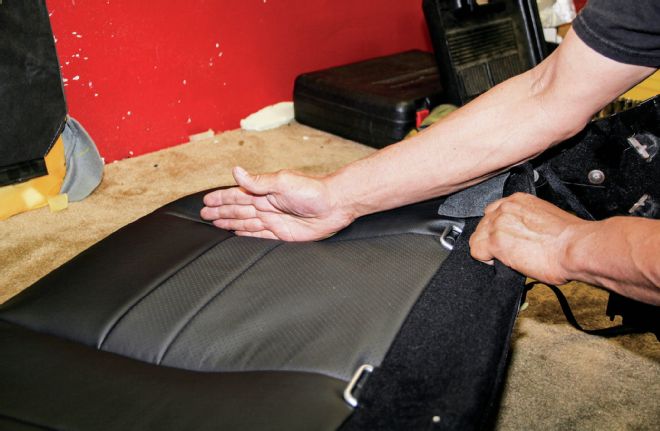
The front seats have a set of clips that are held down by a rod, and we removed those with a screwdriver so we could loosen up the whole cover. Then, we could work the bottom free with a little wiggling back and forth to free up the covers from years of being sat on.
| Stock Seat Cover Removal
Once the bottom flap is freed and pulled up a bit, there really is no secret to getting the factory skins off; it’s just good old-fashioned elbow grease and a little brute force. Take some mental notes on which seats need to have special holes cut in them and where.
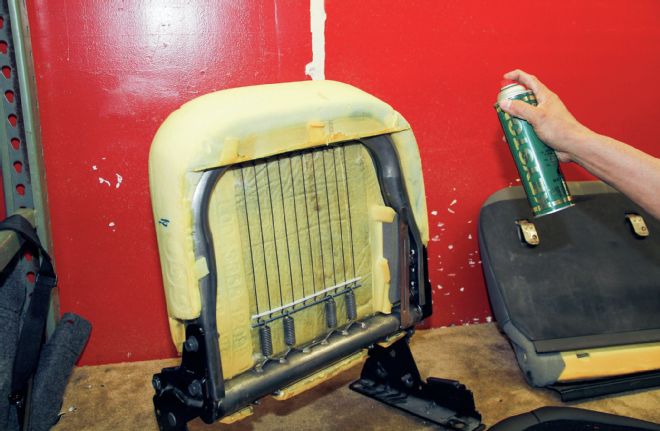
| Silicone Spray Applied
Once the old leather is completely off, we applied a few passes of silicone spray at to the top of the leather cover so the cover is able to be muscled into place while the rear can be slid down and held in place by the clips.
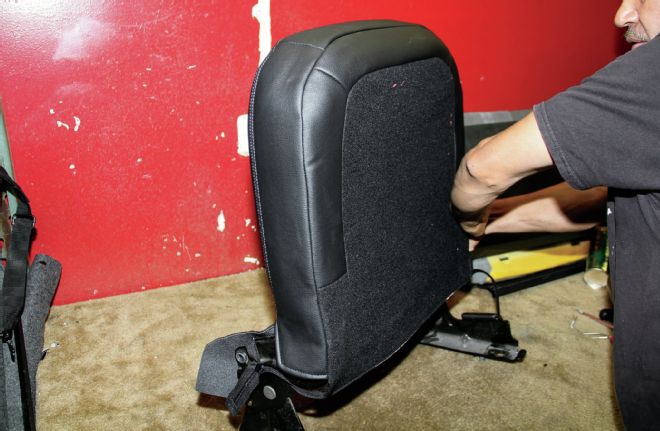
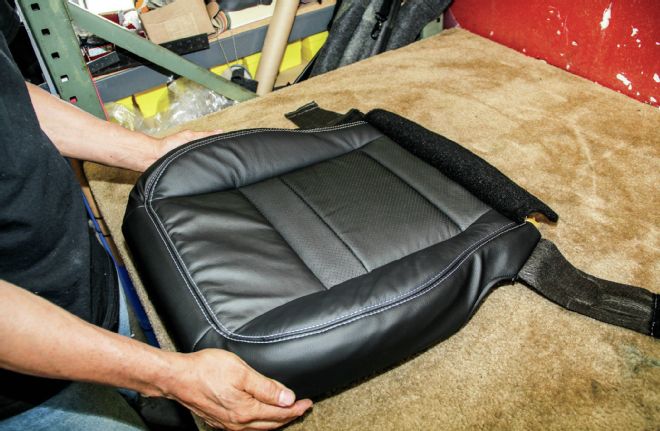
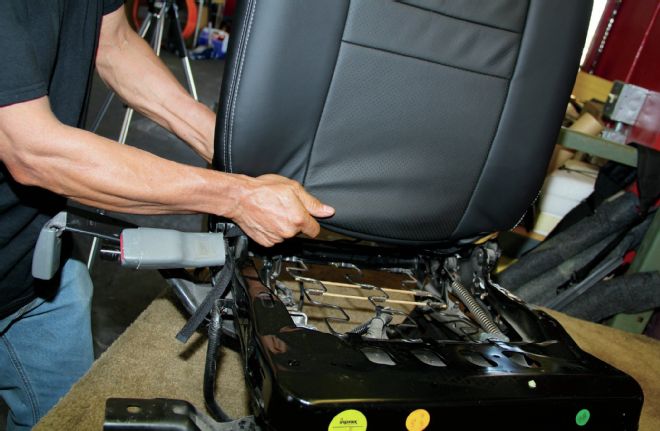
| Coverking Seat Cover Install
The new covers are an exact fit for the seat bolsters but still need to be shimmied a little to get them into their proper place, and once they are fit just right they will stretch a little and will be like they were always there.
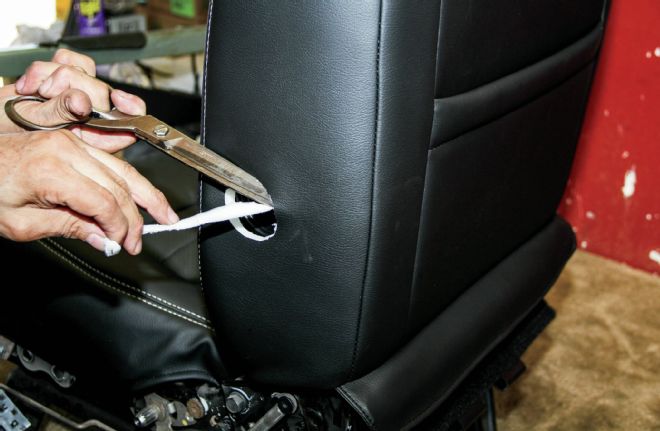
| Adjustment Wheel Hole Cut
Remembering where the cuts needed to be made, we used very sharp scissors to cut a hole where the adjustment wheel was fitted.
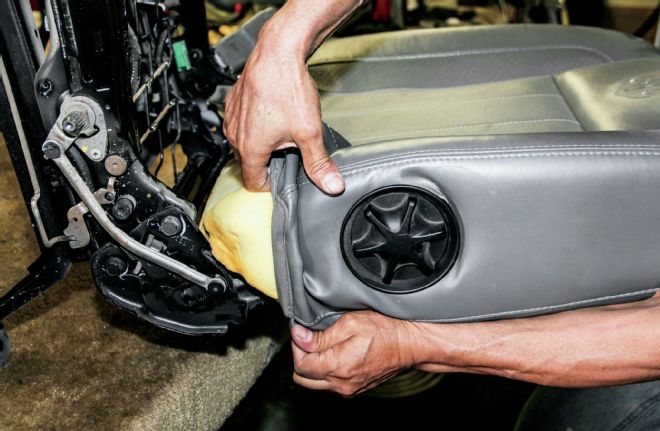
| Larger Seat Cover Removal
Some of the larger seats have a solid clip that we removed by working it with a screwdriver and separating the two halves. Then, we slid the cover up to start the removal process. Wiggle, pull, and repeat. It seems that’s all we were doing, but that’s what it takes to do the job.
| Slapping Seat Seams
Sometimes it took a firm karate chop to get the seams to lay in the right way, but we pulled out all the stops to make these skins fit. Some went on smooth, some needed a little persuasion.
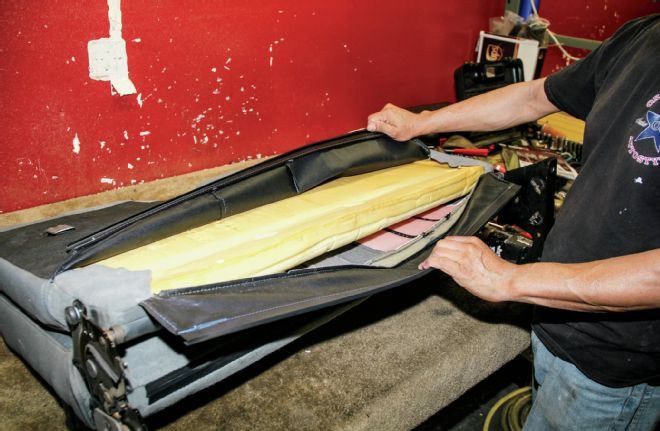
| Bottom Of Seat Covered
While this cover looks a little creased and wrinkled now, once it is pulled tight all those will come out. This one had the added strength of a two-piece flap that went together with Velcro.
| Center Console Cover Removal
The steam gun helps to loosen some stuck points as it heats up the area really quick. Here we are trying to loosen the center console cover so we could swap it out with the new one.
| Center Console Cover Removal
The time-honored method of using a screwdriver for popping out the clips holding this panel in. We really had to work this cover over to get it to give up, but we eventually persuaded it.
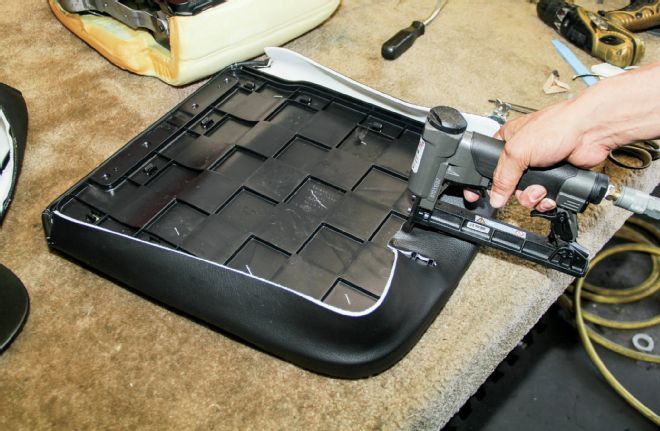
| Stapling Center Console Cover On
Final assembly of that pesky center console cover included the use of an air-powered staple gun. Luckily, it was part of the installation procedure.
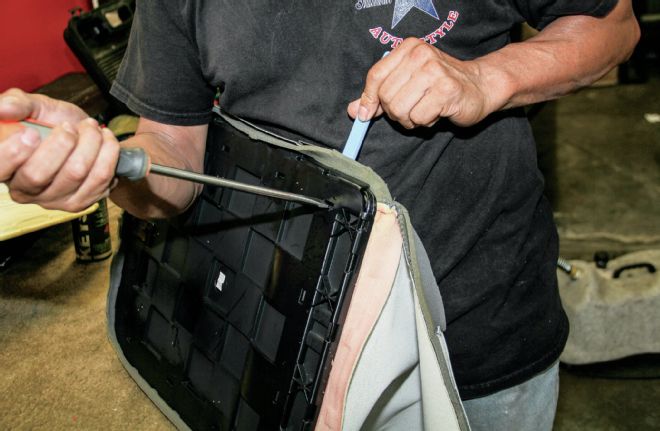
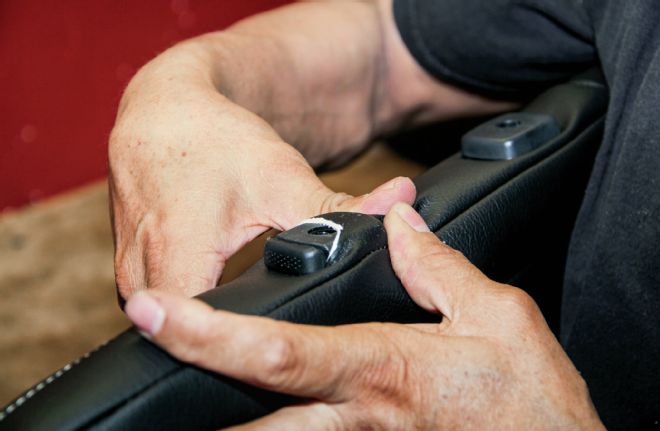
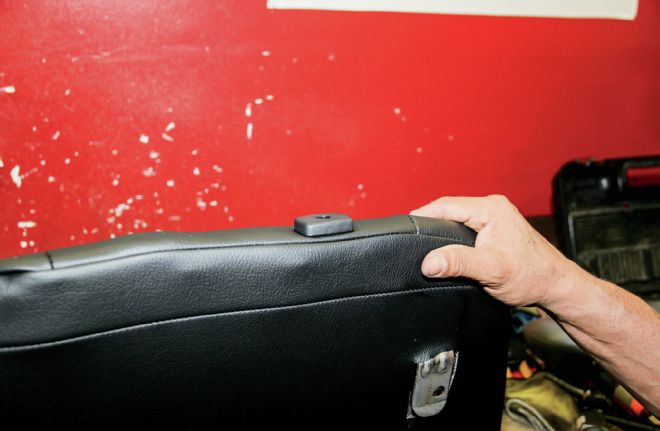
| Clip Rail Fastner
This clip rail fastener goes around the perimeter of this cover and needed to be put back just right. Paying close attention to how these rails were originally on the seat paid off when we were reinstalling them.
| Headrest Holes In Seat
Although the kit is an exact fit for the seats, we still needed to add the holes for the headrests, as we did here carefully.
| Headrest Holes In Seat
We started small, and cut until the headrest holes were just right.
| Rear Seat Cover Install
We removed the seat bottoms to work on them separately, but the seat backs were more complicated to remove so we left them where they were. We were able to use the frame as leverage when pulling the skins down for a snug fit.

| Pulling Seat Cover On
The seat covers go on easier when they have been turned inside out and rolled on. Using this action helps keep the foam intact and leads to the seams lining up where they need to go.
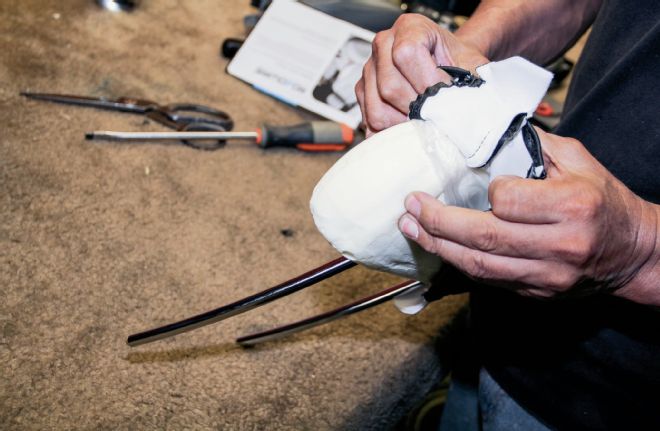
| Headrest Cover Install
The headrests were more complicated than they seemed and we had to be careful to keep the plastic cover on. We used the inside-out rolling method just the same here and it worked like a charm, after a few tries.
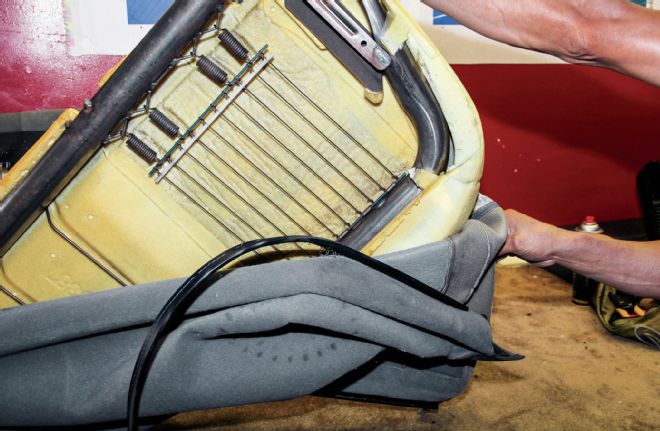
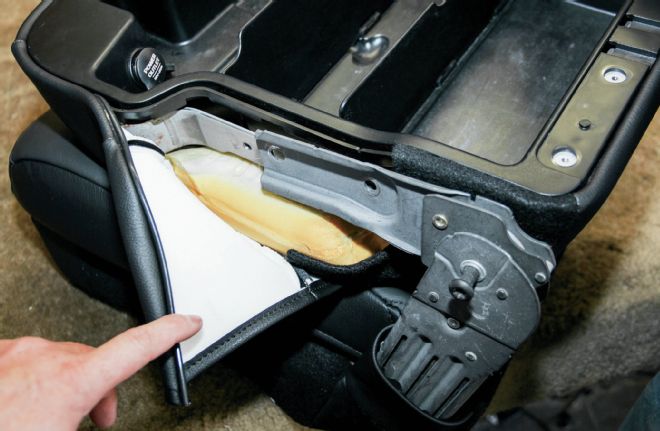
| Rear Seat Bottom Cover Removal
This rear seat bottom has a large clip rail that had to be forcibly removed to get the old cover off. A sub mounted beneath the seat had left its tell-tale ring.
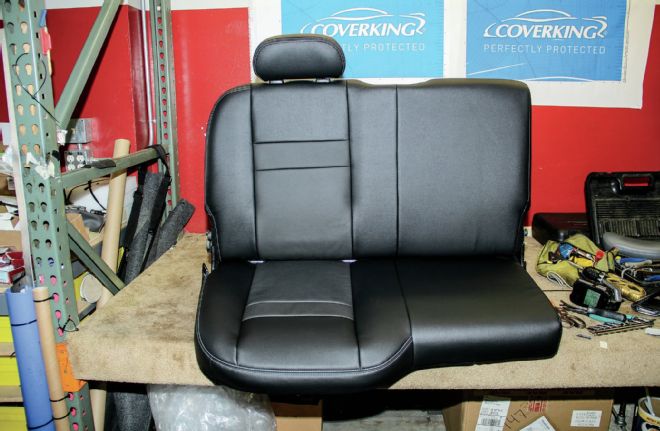
| Covered Rear Seat Completed
The finished rear seat was a bear to get the right fit, but we could see that our hard work had really paid off. This new cover looks awesome and will bring a whole new feel to the interior as a whole.
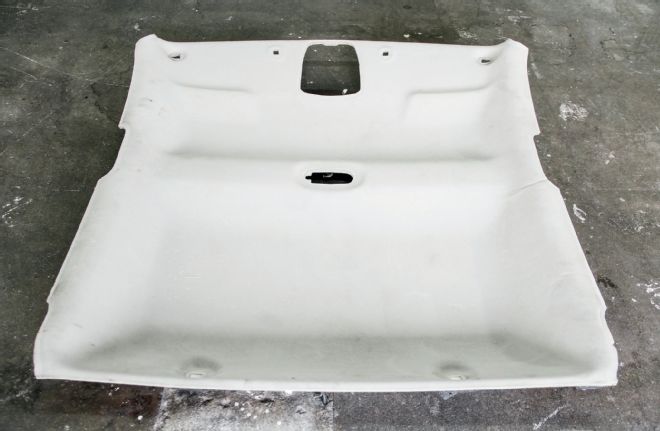
| Stock Headliner
The old headliner was not in bad shape, but since we were doing a full color change, we felt that it needed to get some love too. The rest of the Ram interior will be either dyed or wrapped in matching black with new black carpet.
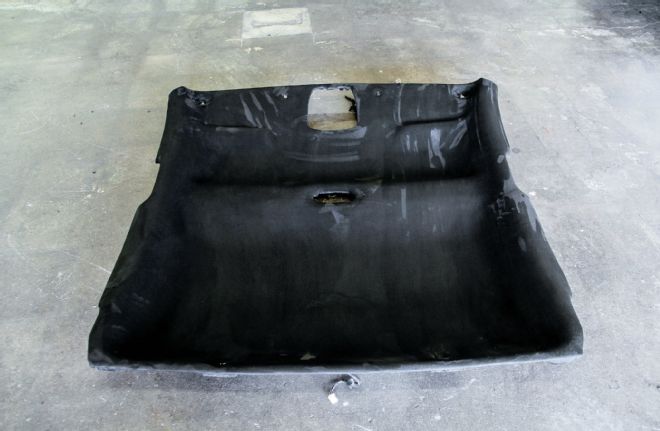
| Suede Covered Headliner
The new suede cover looked great and laid right over the old one with no issues. We used a special foam-backed micro suede for this very job, but any material that has some stretch to it can be laid down on a headliner board.
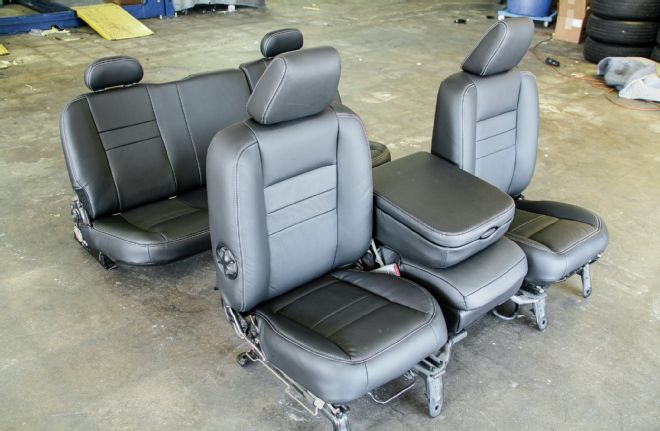
| Coverking Upgraded Ram Seats
With all the seats finished we sat back and admired our handiwork. The Coverking/Pecca replacement interior kit went on with minimal effort and made our seats look like a million bucks!