When the sun goes down and it's dark outside, backing up your pickup can be a major challenge. We want to show you how to light up the area behind you to the point where you can see clearly when backing up. It's like having headlights on the rear. To make it even sweeter, we will show you how to do it without any wire splicing!

| 0905 8l 01 White Night Rear Lighting System Rear Lights
The Goods
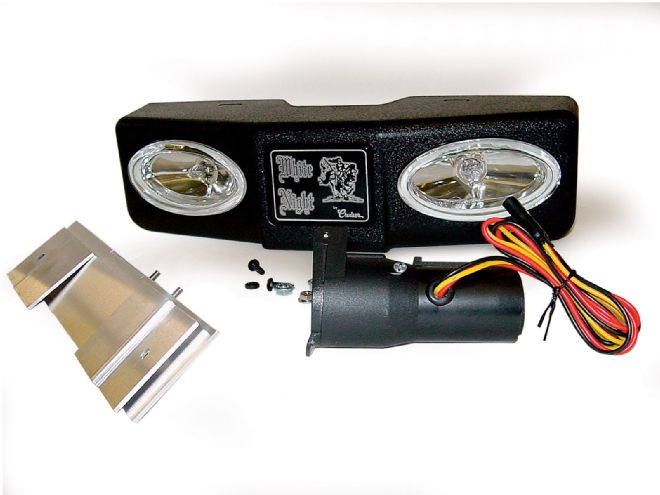
For this project, we installed the under-hitch mount reverse light system, along with the new Plug N Go adapter by White Night Rear Lighting Systems on an '03 Dodge pickup. This new adapter allows truck owners with vehicles that have a seven-pin trailer outlet to install the White Night unit without any wire splicing at all. Believe it or not, you can do this in 10 minutes or less. This light unit provides around 80 to 90 feet of rear lighting and makes backing up in the dark safe and simple.
The Installation
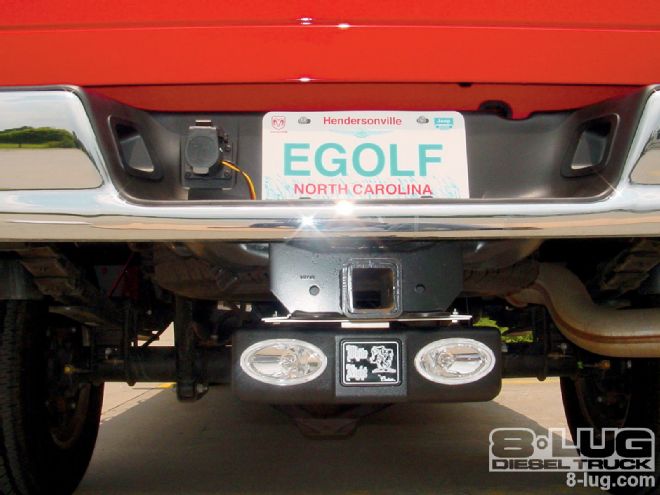
For this installation we used White Night's part No. 4196 light unit, part No. 4155 installation kit, and part No. 4149 Plug N Go wiring adapter. This setup is for the factory-equipped Dodge Ram hitch, and it mounts to the bottom/rear of the hitch and allows full access to the hitch-pin and safety chain plate for full towing capability.
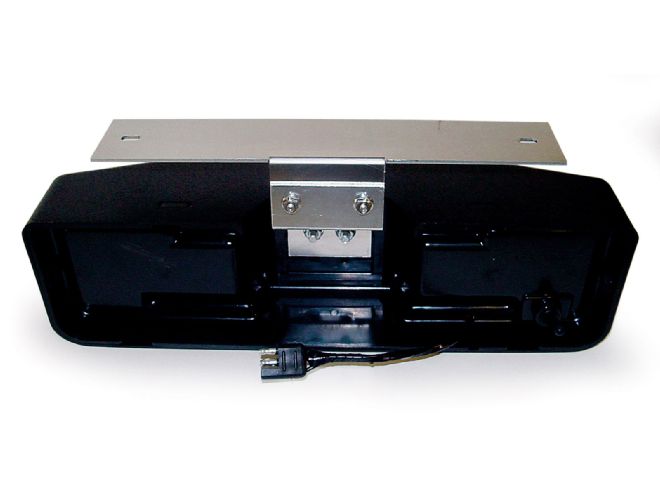
1. We unsnapped the two halves of the light unit and then took the 1 5/8-inch square plate with the two 1/4-inch -20 studs and inserted the two studs through the two slots of the back panel with the studs facing out. We attached the aluminum bracket to the back panel and tightened the two 1/4-inch -20 nuts finger tight.

| 0905 8l 04 White Night Rear Lighting System Install
2. Next we attached the installation kit bracket and the two No. 10 nuts. They were tightened securely.
3. We placed the long aluminum plate up against the bottom of the hitch. We then inserted one of the clamp plates on each side and aligned the holes. We inserted a bolt through the holes with the threads pointed upward and attached a nut to each bolt. After the plates were aligned, we tightened the nuts.
4. We made sure to push the light unit up as close to the hitch as possible. Then we tightened the two nuts where the bracket attaches to the light unit, which was left loose.
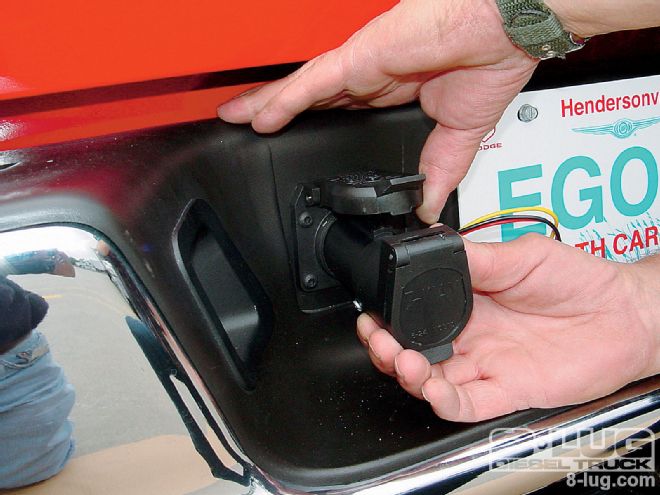
5. The next step was to insert the Plug N Go adapter into the vehicle's seven-pin trailer outlet. We took the three-wire pigtail and dropped it through the bumper (below the license plate) and then plugged it into the light unit.
6. We moved the toggle switch on the rear of the light unit to turn it on. This will be the manual side of the switch. We then flipped the toggle switch to the opposite side and left it in this position. This is the automatic position where the light unit will come on when the vehicle is placed in reverse. That's it-we're done.


