Getting the most out of our ’04½ Chevy 2500HD has been the goal of this project build, which meant adding a tough set of bumpers was next on the to-do list. We also had in mind the idea of adding a winch to the front bumper so this big hauler could remove itself from anything it could possibly get into—in addition to assisting other vehicles. This was where Fab Fours came into play, and the Lancaster, South Carolina–based company had just what we were looking for. The Fab Fours Premium line of Classic winch bumpers not only had exactly the look we wanted, but a place for our Warn Zeon 12 winch as well.
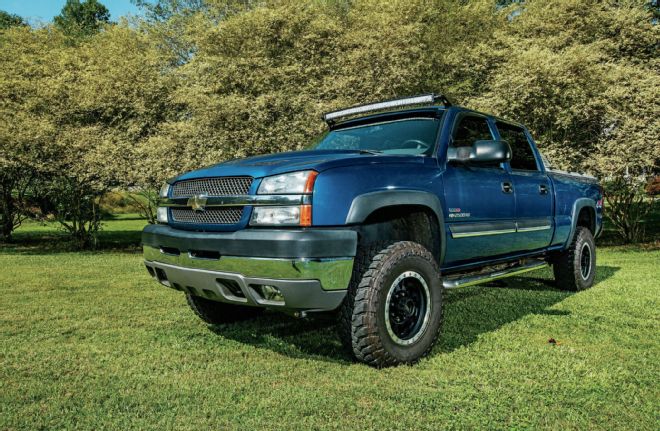
| Before
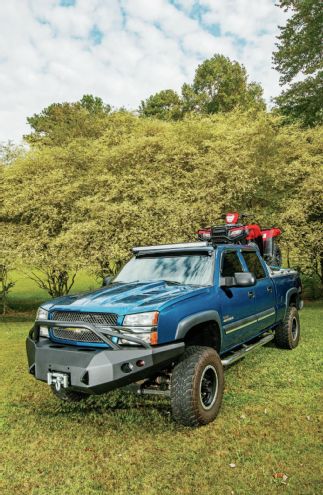
This massive front bumper and impressive rear bumper (with side steps) made our truck even more functional in any off-road adventure in which we found ourselves. With integrated front foglights and turn signals, the front end of our truck also remained highly visible at night. Everything we needed was right in our hands, and it was up to us to get this switch made.
|
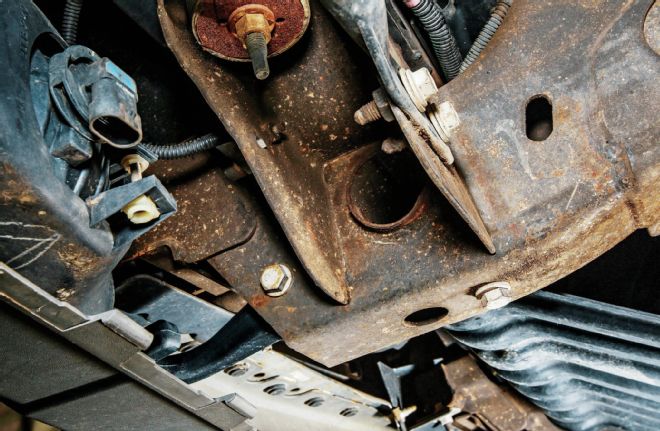
1. The stock GM bumpers on our ’04½ 2500HD were relatively easy to remove. Looking under the front driver side into the wheelwell of the truck, three bolts held the tow hook in place. These were removed and not reused, as the big Fab Fours unit had tow attachments welded into the new bumper. Next, we unplugged the factory foglights and tied the wiring out of the way. There were two bolts holding the upper brace to the frame, which needed to come off as well. Repeat this step for the passenger side, as the mounts are the same.
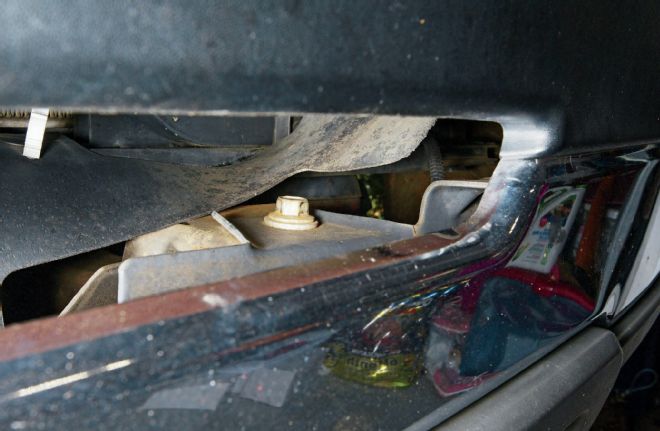
| Dual Vent Slots
2. Looking through the dual vent slots on the front of the factory bumpers, the upper retaining bolt was seen. A long, ½-inch-drive pull bar and socket helped get it loose, and a small ratchet finished the removal job. There was one on each side attaching the upper mount to the frame, and once removed the stock bumper came right off. Although it was not very heavy, having a helping hand would have made the removal a little easier.

| Scotch Brite Pads
3. Once the factory bumper was removed, we took some Scotch-Brite pads and gently buffed the inside of the frame where the Fab Fours bumper mounts would reside. This made it much easier to not only slide the mounts inside, but when we went to adjust the bumper for cosmetic fitment, there was no restriction, and everything went a lot smoother.
4. Laying everything out on the garage floor, we assembled the bumper’s features before installing the bumper onto the heavy Chevy. The included Fab Fours 60mm blinker lights, as well as the 90mm foglights, were specifically designed for the bumper and went in first. Both signals and foglights were in sealed, waterproof housings. These were held in with a few simple bolts and screws, which took all of about 30 minutes to completely install. The quality of these components was top notch and added just one more reassuring reason for our purchase. The 90mm foglights came with a harness that required you to cut the factory plug off and install twin wire connectors. It then plugged into the light via a weather-tight connector. The blinker bulbs needed to tap into the factory blinker below the headlight. Once again, everything needed was supplied by Fab Fours in the bumper kits, which made this a breeze.
|
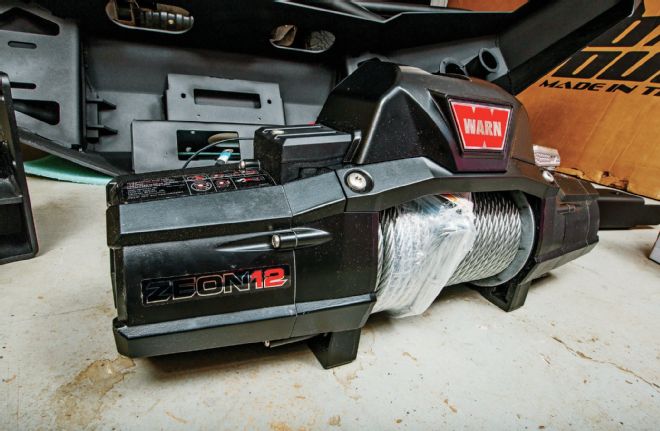
5. After completing the install of the blinker and foglight assemblies, we turned to our incredible Warn Zeon 12 winch. This winch was just as tough as the bumper, and it made a great addition to the front of our HD truck. Fab Fours had installed a mount plate specifically for our Warn winch. This premium winch by Warn has a rated 12,000-pound single line capacity, and we felt it was a must-have for the job. The winch came loaded with 80 feet of 3⁄8-inch wire rope on a larger drum that reduced rope wear, and with a three-stage planetary geartrain that was not only faster but provided quieter operation. We simply attached the positive and negative wires to the 12-volt battery, and it was ready to use. A long winch control switch was included and plugged in under the weather-tight rubber cap on the topside of the winch.
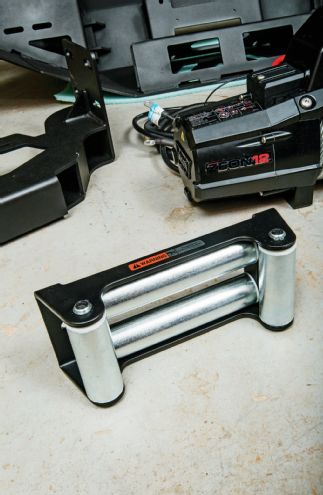
| Roller Fairlead
6. Warn included a massive roller fairlead that needed to be bolted through the front of the Fab Fours bumper before the winch was set in place. You will also want to freewheel the winch to feed the steel wire rope through the fairlead before placing the winch on the mount plate of the bumper. We added the winch hook to the wire rope to keep it in place through the bumper fairlead while positioning the winch. This winch weighed 98 pounds, so you will want to get this right in the first couple of tries.
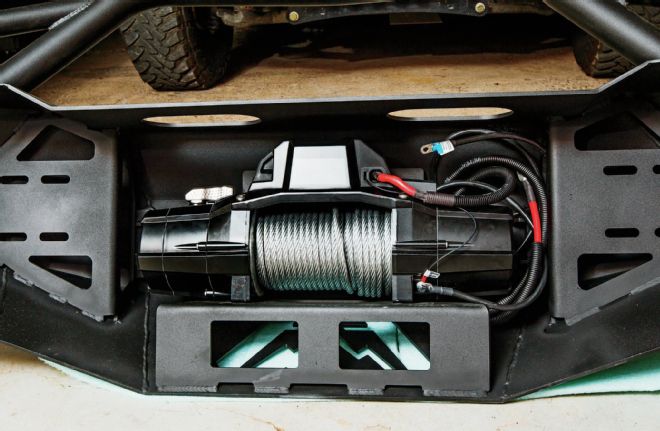
| Warn Winch
7. Positioning the Warn winch for the four mounting bolts was a job that required patience and smaller hands, but the engineers designed the inside of the bumper with plenty of bolt head access to tighten these completely. With only four bolts to get this beast inside the bumper, we were finished and ready to put the entire bumper package on the front of our HD Chevy truck. The engagement lever was easily reached from the top of our bumper via two large access ports cut out of the ¼-inch steel.
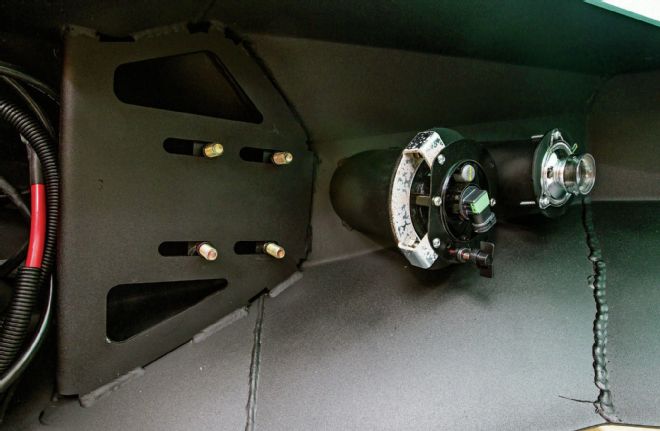
| Bolts Retainers
8. Before getting the engine lift out, we installed the bolts that would attach the bumper to its mounts in the framework of the truck. Fab Fours provided bolts with retainers to make the job much easier. The bolts simply projected from the rear mount plate in the bumper and were held in place by a piece of steel attached in pairs. We added four small O-rings from a cheap kit to help stabilize these bolts while guiding the bumper into the frame mounts. Our front bumper was almost ready to hoist up and install.
9. The frame mounts for our ’04½ Chevy 2500HD reused two existing bolt holes in the factory frame where the previous J-hook was mounted. We drilled an upper mount hole through the frame to accommodate the last mount position on the Fab Fours attachment. The directions for the bumpers did not clearly depict this move, but it was obvious that you needed it secured to make the heavy bumper stay in place.
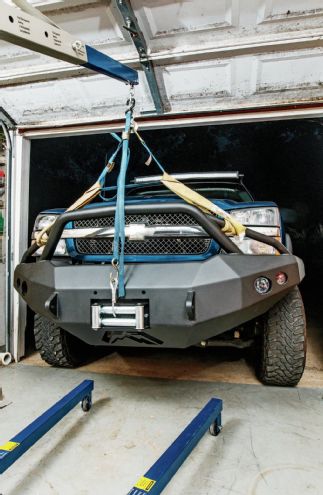
| 2004 Chevrolet 2500hd Bumper Engine Hoist
10. Once all the pieces had been installed and the frame was prepped, we picked our bumper up with an engine hoist and carefully positioned it. We used a third strap to align the bumper for an easier install. The nice thing about the hoist was that you could get the correct position quite easily, and adjusting was almost not needed once the bolts were tightened on the mounts. It took one afternoon of solo man power to get the bumper up and on the front of the Chevy truck. (We did, however, have a little help from the wife to push the big bumper in position while tightening the nuts.) After making the electrical connections, the front of our heavy Chevy was completed.
11. The rear factory bumper on our 2500HD came off easily after we removed the two bumper support nuts on each side followed by two tow hitch bolts and two secondary frame mount bolts. These were all easily accessible and could be removed with handtools. Unplug the license plate marker lights in order to remove the bumper from the truck.

| Mounts Installed
12. After the factory bumper was removed, the Fab Fours bumper was assembled with its mounts being installed prior to placing the bumper on the truck. Unlike the front bumper, the mounts were placed on the bumper itself. Leave the nuts loose on the mounts to allow adjustments to be made easily. Lastly, we added our license plate, completing the entire job.
Side note: We realized pretty quickly that not only were our license plate marker lights crumbling due to age, but the new bumper’s steel—twice as thick as the stock’s—wouldn’t allow us to clip the old tag lights in place. This left us looking for a solution to this (as well as the mount spare tire lock mechanism).
| 2004 Chevy 2500hd Bumper Installed
13. Once our bumpers were installed, we tested the blinkers and foglights for height and proper function. The entire project took two evenings to complete, and everything seemed to go smoothly. The bumpers have already gotten many rave reviews from passersby on the freeway, and most inquire about where they too can get these awesome products. We love the sleek yet brutal, tough look of these bumpers and may even need a slightly larger tire to fill in the wheelwells.
Fab Fours Factory Tour
Incorporated in 2004, Fab Fours has seen consistent growth over the years. This company is one of the largest bumper manufacturers in the world and is proud to say its products are 100 percent made in the USA. We visited the state-of-the-art Fab Fours factory where our bumpers were made and treated to the building process, which involved transforming the toughest bumper from flat steel to a complete product. Using the latest in CNC plasma-cutting technology, among other processes, the gang at Fab Fours had the shop rolling like a well-oiled machine. Located in Lancaster, South Carolina, the Fab Fours factory is producing massive amounts of products—not only bumpers.
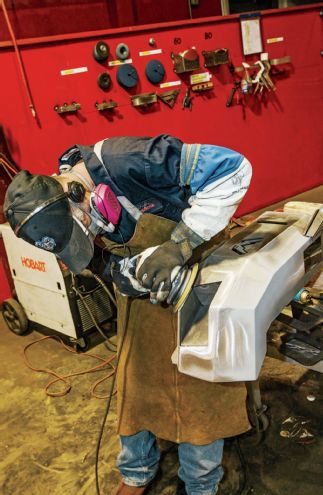
| Each bumper component is hand-welded for perfection and then smoothed over to give the incredibly sleek look for which Fab Fours bumpers are known.


