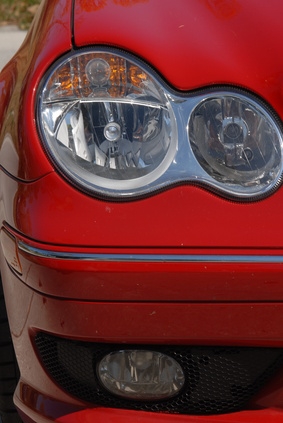
Car headlights need adjustment from time to time due to loosening from large bumps in the road. The springs behind the adjustment screws may also fail at some point in time so that the headlights will point downward. Low beam headlights adjust from side to side, upward and downward to promote better vision at night. It is important to have good vision at night especially in foggy or rainy conditions in rural areas that do not have ample streetlights.
Drive the car within 2 feet of a garage, side of a house or any wall before dark. Make sure that the car in on level ground. Park the car and walk in front of it.
Put masking tape on the wall in front of the car in a horizontal strip that marks the center of each headlight. Place masking tape on the wall to mark the vertical center of each headlight. The masking tape will form a cross for each headlight.
Observe the headlights to locate the adjustment screws. There will be a horizontal adjustment screw at either the left or right side of each headlight and a vertical adjustment screw on the top or bottom of each headlight. The Phillips screws are inset 2 to 3 inches into the headlight frame.
Back up the car 10 to 25 feet from the wall after dark and turn the headlights on low beams. Use the Phillips screwdriver to adjust the beams side to side. Turning the screw to the right will adjust each headlight to the right and turning it left will adjust the headlight to the left. Turning the top or bottom screw clockwise will raise the beam and counterclockwise will lower the beam.
Make adjustments so the beams are 2 to 4 inches below the horizontal tape marks and 2 to 4 inches to the right of the vertical tape marks.