An automotive master cylinder takes the input of the brake pedal and uses it to push hydraulic fluid out to the wheel cylinders and brake calipers. After the master cylinder is replaced the brakes need to be bled to remove air from the system. If air is trapped in the brake lines it will lessen the amount of force the master cylinder applies to the brakes.
Begin by siphoning as much of the brake fluid out of the master cylinder as possible. Brake fluid will strip the paint off metal so be careful not to allow brake fluid to come in contact with any painted surfaces on the vehicle.
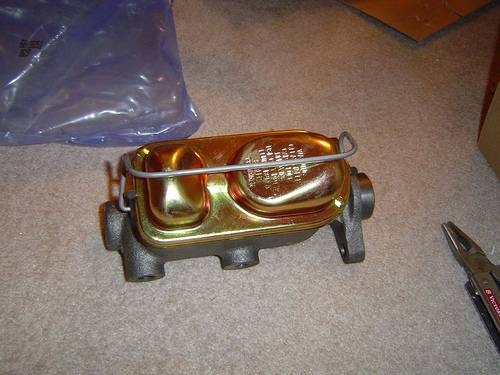
Disconnect the hydraulic lines from the master cylinder. Disconnect the pushrod from the brake pedal. Remove the two bolts that connect the master cylinder to the power booster. Remove the master cylinder from the vehicle.
Depending on the make and model of the vehicle you're servicing you may have to remove components from the old master cylinder and transfer them to the new one. Follow the guidelines listed in the vehicle's service manual.
Position the brake master cylinder against the power booster and reconnect the bolts that secure it. Reconnect the pushrod from the brake pedal. Reconnect the hydraulic lines to the master cylinder. Fill the master cylinder with fresh hydraulic fluid.
Bleeding the brake lines is the process by which air is forced out of the hydraulic system, and should be done any time a brake system component is removed or the brake lines are disconnected.
Begin by making sure the vehicle is parked on a level surface and the master cylinder is topped off. Do not allow the master cylinder to empty during this process. That would allow more air to enter the hydraulic circuit.
Lift the vehicle and support with jack stands underneath the frame or axles. Remove the wheels and tires. You will need to locate the bleeder screw on each wheel cylinder/brake caliper. On drum brakes the bleeder screw is usually located on the inboard side of the brake backing plate. On disc brakes the bleeder screw is normally near the fitting where the brake line attaches to the caliper.
Start with the wheel closest to the master cylinder; on most cars this will be the front left wheel. Fit a length of clear plastic tubing over the bleeder screw and place the other end in a jar with brake fluid in the bottom. Make sure the end of the hose in the jar is covered with brake fluid at all times.
Have an assistant operate the brake pedal. Have the assistant pump the brake pedal a few times and then hold it down. Open the bleeder screw, and watch as the fluid leaks out. You are looking for air bubbles in the line.
Close the screw and repeat the process until fluid comes out of the line with no air bubbles. Then continue around to the right front wheel, then the left rear wheel and finally the right rear wheel. After all the brakes have been bled you can reinstall the wheels and tires and lower the vehicle.