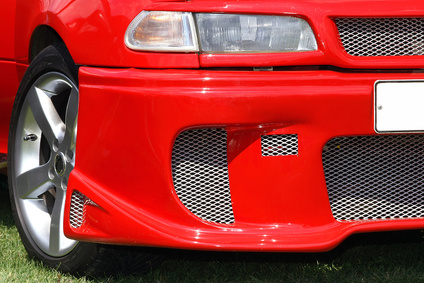
Plastic bumper dings are a normal cosmetic problem for most cars, especially in heavily populated areas. While minor dings do not affect the vehicle’s safety, they can look unsightly and affect a vehicle’s resale value. Auto body shops charge a great deal of money, even for minor repairs. Use an easy-to-find epoxy filler and a few household tools to repair plastic bumper dings at a fraction of the cost a professional would charge for a similar repair.
Thoroughly clean the bumper with liquid laundry detergent and hot water. Use a small plastic paint scraper to clean out the ding. Often, dirt and grease will deposit within the cavity created by the ding. After scraping out the ding, rewash the area with liquid laundry detergent and water.

Mix the two parts of the epoxy filler together. Two-part epoxy fillers consist of a resin and a hardener and have a short gel time, which refers to how long it takes a resin or filler to begin the hardening process. Most epoxy fillers have gel times that range between 4 and 25 minutes. Mix the epoxy for at least 1 to 2 minutes, mixing only enough epoxy to fill a couple of dings.
Cut squares of Mylar 1 inch larger than the ding being repaired. Cut one piece of Mylar for each ding. Using painter’s masking tape, create a tape border so that the Mylar will adhere to the bumper. The Mylar helps hold the filler in place and creates a smooth surface, which reduces the time spent sanding. Use painter's masking tape to create a 2 inch border on the bumper, around each ding.
Apply a small amount of epoxy filler to the ding, smoothing it out with a small putty knife. Place the Mylar on top of the filled ding, with the adhesive side of the tape facing the bumper. Smooth out the Mylar with the putty knife and move on to the next ding. Allow the epoxy filler to cure for 24 hours before removing the Mylar.
Remove the Mylar from each of the repaired areas. Lightly hand sand the areas covered in epoxy filler with 600 grit sandpaper. Remove the masking tape put down as a border in step 3. Wipe the entire bumper down with a rag to remove any debris leftover from sanding.
Apply newspaper held down with masking tape to cover the bumper and surrounding areas, except for the epoxy-filled dings. This prevents paint from spilling onto other parts of the car. Cover an area three feet in all directions to avoid primer and paint from accidentally blemishing the car's finish.
Spray a thin coat of primer over the filled dings. Lightly sand with 600 grit sandpaper and wipe off the debris with a rag. Apply some touch up paint matching the car's color and the project is complete.