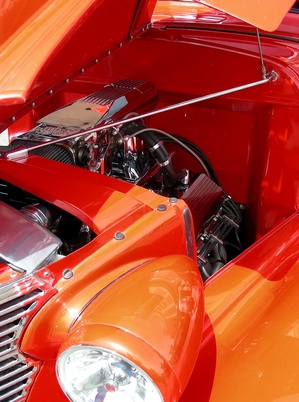
The compression on a Chevy small block engine indicates the condition of the engine combustion chamber. Measured in psi (pounds per square inch), cylinder compression directly relates to how well the piston rings, valves and valve seats hold a compressed mixture of atomized fuel. Any leak or failure in the ring or valve contact surface will cause a lack of power, due to escaping combustion pressure. Without the proper compression in each cylinder, an engine will lose power or have no power at all from the affected cylinder. You can perform a compression check on a small block Chevy engine with a few tools and an assistant.
Place the shifter in park for an automatic transmission; place the shifter in neutral if vehicle has a manual transmission. Raise the hood and remove the coil wire at both ends from the coil and distributor. Raise the vehicle front end and place two jack stands under the frame. Raise the rear of the vehicle and place two jack stands under the frame.
Take a shop light, felt pen and masking tape underneath the vehicle. Position the shop light to illuminate the underside of the engine. (Chevy heat shields block easy access to the spark plugs from the top of the engine.)
Use a plug wire puller to grasp the spark plug wires, one at a time, and pull them off the plugs. Label each plug wire with tape and a felt pen so you know which hole it returns to. Looking from the front of the engine, the right bank of plugs on a V-8 will be numbered 1, 3, 5, 7. The Left bank from the front will be numbered 2, 4, 6, 8. Keep them in order.
Loosen and remove all of the spark plugs, using a socket extension and wrench. Use a univeral socket to assist in removing hard-to-reach spark plugs. Tape and mark the plugs with a felt pen by number. Screw in a compression gauge to the #1 plug hole.
Relieve any pressure from the gauge by depressing the relief valve. Instruct your assistant to crank the engine over four or five times and push the accelerator all the way down. Note the needle on the reading, and record the psi (pounds per square inch) number on a piece of paper.
Screw the compression gauge into the next cylinder and have your assistant crank the engine over four or five times -- throttle open. Record the number. Test each cylinder this way with the compression gauge, recording the psi for each cylinder. Refer to your owner's manual for the correct psi reading your engine requires. If any of the cylinders read 30 lbs. or below, you have a compression leak in that cylinder.
Place a dab of anti-seize lubricant on each of the spark plug threads. Insert them all back into their respective holes by hand and tighten them with the socket and wrench. Refer to your owner's manual for the proper torque poundage required for your engine. Use a torque wrench to tighten each spark plug to specifications. Place each plug wire back onto its correct spark plug location. Shove the rubber boots down firmly.
Reconnect the coil wire at both ends (from the distributor to the coil). Use the floor jack to raise the vehicle and remove all the jack stands.