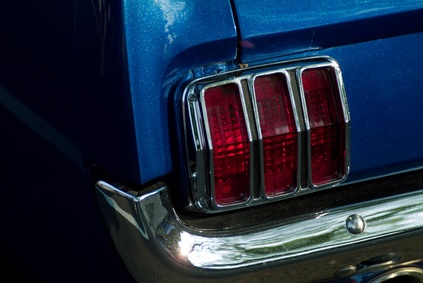
The Mustang is a sporty two-door car that comes in coupe or convertible form. Longitudinally-mounted six or eight cylinder engines drive the rear wheels through a solid rear axle. Compared to other cars, the Mustang has a small luggage area that is accessed by opening a trunk lid at the rear of the car. The trunk lid is sealed against the elements with a rubber seal. Over time the seal may become compressed or brittle, allowing air or water to enter the trunk area.
Open the trunk lid. Pull the existing weather strip from the underside of the trunk lid downwards. Discard the weather strip once it has been removed from the lid.
Scrape any remnants of weather strip or adhesive from the underside of the trunk lid were the weather strip resided with a plastic putty knife. Further clean the area with a rag soaked in acetone, if necessary.
Prepare the underside of the trunk for adhesion by lightly sanding the area where the new weather strip will be installed with fine sandpaper. Do not sand beyond where the weather strip will reside, as this will dull the paint.
Apply a coat of weather strip adhesive to the underside of the trunk where the weather strip will be installed with a finger. Allow the adhesive to dry until it is slightly tacky to the touch. Apply a coat of adhesive to the underside of the new trunk weather strip in the same fashion.
Use the area directly behind the trunk latch as a starting point for the weather strip and start pressing it into place. Work your way around the entire circumference of the underside of the trunk lid, pressing the weather strip into place as you go.
Cut any excess length of weather strip off with a sharp utility knife, but do not cut off too much. Make sure both ends meet behind the trunk latch with no gaps in between. Close the trunk lid and allow the adhesive to dry or cure as per the instructions on the adhesive container.