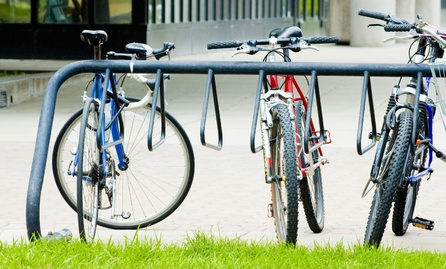
Bicycles can endure a lot of punishment, especially the front and rear axles and bearings. The axles receive all of the load-bearing stresses, including the full weight of the rider, and sometimes two riders. Bike owners frequently jump their bicycles, as in the case of trail, course and dirt riding. Water and mud cause corrosion problems. Sometimes the axle can bend or the bearings can disintegrate, causing a frozen or wobbly wheel assembly. Repairing the rear axle on a bike can be performed by the average bike owner, if he follows some typical wheel removal procedures and uses a few basic tools.
Place the bicycle in an upright position with the kickstand down. Use a small socket to loosen the rear brake clamp, relieving the brake pressure off the rear wheel. Remove the set screw on the derailleur mount arm with a small socket. Use an end wrench to remove the axle nut holding the freewheel (rear derailleur) on the hub (right rear side of bike).
Unload the pressure on the chain by slipping it over the smallest sprocket next to the frame. Use a freewheel socket and ratchet to remove the freewheel gear cluster from the axle. Turn the socket counterclockwise. Set the freewheel aside.
Use electrical tape to tape the derailleur in the closed (loaded position) so the chain does not come out of the sprocket. Place a thin wall wrench on the inner lock nut on the axle and hold it there. Place another thin wall wrench on the outer lock nut and turn it counterclockwise to loosen it. Unscrew the outer lock nut all the way out and pull out the long spacer from the axle shaft. Unscrew the inner lock nut all the way out.
Pull the bearing cone off the shaft, but catch any bearings that fall. Put the bearings in a cup of grease, or have new replacements nearby. Move to the other side of the axle and use a thin wall end wrench to loosen and remove the outer lock nut. Remove any spacer, if it has one. Pull the axle hub off the bike. Gently pull the axle out of the hub, being careful to catch any falling bearings from the other side.
Grease the threads on the new axle shaft at both ends. Clean the hub bearing races with carburetor cleaner and a rag. Insert a thick film of grease inside both bearing races inside the hub. Set the bearings inside each end of the hub and apply a thick coat of grease to keep them inside the races. Gently push the axle shaft through the hub, without knocking the bearings out of place.
Insert the bearing cone (left, non-derailleur side) onto the shaft, and up against the bearings. Replace the spacer (if you have removed one) and screw on the outer bearing lock nut to the exact thread depth from which you removed it. Insert the bearing cone on the derailleur side, replace the spacer and screw the lock nut onto the axle shaft with the end wrench. Tighten the inner lock nut with the end wrench, then loosen it about 1/3 turn to allow a little free play.
Put the long spacer back on the axle shaft and screw the lock nut against it by hand. Hold the inner lock nut with an end wrench, while you tighten the outer lock nut clockwise against it with an end wrench. Place the freewheel back onto the axle shaft and tighten it with the freewheel socket and wrench.
Thread the chain over the smallest gear on the freewheel. Set the derailleur mount back on the frame and run the bolt on by hand until snug. Align the set screw hole on the derailleur arm with the frame hole and screw the set screw back in by hand. Tighten the set screw with a small socket. Tighten the derailleur lever nut with an end wrench. Take the tape off the derailleur and let it expand so it loads pressure on the chain.