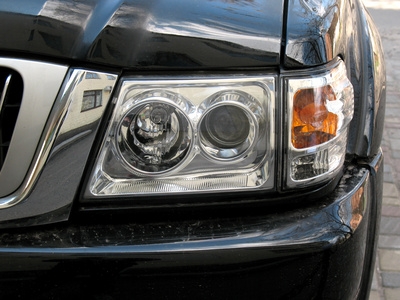
Ford has produced several different trucks over the years, with the F-150 being the most common and popular truck. In addition to the F-150, Ford has produced the F-250, F-350, F-450, F-550 and, recently, the F-650 and F-750. The F-150 and F-250 have the same headlamp assembly replacement process whereas the rest of the F-Series trucks have a different process. Both procedures require a Phillips head screwdriver and a socket wrench. These procedures are for the eleventh generation F-Series trucks produced from 2004 through 2008, but the idea behind the process is the same for all generations. The differences lie in the number and location of the screws and bolts.
Verify that the headlamp switch is turned to the "Off" position then open the hood. Put on a pair of latex gloves.
Use a socket wrench to remove the pushpin that holds the headlamp cover in place on the corner of the lamp. Loosen the three retaining screws from the headlamp unit with a Phillips head screwdriver.
Slide the unit forward and disconnect the two snap attachments at the fender. Remove the electrical connector from the unit by pulling it away.
Remove the headlamp assembly from the unit by rotating it counterclockwise and pulling it out.
Verify that the headlamp switch is turned to the "Off" position and open the hood. Put on a pair of latex gloves.
Use a socket wrench to remove the four bolts from the top, side and bottom of the headlamp unit and pull it straight out. Disengage the two snap clips from the fender.
Remove the electrical connector from the unit by squeezing the release tab and pulling the connector away from the headlamp unit.
Remove the headlamp assembly by rotating it counterclockwise and pulling it straight out of the vehicle.