Brake lights are a critical component on your '93 Honda Accord, alerting other drivers of your intention to slow down or stop. Like any component, brake light bulbs wear out over time and eventually need to be replaced. You can replace burnt out or defective brake light bulbs with a few common tools. The job should take less than 35 minutes.
Identify which of the brake lights needs replacing on your 1993 Accord. Have an assistant press the brake pedal, or prop a weight against it. If neither are available, back your Accord up against a flat reflective surface such as the garage door. Press down on the brake pedal while looking into your side mirrors to identify the defective bulb.
Raise the hood and locate its battery within the engine compartment. Loosen and remove the negative cable from the battery with a ratchet and socket. Move the cable away from your Accord’s battery once disconnected.
Open the trunk. Push all of the contents toward the back seat wall. Locate the small square access cover against the license plate wall. Each brake light has its own access cover. Identify the cover that corresponds with the defective brake light bulb.
Lift up the two locking tabs at the bottom of the brake light access cover with a flat-head screwdriver. Pull the bottom of the cover outward, then remove it from its position. Notice the two tabs on the top, inner lip of the cover. When you replace the cover, insert the two top tabs first, followed by the bottom portion of the cover.
Rotate the brake light bulb’s socket to the left a quarter inch. You should feel the socket click when it unlocks from the brake light assembly. Pull the socket away from the assembly to access the bulb.
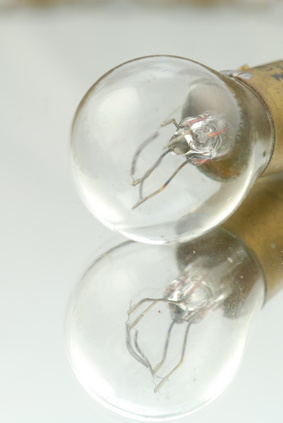
Push down on the brake light bulb slightly. Turn it to the left, then pull it out of the socket. Before you touch your Accord’s new brake light bulb, put on a pair of latex gloves. Hold the new brake light bulb upside down--by its glass--in one hand. Place a dab of the dielectric grease on the two metal contacts on the bottom of the new brake light bulb.
Insert the new brake light bulb into its socket. Lock the bulb back in place within the socket by pushing down on it slightly and turn the bulb to the right. Insert the bulb and socket back into position within the brake light assembly. Turn the socket to the right a quarter inch. You will feel it lock back into place.
Return the brake light access cover to its original position against the license plate wall. Push both of the locking tabs at the bottom of the cover back down by hand, or with the help of your flat-head screwdriver. Shut the trunk.
Connect the negative cable back to your Honda Accord’s battery. Secure the cable in place with your socket wrench, then shut the hood. Test the new brake light bulb to assure it illuminates properly.