Changing the low beam in your headlight assembly is an ideal do-it-yourself project. The hardest part of this project is choosing which bulb to use as a replacement. When repairing a single burnt-out low beam you should always replace the bulb with an exact replacement.
Remove the hardware from the headlight assembly. The headlight assembly is connected to the vehicle by a series of nuts, bolts or screws that need to be removed. Typically this hardware is running in series along the side of the headlight assembly. The headlight assembly hardware may be covered by a factory slash guard. Removing the plunger screw at the top of the splash guard will allow access to the hardware below.
Place masking tape directly under the headlight assembly to prevent scratches to the paint job. Lift the plastic clips on the top of the headlight if they are present and slide the headlight assembly forward. Disconnect the wires to the headlight.
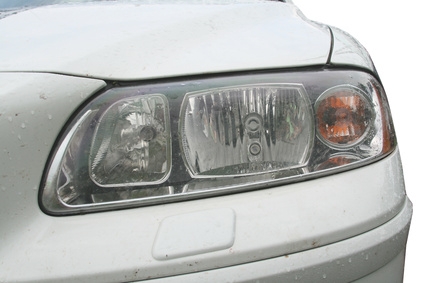
Twist the low-beam light bulb in a counter-clockwise motion to remove it from the lens housing. Older vehicles may require you to pull the low-beam bulb from a clip. The low-beam bulb may be different depending upon the vehicle on which you are working. Some newer vehicles have a combined high and low beam bulb and others have a two-bulb assembly with the low beam being the one closest to the grill. Older vehicles may have two separate bulbs housed inside one headlight assembly. On older vehicles the lowest bulb in the assembly is the low-beam bulb.
Place the new bulb in the back of the lens housing and turn it in a clockwise motion to lock it in place. Align the headlight assembly and reconnect the wiring. Push the headlight assembly in place and reinstall the factory hardware.