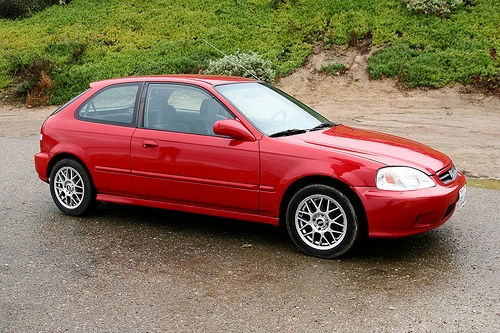
The catalytic converter on a Honda is an emissions component located in the exhaust system. A catalyst inside the catalytic converter combines unburned hydrocarbons and carbon monoxide with oxygen to create carbon dioxide. If the catalytic converter melts it can cause extreme back pressure in the exhaust system, leading to poor performance. Rust in the catalytic converter can also lead to exhaust leaks.
Raise the vehicle according to instructions listed in the owner's manual and support with jack stands.
Spray the retaining bolts with a penetrating oil such as WD-40. There are five bolts that connect the catalytic converter to the exhaust pipes: two in the front and three in the back.
Remove the bolts that connect the front of the catalytic converter to the head pipe.
Remove the bolts that connect the rear of the catalytic converter to the exhaust pipe.
Remove the catalytic converter from the vehicle.
Coat the threads of the retaining bolts with an anti-seize compound.
Raise the catalytic converter into position between the head pipe and exhaust.
Install the bolts that connect the rear of the catalytic converter to the exhaust pipe, but do not tighten.
Install the bolts that connect the front of the catalytic converter to the head pipe.
Tighten the bolts.
Lower the vehicle.