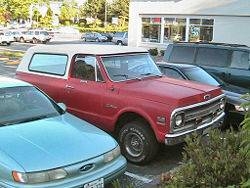
One of the most important safety components on your Chevy Blazer, the master cylinder helps to develop the necessary amount of hydraulic pressure on the system, allowing you to slow or stop the vehicle. However, a master cylinder with worn out components will make your brake system fail and should be replaced as soon as possible to avoid a possible accident.
Apply the parking brakes.
Chock the wheels.
Open the hood and locate the brake master cylinder. It is mounted on the brake booster, a small drum-like component on the firewall of the engine compartment, driver side.
Unplug the low fluid level electrical connector from the brake master cylinder.
Disconnect the brake lines from the master cylinder using a tube wrench to avoid damage to the lines and nuts.
Plug the brake lines using plastic and rubber bands to avoid contamination of the brake system.
Remove the master cylinder mounting nuts from the brake booster studs using a wrench or ratchet and socket.
Lift the brake master cylinder off the engine compartment.
Remove the reservoir from the old master cylinder.
Mount the reservoir on the new brake master cylinder.
Bleed the master cylinder according to the manufacturer's instructions.
Set the new master cylinder on the brake booster mounting studs.
Start the mounting nuts by hand to avoid thread damage, and then tighten the nuts.
Start the brake line nuts by hand to avoid thread damage, and then tighten the nuts using the tube wrench.
Plug the low fluid level electrical connector.
Bleed the hydraulic brake system according to the instructions for your particular Chevy Blazer model.
Remove the chocks and the parking brake.