Changing a tail light or even replacing a broken lens on the rear of your Ford car or SUV is very simple, and you only need a cross tip (Phillips) screwdriver to do the job.
Locate and remove the screws holding the tail light in place. In this case, there are 2 screws holding the tail light in. On Ford SUVs, opening the rear door will provide access to the lights; in Ford cars, opening the trunk will provide access.

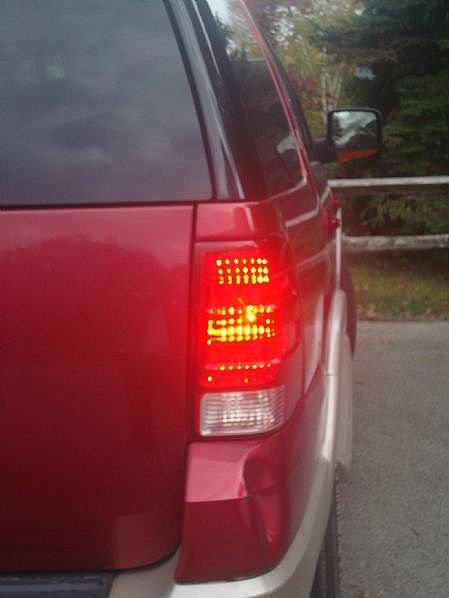
Gently but firmly pull the tail light out of the vehicle. One side is held in by plastic pegs that you don't want to break. Also, you want to avoid tearing any of the wiring loose. All late model Ford autos have plastic pegs holding the lens in so you may have to pull quite firmly to remove it. Just make sure you pull it straight out.

Grasp the base of the bulb that is burned out, and twist it loose. It should only take a quarter turn to free the bulb. If replacing the entire lens, remove both bulbs.

Pinch the base of the bulb, and pull it from the base. Put the replacement bulb in the base. Place the bulb in its respective place on the lens, and secure it by giving it a quarter turn.

Attach the lens to the vehicle, making sure all the wires are neatly tucked in. Secure the side with the plastic pegs first. Then replace the screws.

Check lights, back-up lights, brake lights and turn signals to make sure everything is working properly.