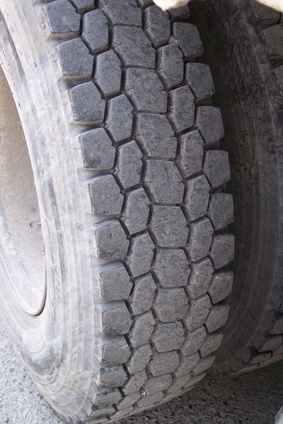
Slow leaks are caused when a tire is punctured after driving over a sharp object that becomes lodged in your vehicle's tire. Frequent culprits include nails and screws. Air slowly leaks out at the site of the puncture, decreasing the pressure and causing decreased performance of your tire.
Determine which tire has a slow leak. The tire may be visibly smaller than usual or softer to the touch due to decreased air inside. Use a pressure gauge to determine whether the tire's pressure is lower than the pressure in the other tires, if necessary.
Chock the tire of the vehicle that is diagonal from the tire with the slow leak by placing a wooden block or wedge behind it. Chocking, or stabilizing, prevents the vehicle from moving. If you have a manual transmission vehicle, engage the emergency brake for extra protection.
Attempt to locate the object causing the slow leak. If you see it and can reach it safely, you won't need to jack up the vehicle. If you cannot see the object, read your owner's manual for instructions and jack up the vehicle.
Inspect the wheel for foreign objects or puncture marks. If you don't see anything, spray the tire with soapy water you have made by adding liquid dish soap or cleaning spray to water. You should see a visible bubbling at the site of the slow leak.
Remove the source of the leak -- such as the nail or screw -- using a pair of pliers or a screwdriver. If you have located the site of the puncture but there is no sharp object to remove, the object may have fallen out while driving. Continue your repair.
Load the plug into the end of the insertion tool provided in your repair kit. The plug is a thin, rubber cylinder, and the insertion tool is similar to a screwdriver with a handle resembling the letter "T."
Grip the T-shaped handle and align the plug with the site of the puncture. Push the plug into the site of the puncture by baring down on the T-shaped handle, leaving approximately one-half inch of the plug sticking out above the tread.
Pull the T-shaped insertion tool gently from the tire. The plug is now in place.
Add air to your tire using an air pump, such as one found at a gas station, and fill to the recommended pressure. Locate the recommended pressure inside the door jamb of your car if you are unsure -- look for a number followed by "psi," which means pounds per square inch. Pay particular attention when adding air in extreme weather, but never over- or underinflate your tires based on temperature.
Lower the car carefully, if you jacked it up, and remove the jack.
Check tire pressure again using your gauge. If the pressure is holding at your desired level, you've patched your wheel successfully. Cut the excess plug protruding from the tire using a razor knife.