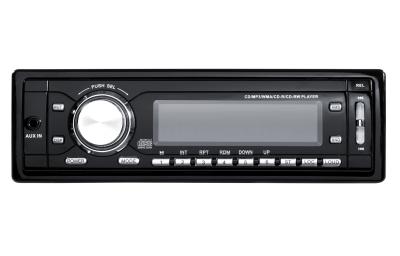
The 2004 Ford Taurus comes equipped with a variety of factory installed stereos including an AM/FM stereo with in-dash CD player. Optional units include decks capable of playing Mp3 files either directly from the head unit or input from an iPod, iPhone or other device. You can also swap the stock system for an aftermarket custom unit. Choose the stereo you would like to install in your Taurus and do it yourself for a fraction of the cost of a professional installation.
Pull the hood release lever to open the Taurus' hood and access the battery. Loosen the bolt that binds the negative battery cable clamp to the battery post. Move the cable away from the battery until the custom stereo has been installed. Move to the inside of the vehicle.
Turn each of the three climate control knobs below the stereo panel to the vertical position. Pull the knobs off the panel.
Slide the two prongs on each of the Ford DIN removal tools into the holes at either edge of the Taurus' stereo face. Push the tools into the holes until they lock into place.
Pull the tools outward while pulling the stereo unit from the dashboard stereo dock. Pull the stereo unit from the dashboard until you are able to reach the stereo wiring connected to the back of the factory stereo. Unplug the stereo wiring connectors and the black antenna cable from the back of the unit.
Remove the two switches from the back of the stereo assembly panel by removing the 5mm screw bolts with the socket and driver. Pry the third switch control (farthest to the left) with a flat screwdriver.
Remove the two spring clips (one on each side) from the side of the stereo bracket with the Torx-15 socket and driver.
Place the spring clips on the sides of the Ford stereo installation kit faceplate. Screw the two screws with the Torx socket and driver.
Place the three switches on the back of the new kit faceplate and screw in the 5mm bolt screws on the fan and temperature control switches. The third switch attaches to the back of the kit without screws.
Slide the installation kit pocket onto the slots of the faceplate.
Place the installation sleeve for the custom stereo into the opening at the front of the faceplate kit. Fold the tabs on the sleeve with a flat screwdriver to secure the sleeve within the stereo kit.
Plug the wiring harness adapter leads into the corresponding outlets on the back of the custom stereo deck. Plug the black antenna cable into the FM antenna input on the back of the new deck.
Slide the entire stereo/climate control group into the stereo dock of the Ford Taurus. Push the unit into the dashboard until the two spring clips on the sides of the assembly lock into place within the dash opening.
Replace the climate control knobs onto the switches below the stereo panel. Return to the battery.
Replace the negative battery cable clamp around the negative battery post. Tighten the cable's clamp to the post with the wrench. Close the Ford Taurus' hood.