The Mazda 626 stereo is removed using a special tool, which is required for almost all Ford and Mazda vehicles. In the 626, a small panel must be removed to access the input holes; they are not as immediately visible as other Ford and Mazda vehicles.
The 626 was available with an array of stereo choices. Some models may be equipped with a cassette player; others may be equipped with a single or multiple-disc CD player. The procedure is the same regardless.
Disconnect the negative battery cable (--) with the pliers before beginning. This will prevent shock when handling the wiring components.
Pry up the metallic trim ring surrounding the gearshift knob. Use a trim tool or a small flat head screwdriver. Once the ring is off, pry up the plastic bezel surrounding the gearshift knob; pull it away from the assembly.
Remove the two Torx screws from behind the bezel (beneath the ashtray). These screws secure the panel surrounding the radio.
Pull the panel surrounding the radio off carefully. Unplug the cigarette lighter plug from behind the panel.
Insert the hook tools into the holes along the sides of the radio (visible with the radio surround panel remove). Push them in firmly until you hear a "click."
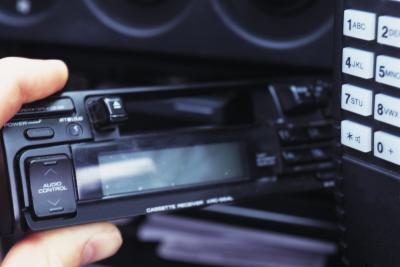
Grasp the hooks and push them out to disengage the internal clips. Pull the radio away out of its cavity. Unplug the antenna and wiring harness from behind it.