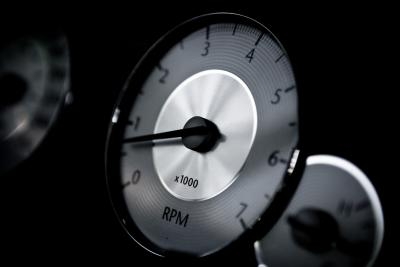
There is a computer inside your Honda Civic that controls how high the revolutions per minute (RPM) can go while driving. The electronic control module limits the amount of RPM in order to avoid engine damage and as an on-road safety precaution. There is no way to physically remove the RPM limiter in a Honda Civic but replacing the stock ECU with a high performance ECU will allow you to exceed previously determined RPM limits.
Prop open the hood and use and adjustable wrench to remove the negative battery cable. Use the same wrench setting to remove the positive battery cable.
Remove the metal brace holding the battery in. Use a 10-millimeter socket wrench to remove the two retaining bolts at each end of the strap. Use two hands to lift the battery out of the engine compartment.
Locate the ECU. It is a large, flat and black plastic panel in front of the battery cavity. There are three wiring harnesses wired into the bottom-back of the panel and three 10 millimeter mounting bolts holding it in place.
Remove the three mounting bolts using a 10-millimeter socket wrench. Unfasten the three wire harnesses on the bottom-back of the panel and remove the black plastic covering with your fingers. Pull the metal ECU from its plastic housing.
Insert the new metal ECU and place the black plastic cover over the front of it. Use your hands to plug in the wire harnesses on the back of the ECU. Use a 10-millimeter socket to replace the three ECU mounting bolts.
Use two hands to place the battery back into the engine compartment. Place the metal strap back over the battery and install the two retaining bolts with a 10-millimeter socket. Reattach the battery terminals using the adjustable wrench and close the hood.