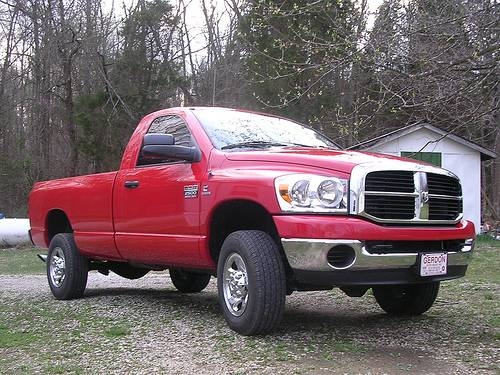
Dodge Ram trucks are known for their durability and their ability to haul heavy loads. If you are towing anything heavier than a light duty single axle trail, you will want to equip you truck with an electronic brake controller. An electronic brake controller taps into your vehicle's existing brake light wiring harness and sends a signal to the trailer whenever the driver presses the brake pedal. This signal activates the electric brakes on the trailer and helps your vehicle to slow down safely.
Disconnect the ground cable from the negative battery terminal.
Locate a spot on the dash to mount the brake controller. The best place is on the right side of the steering column, on the dash lower trim panel. It should be within easy reach of the driver, but not interfere with operating the gas pedal, brake or clutch.
Remove the mounting bracket from the brake control module.
Use two self-drilling, self-tapping screws to mount the bracket to the dash lower trim panel.
Connect the brake control module to the mounting bracket. The bracket will be designed so the module can tilt up or down. Adjust the position of the controller to where it feels most comfortable for you.
Locate a spot on the vehicle's floor or firewall, to connect the ground wire. It must be a metal portion of the vehicle's body, not one of the brackets that secure the dash. A spot behind the gas or brake pedal works, as well as the transmission tunnel.
Once you've located a spot to attach the brake controller's ground, check underneath the body. You will be drilling through the body here, make sure you will not be drilling into brake lines, fuel lines or electrical wiring.
Shave 1/2 inch of insulation off the end of a 5-foot length of white wire
Attach a ring terminal to the end of the white wire.
Use a self-drilling, self-tapping screw and drive it through the ring terminal into the vehicle's body.
Route the white wire underneath the dash. Secure it to brackets or the wiring underneath the dash so it doesn't interfere with the gas, brake or clutch pedal.
Connect the white ground wire to the white electrical lead on the back of the brake controller. Use a barrel crimp connector.
Connect a ring terminal to one end of an inline 12-volt fusible link. The fusible link should be rated to handle at least 20 amps.
Attach the ring terminal to the positive battery terminal. On side terminal batteries attach the ring terminal around the battery post on top of the positive cable. On top terminal batteries, attach the ring terminal to the bolt that secures the clamp on the battery post.
Run a black wire from the loose end of the fusible link, through the firewall to the brake controller. Route the wire along the existing wiring in the vehicle's engine bay. Push the wire through the firewall at one of the rubber plugs behind the dash.
Connect the black wire to the fusible link using a barrel crimp connector.
Secure the black wire using wire ties to an existing wiring harness. Make sure the black wire does not come in contact with any moving parts on the engine or on any parts that may become excessively hot, such as the exhaust or intake manifolds.
Secure the black wire using wire ties to the chassis or an existing wiring harness. Make sure the black wire does not come in contact with any moving parts on the engine or on any parts that may become excessively hot, such as the exhaust manifold's radiator or intake manifold.
Connect the black wire to the black electrical lead on the back of the brake controller using a barrel crimp connector.
Start at the rear of the vehicle and run a blue wire along the driver's side frame up to the brake controller. The wire should enter the passenger cabin through one of the rubber plugs behind the dash.
Connect the blue wire to the blue electrical lead on the brake controller, using a barrel crimp connector.
Secure the blue wire underneath the dash using wire ties. Route the wire away from the gas, brake and clutch pedals.
Secure the blue wire along the frame using wire ties. Do not connect the wire to brake or fuel lines.
Connect the blue wire to blue electrical lead on the trailer connector.
Reconnect the ground cable to the negative battery terminal.
Locate the brake light switch, it will be on the brake pedal.
Locate the wire attached to the brake light switch that activates the brake lights. Use a 12-volt test light. Attach the ground clip on the test light to the vehicle's body. Use the probe on the end of the test light to pierce the insulation of each of the wires coming out of brake light switch. You are looking for the wire that causes the test light to light up when you push the brake pedal down.
Connect a red wire to the electrical lead you found in the step above using a side crimp connector.
Route the red wire underneath the dash and away from the gas, brake and clutch pedals. Secure with wire ties.
Connect the red wire to the red electrical lead attached to the brake controller, using a barrel crimp connector.