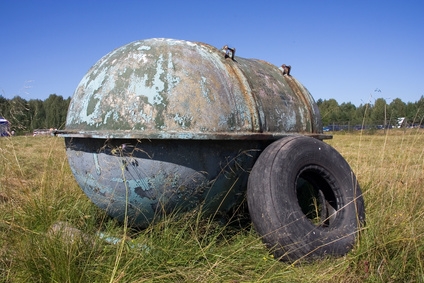
Painting a fuel tank to make it more attractive allows for personalization and decoration. Specialized fuel tank paint adds another layer of protection to the tank as well as restoring the fuel tank. Any old paint must be removed before painting. Appropriate paint for the surface, usually aluminum, is then applied. Areas not to be painted, such as any openings and the threads for the gas cap, must be covered with paint tape. Once finished, the tank must be left to dry in a dust-free space.
Empty the gas from the tank into a gas container using a funnel. The gas must be removed completely from the tank to prevent accidental combustion.
Remove the gas cap and any lines from the tank.
Wash the tank with soap and water. Dry the tank thoroughly with a towel. Ensure there are no cracks or leaks in the tank. If there are cracks or leaks, repair them before painting.
Sand the tank to remove any old paint using a sand blaster on low power or sandpaper. The sand blaster will save time, however; an older fuel tank may need a gentler touch. If so, use sandpaper instead.
Repair any holes or cracks before using approved gas tank epoxy. If you are unsure, take your tank to a professional to repair before painting.
Tape over any holes, threading for the gas cap or areas you don't want to paint with paint tape.
Load primer into the paint gun. Spray several light coats of primer evenly over the fuel tank. Allow the primer to dry completely before each coat. Finish one side of the tank first before flipping the tank over and priming the other side.
Sand the tank using 360 grit sandpaper. This allows the paint to adhere to the surface of the tank.
Load the paint gun with gas tank paint. Apply to one side of the fuel tank in light even coats and allow the paint to dry completely before turning over the fuel tank.
Tape the stencil on the tank using paint tape. Spray with gas-tank paint and allow the paint to dry before removing the stencil.