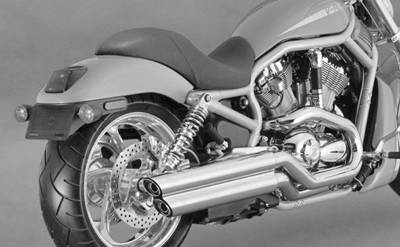
Vance and Hines makes some of the finest aftermarket parts for Harley Davidsons and other custom motorcycles. Established in 1979, Vance and Hines manufactures exhaust and air intake systems for dirt, road, and track motorcycles that offer enhanced performance overstock products. True dual exhaust systems, systems which involve one exhaust pipe exiting one cylinder, are one of Vance and Hines specialties and are a common upgrade for many Harley Davidson motorcycle enthusiasts. While many shops will install the exhaust kit for you, it is quite simple for a motorcycle enthusiast to perform this upgrade by himself.
Loosen the header bolts attaching your current exhaust system to your cylinders. Make sure the engine has cooled at least 30 minutes from your last ride before attempting to remove the exhaust system. Disconnect any oxygen sensors that may be attached to the exhaust itself.
Disconnect the mounting hardware along the length of the exhaust using a screwdriver and ratchet. Replace the old hardware with the new mounting hardware provided in the Vance and Hines kit. If necessary, drill holes in the frame or other parts of the body kit to which to mount the brackets.
Install the exhaust by attaching all of the brackets along the length of exhaust pipe and then installing and tightening the header bolts. Make sure you replace all of the gaskets before tightening the header bolts; otherwise an exhaust leak could be caused. Reconnect the oxygen sensors.
Repeat steps 1 to 3 for each cylinder of your motorcycle engine.