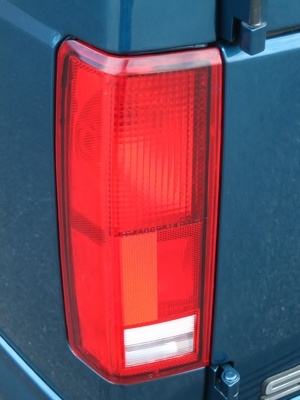
You can repair a broken, cracked or even punctured taillight lens in several different ways. Although you can purchase and install a new taillight on modern cars, a repair may be a better idea in certain situations. If you have a classic car with limited availability of parts, however, a repair might be your only viable option. Moreover, a quick and easy repair works best for damage inflicted on the road. In any case, with a little do-it-yourself experience, you can repair any taillight lens and avoid replacing it.
Cover a broken tail light with red lens repair tape. Use this tape, which you can find at any auto parts store and most department stores, to tape over any broken or cracked taillight. The translucent red tape will allow the brake and running lights to shine through, just like a regular taillight.
Repair cracks and holes with a plastic lens repair kit. These kits, which come with instructions and all the items you need to repair any damaged taillight, have become favorites for those who own classic cars with taillight lenses that are almost impossible to find. Look for repair kits at most auto parts stores or online.
Repair a taillight yourself with simple ingredients and tools. Unscrew the broken lens from the car and place a piece of cellophane tape over the backside of the hole, gouge or crack. Pour some clear five-minute plastic epoxy resin over the damage, and let it dry completely. Sand the repair smooth, with 200-grit sandpaper, then color the clear epoxy with a red permanent marker. Remount the lens, and you've made a permanent repair.