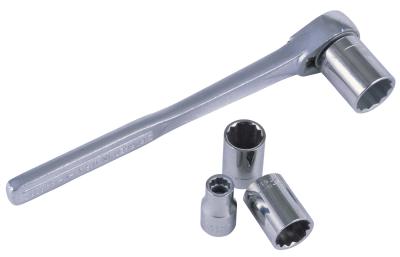
Changing a fuel filter on a 1993 Toyota Camry, which you should do every 30,000 miles or 24 months, can be done quickly using only a few common hand tools. Sluggish acceleration due to a non-working fuel filter can be a major problem, and installing a new filter can ensure the fuel system runs smoothly as the filter catches impurities running through the system. A clean and efficient fuel filter is the first step in keeping a a 1993 Toyota Camry's fuel system clean and operational.
Disconnect the negative battery cable.
Remove the air cleaner assembly if necessary to access the fuel filter. Remove the top of the assembly and remove the air filter. Remove the three screws mounting the bottom of the assembly to the engine bay. Remove the air intake from the assembly. Remove the filter from the engine bay.
Remove the two fittings, one at the bottom and one at the top of the filter, using two wrenches. Place a wrench on each fitting and loosen until they are both disconnected from the filter.
Remove the bolts holding the filter bracket to the firewall. Remove the bracket and filter once the bolts are removed.
Install the new filter onto the bracket and install the bracket back onto the firewall.
Reconnect the two fittings onto the new filter. Use the new washers included with the new filter. The new filter will have the inlet and outlet fittings labeled. Make sure the outlet fitting faces up and the inlet fitting faces down.
Replace the air cleaner assembly. Tighten the three bolts holding the bottom assembly to the engine bay, place the air cleaner into the assembly, place the top of the assembly back on and connect the air intake back onto the assembly.
Connect the negative battery cable back to the battery terminal.