Automotive scan tools are used to diagnose the engine and can plug into the standardized socket on most cars and trucks manufactured after 1980. Using a scan tool can save many hours of headache in determining the problem with any given vehicle, and the average backyard mechanic can use a scan tool in about five minutes.
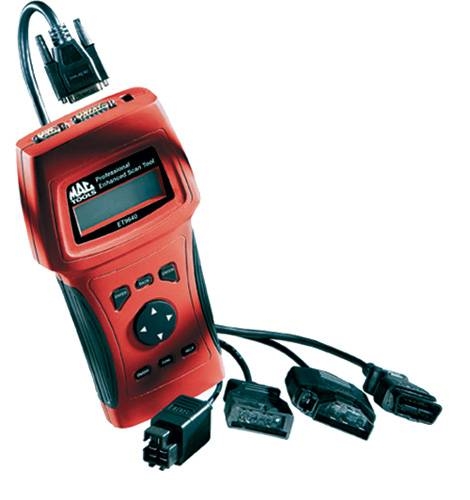
Determine the type of scan tool required for the automobile. There are two main types of sockets, the OBD-1 (On Board Diagnostics) type, which was a large type of socket made before 1990, and the newer OBD-2 socket. Both are simple pin-out designs that will allow access to the computer. The socket is located under the steering wheel, up under the dash panel, and could be hidden by wiring or panels.
Plug the scan tool's adapter plug into the car's computer socket, and turn on the car's ignition---but do not start it.
Power up the scan tool. The display will come on, and after it communicates with the car's computer for a few seconds, it will display an "OK" message or a menu.
Navigate the menu to find the "stored codes," or the diagnostic codes that the car's computer has stored into its memory. These codes are collected over time, and unless the vehicle's battery has been disconnected, they should remain in memory. The scan tool will display these codes, along with basic data information about the code.
Write down the codes that are displayed and then research them. Automotive repair manuals for the make and model of vehicle will have a list of these codes and what they mean. Many codes will start with a letter, followed by several numbers, such as "F-233," and they are tripped by sensors that the computer monitors constantly. When these sensors determine something is wrong with the motor, they store the code in the computer so that the mechanic can determine the issue and repair it.