If the inside of your Acura TL is starting to smell a little funny or if you're suddenly feeling sneezy or watery-eyed when inside the car, you might have a dirty cabin air filter. These weren't always standard features on Acuras, but modern TLs all have these auxiliary filters, which reduce dust, odors and allergens inside the passenger cabin. They're supposed to be replaced every 30,000 miles or two years, and it's a relatively quick and simple job you can do by yourself with just a screwdriver.
Take everything out of the glove box on the passenger's side.
Look at the plastic panel that extends from the bottom of the glove box to the rear of the dash area. You should be able to see that it is connected to the glove box in the front with three plastic clips. Pull down on this panel to disengage it from the clips and expose the underside of the glove box assembly.
Open the glove box and look at the side panels that are exposed when you pull the lid down. You should see a piece of plastic on each side that prevents the glove box door from opening any farther. Each of these pieces is snapped in place between two plastic clips. Push these clips down to disengage and remove both of the plastic stoppers.
Look for three black screws on the panel behind the glove box assembly. Remove all three with a Phillips head screwdriver. Pull down the flexible panel that the screws held up.
Look in the top right corner of the under-dash assembly for a gray plastic clip. Remove this clip by squeezing the tabs together toward the center and pulling it toward you.
Look at the pivot points for the hinges in the glove box door. You should see a silver bolt in each one. Remove both bolts with the screwdriver and support the glove box assembly after you've removed it; all that is connecting it to the dash now is the trunk release cable.
Trace the trunk release cable up to its socket and pull the plug out. The glove box is now completely free. Set it on the floor of the car.
Look for three screws on the plastic panel behind the glove box cavity. Remove all three with the screwdriver.
Pull the panel off. In addition to the three screws, it's held in place with four plastic clips, but you just have to pull the panel directly toward you to loosen it.
Look in the top right corner for a small, gray, rectangular compartment with a removable lid. This is the cabin air filter compartment. Take off the lid.
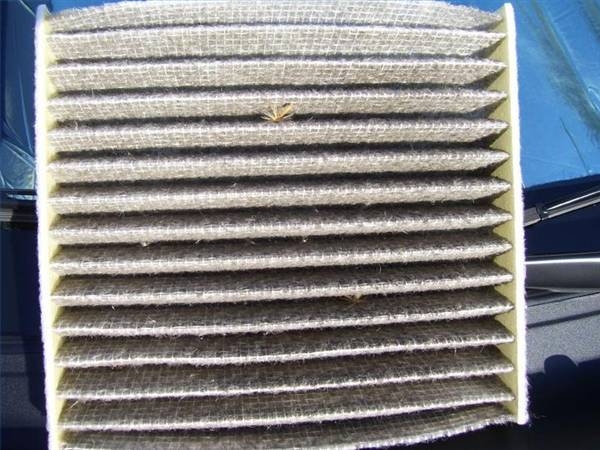
Pull the filter out gently. When you get the first filter clear of the case, you will see that it is hinged with a second filter behind it. Tilt the first filter up to detach the hinges, then remove the second filter.
Take out your new filters and slip the hinges inside one another. Push the new filters into the filter case just like the old ones were installed, then replace the lid on the filter case.
Take the panel from step 9 of section 1 and snap it back into place, then replace its three screws.
Plug the trunk release cable back in.
Replace the two silver bolts that connect the glove box hinges to the dashboard assembly.
Take the plastic clip from step 5 of section 1 and snap it back into place in the right corner of the glove box cavity.
Push the flexible cover back up and replace the three screws you removed in step 4 of section 1.
Close the glove compartment door part of the way and reach in through the opening to replace each of the two plastic stoppers. You just have to push each of these into the spaces between the two clips where you removed them, and they'll make a clicking noise when they're locked in place.
Pull up the under-dash panel you removed at the very beginning and push it back into place. There are three snaps that hold it in place, and you'll hear each one click when they attach.