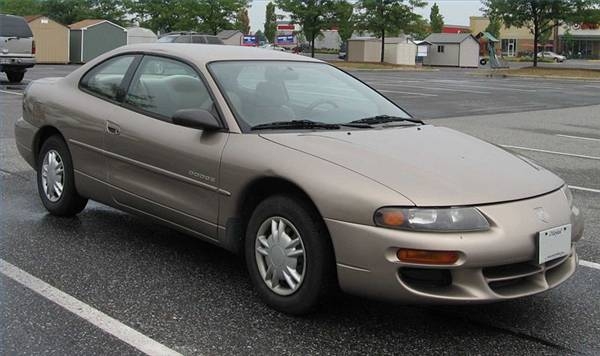
Replacing the fuel filter on your Dodge Avenger varies depending on your particular model. However, whichever model you own, make sure to park away from appliances with open flames like water heaters and dryers to avoid a possible accident. Then begin the process of installing the new fuel filter.
Loosen the fuel tank filler cap.
Remove the back seat.
Unscrew and remove the pump access cover on the far right side of the floor (passenger side) using a Phillips screwdriver-some models use butyl tape to secure the door to the floor.
Disconnect the fuel pump electrical connector.
Start the engine and let it stall.
Disconnect the black, negative battery cable.
Plug the fuel pump electrical connector.
Reinstall the fuel pump access cover.
Reinstall the back seat.
Remove the battery if you have a 1995 Dodge Avenger model. The fuel filter is located underneath the battery mounting space.
Raise the rear, right side of the vehicle (passenger side) using a floor jack if you have a model other than a 1995.
Safely support the rear side of the vehicle using jack stand. You will see the fuel filter underneath the frame rail, near the fuel tank.
Hold the nut at the bottom of the filter using a backup wrench. This is the nut pointing towards the fuel tank on models other than 1995.
Unscrew the fuel line bolt from the bottom of the filter using a tube wrench as you hold the nut firmly with the backup wrench.
Discard the two fuel line O-ring gaskets.
Hold the nut at the top of the fuel filter line using a backup wrench.
Unscrew the top fuel line bolt from the fuel filter using a tube wrench as you hold the nut firmly with the backup wrench.
Discard the two fuel line O-ring gaskets.
Unscrew the filter-mounting nut from the bracket using a wrench or ratchet and socket.
Remove the filter from the bracket.
Set the new fuel filter on the mounting bracket. Make sure the arrow on the filter case points towards the engine or the fuel line leading towards the engine.
Tighten the filter-mounting nut on the bracket.
Set the bottom fuel line in place along with two new O-ring gaskets.
Start the fuel line bolt by hand and, using a torque wrench, tighten the bolt to 27-foot lbs. (36 Nm) if your fuel filter is located on the engine compartment. If the filter is located on the frame rail, tighten this bolt to 22-foot lbs. (29 Nm).
Set the filter top fuel line in place along with two new O-ring gaskets.
Start the fuel line bolt by hand and, using a torque wrench, tighten the bolt to 22-foot lbs. (29 Nm).
Install the battery and connect the power and ground battery terminals if you have a 1995 model. Or just connect the black, negative battery terminal on models other than the 1995.
Lower the vehicle if you have a model other than the 1995.
Tighten the fuel filler cap.
Turn the ignition switch key to On to pressurize the fuel system.
Start the engine and check for leaks.