Ever since Teal J visited Teraflex last year, both readers-in-the-know and those familiar with the masculine rumble of a V-8 have approached us, eager to check out the interior of Teal's engine compartment. Most were impressed with how stock our Hemi appears. Others tripped out on how tightly the 5.7L mill fits between each inner fender. We, on the other hand, were getting tired of the process of popping open Teal's hood by hopping up onto a front tire and having to carefully lower the hood against the windshield frame to avoid damage to the paint. Don't get us wrong, it's not that we didn't like showing off Teraflex's impressive work-it's just that a vehicle on 37-inch tires doesn't exactly lend itself to ill-balancing editor acrobatics. With just a hint of wind, the whole process could be quite amusing to onlookers.
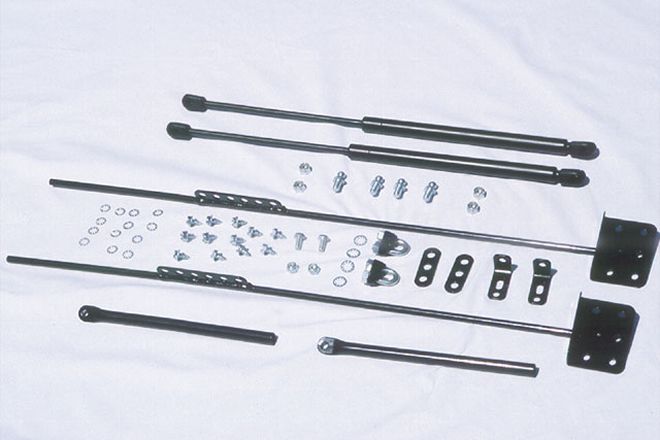
So we contacted Jim Piatt of Hoodlift. Some of you may remember that Jim took top honors at the very first Top Truck Challenge in his red CJ-7 in 1993. Aside from TTC fame, Jim is well known among Jeepers for developing an innovative kit that employs straightforward brackets and two nitrogen-pressurized cylinders that mechanically lift a popped Jeep hood to a predetermined open position. The system is simple, effective, and robust. We spent about an hour installing the setup on Teal J in our own driveway last year shortly before heading to Southern California's Off-Road Expo show. Follow along as we highlight the process.


